
Sewing Triangles Tutorial

I got several requests for a triangles tutorial after my Portfolio Tote blog post. So here you go!
First, you want to starch all your fabric before you even start cutting. When working with triangles, you’ll be sewing on the bias, which basically means your fabric tends to stretch more. Starch helps prevent stretching and it also makes your fabric fray a lot less, so added bonus!
There are many ways to cut your triangles, I always try to use a triangle ruler or if I’m following a pattern like in this case, I use the template provided.
For this project, my triangles are isosceles, so they are a little bit trickier to align because their sides and angles are not all the same.
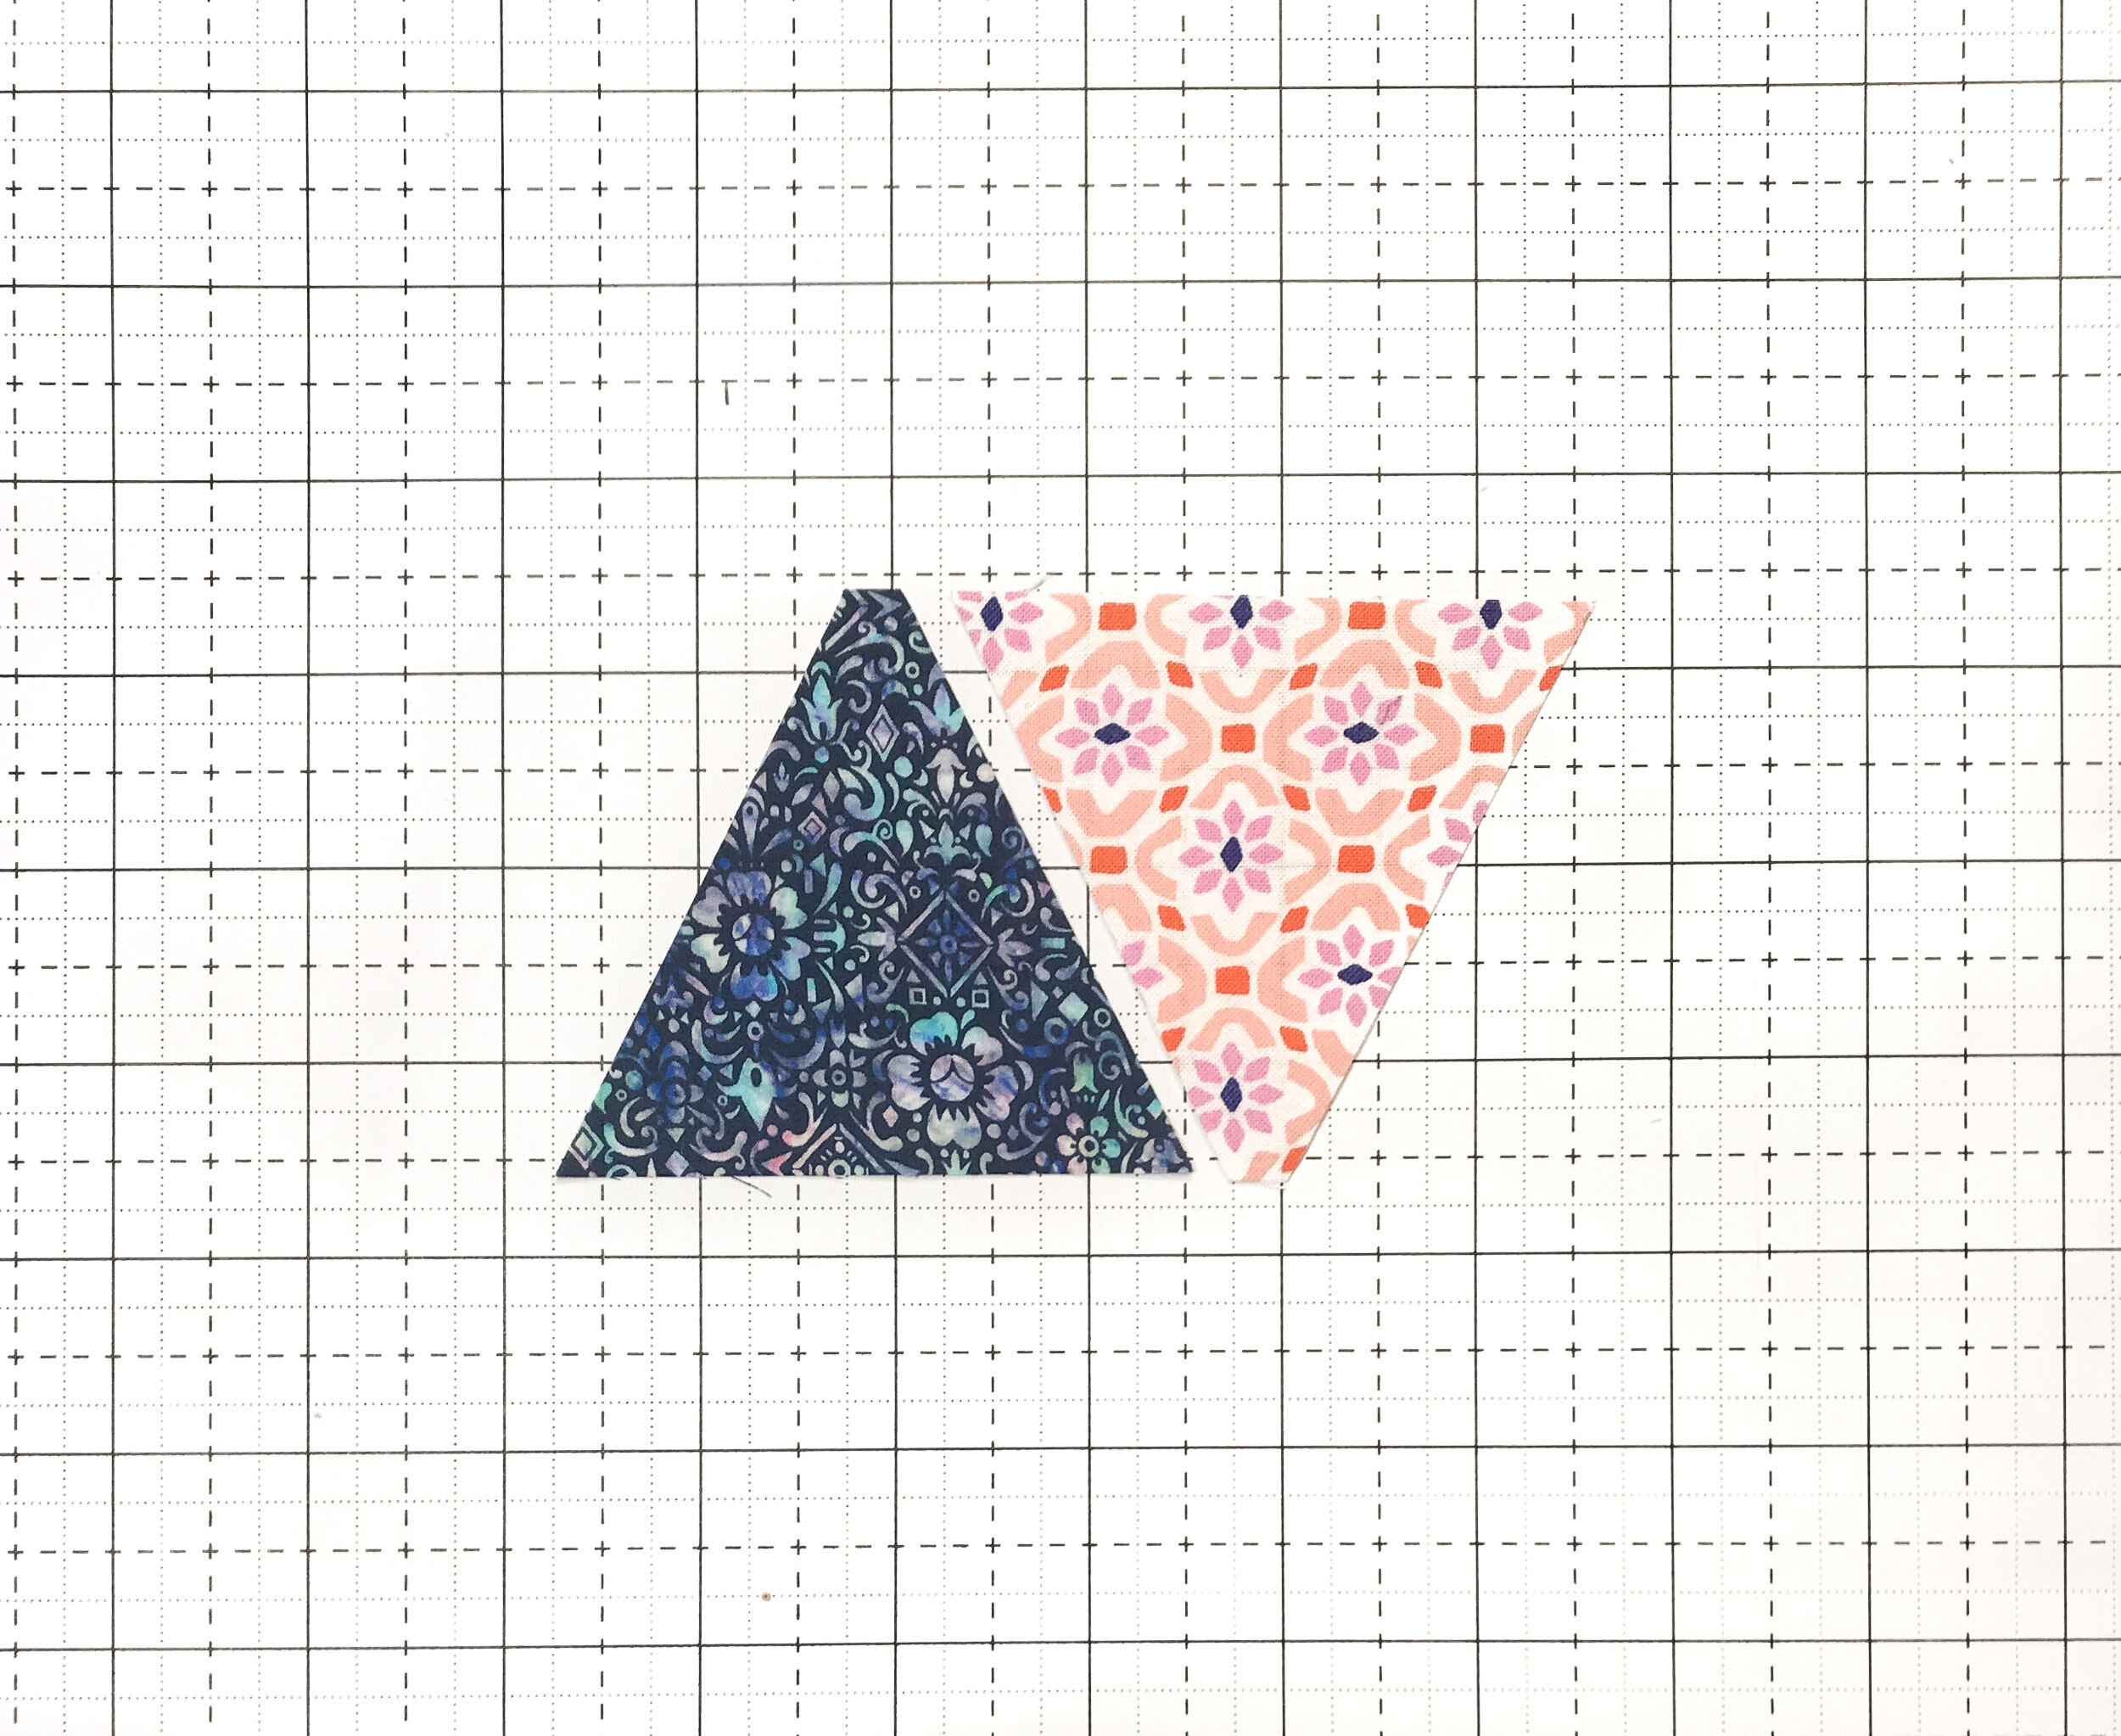
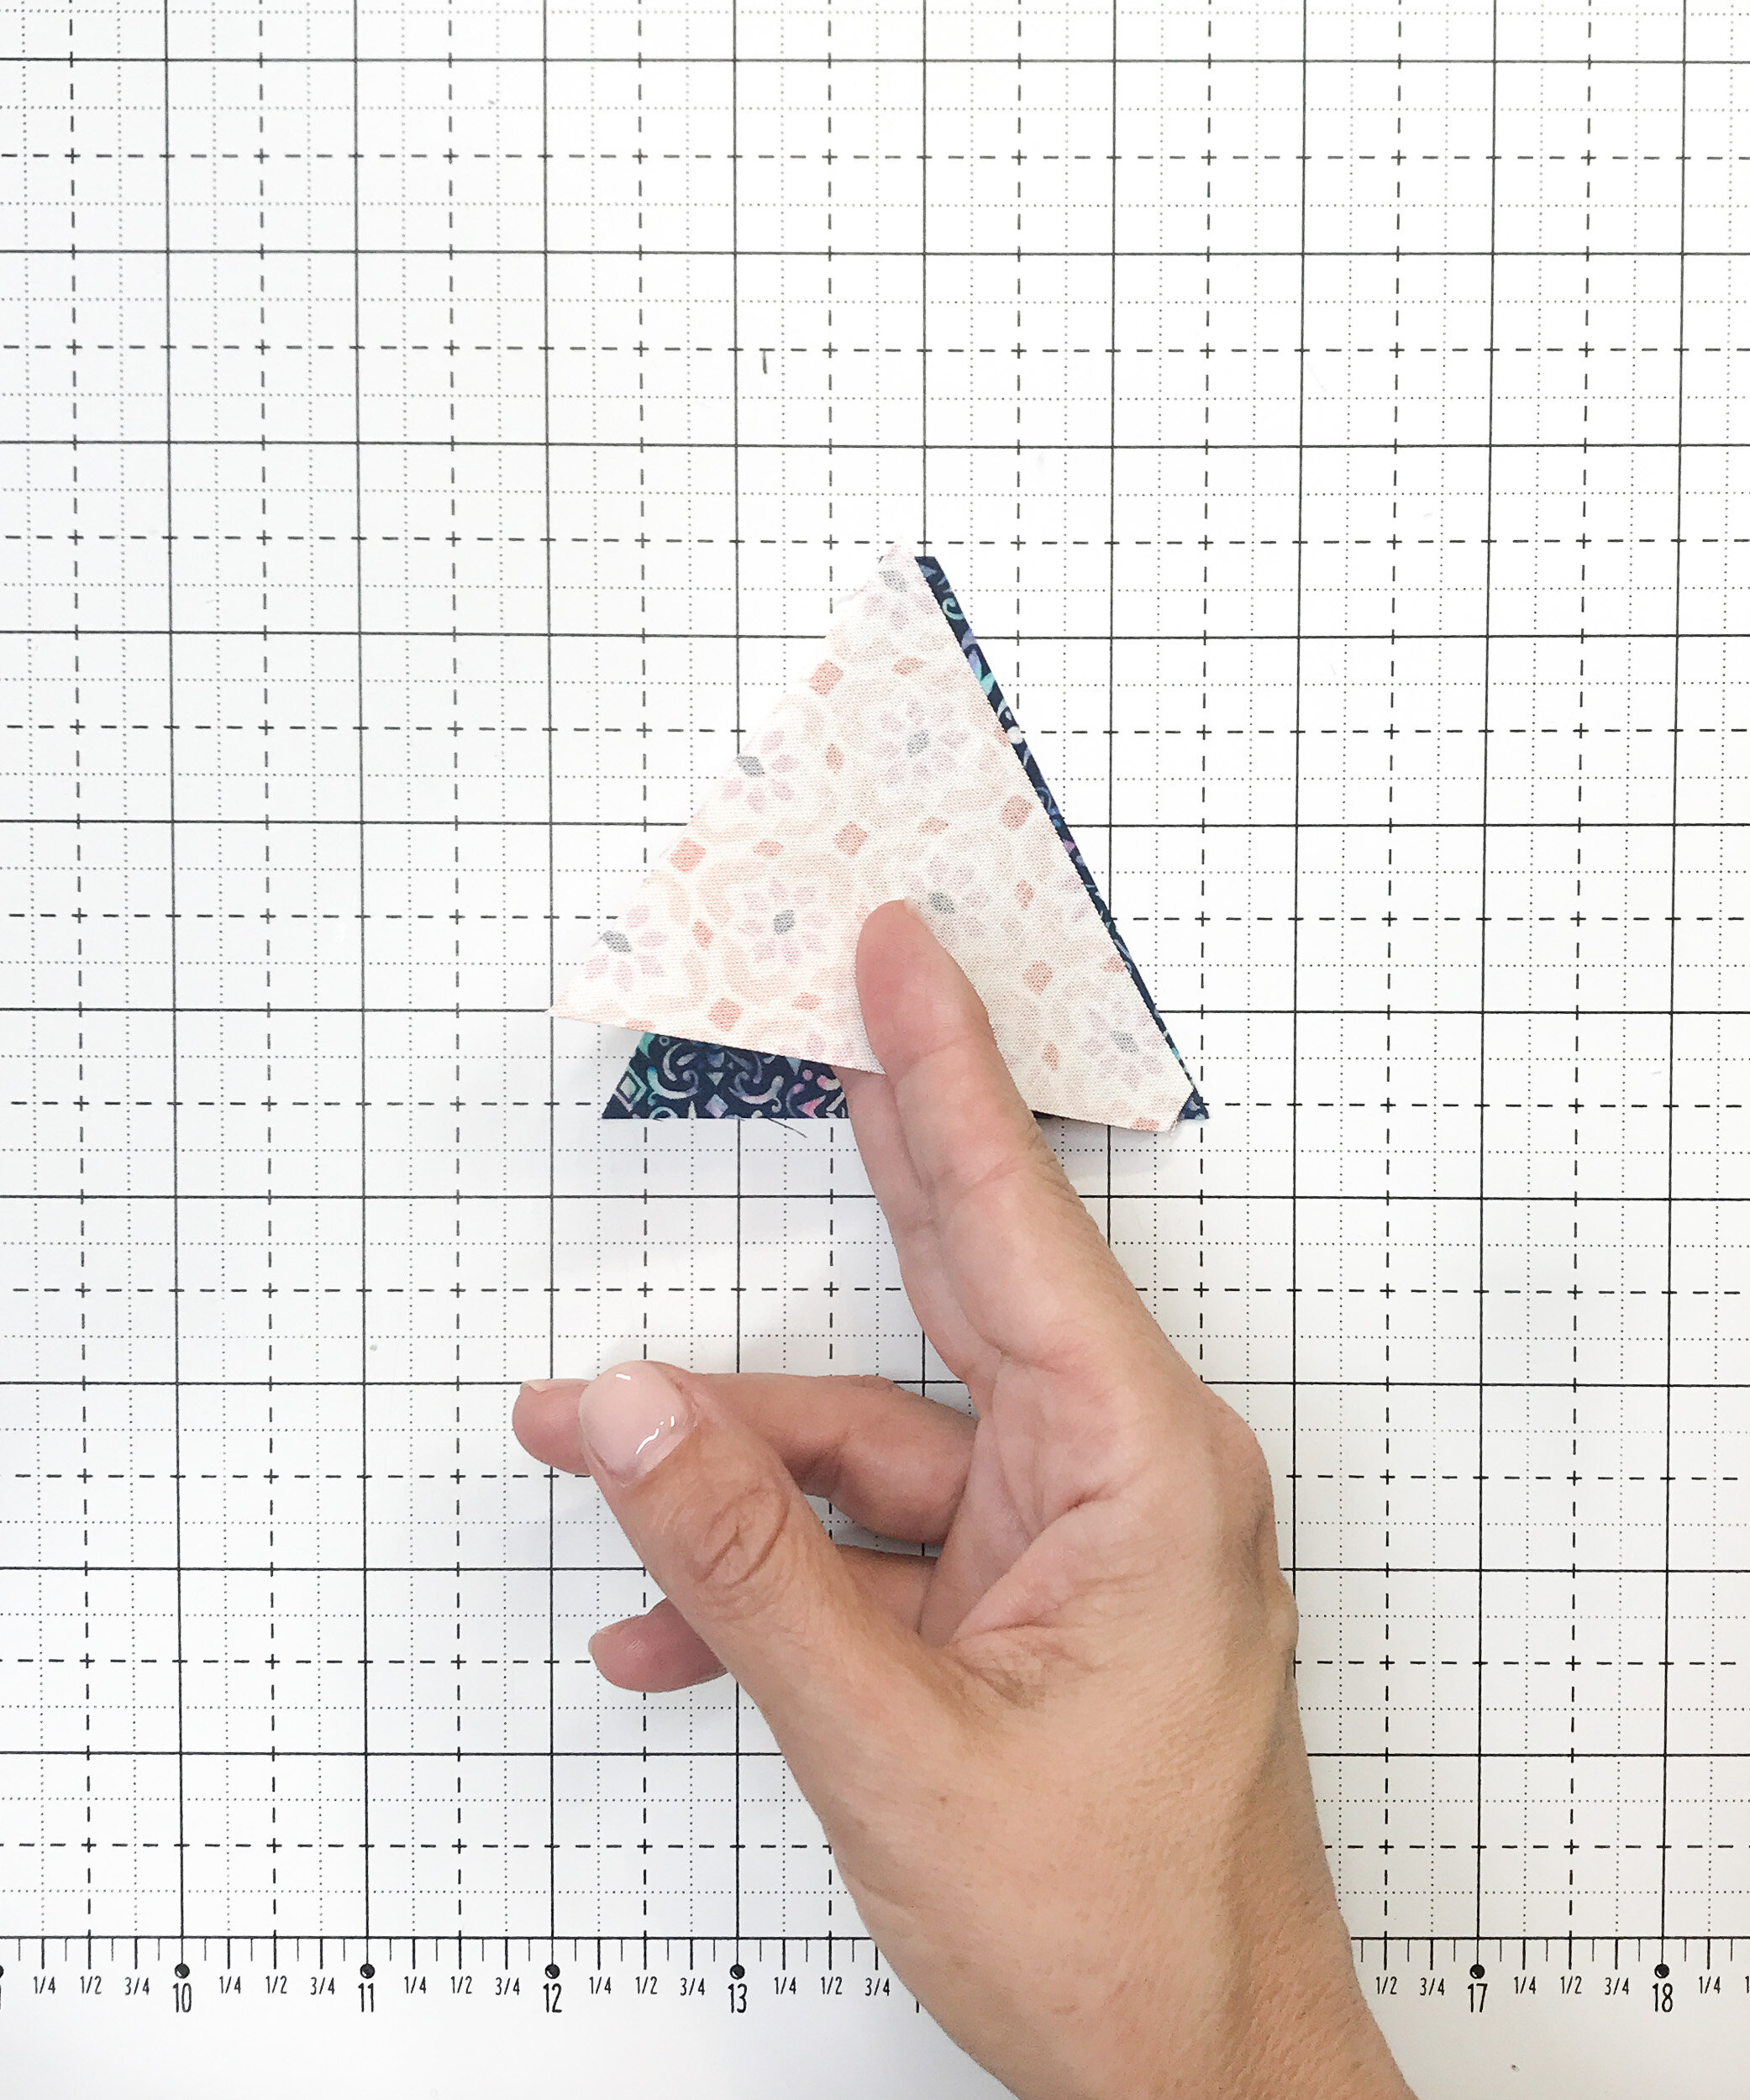
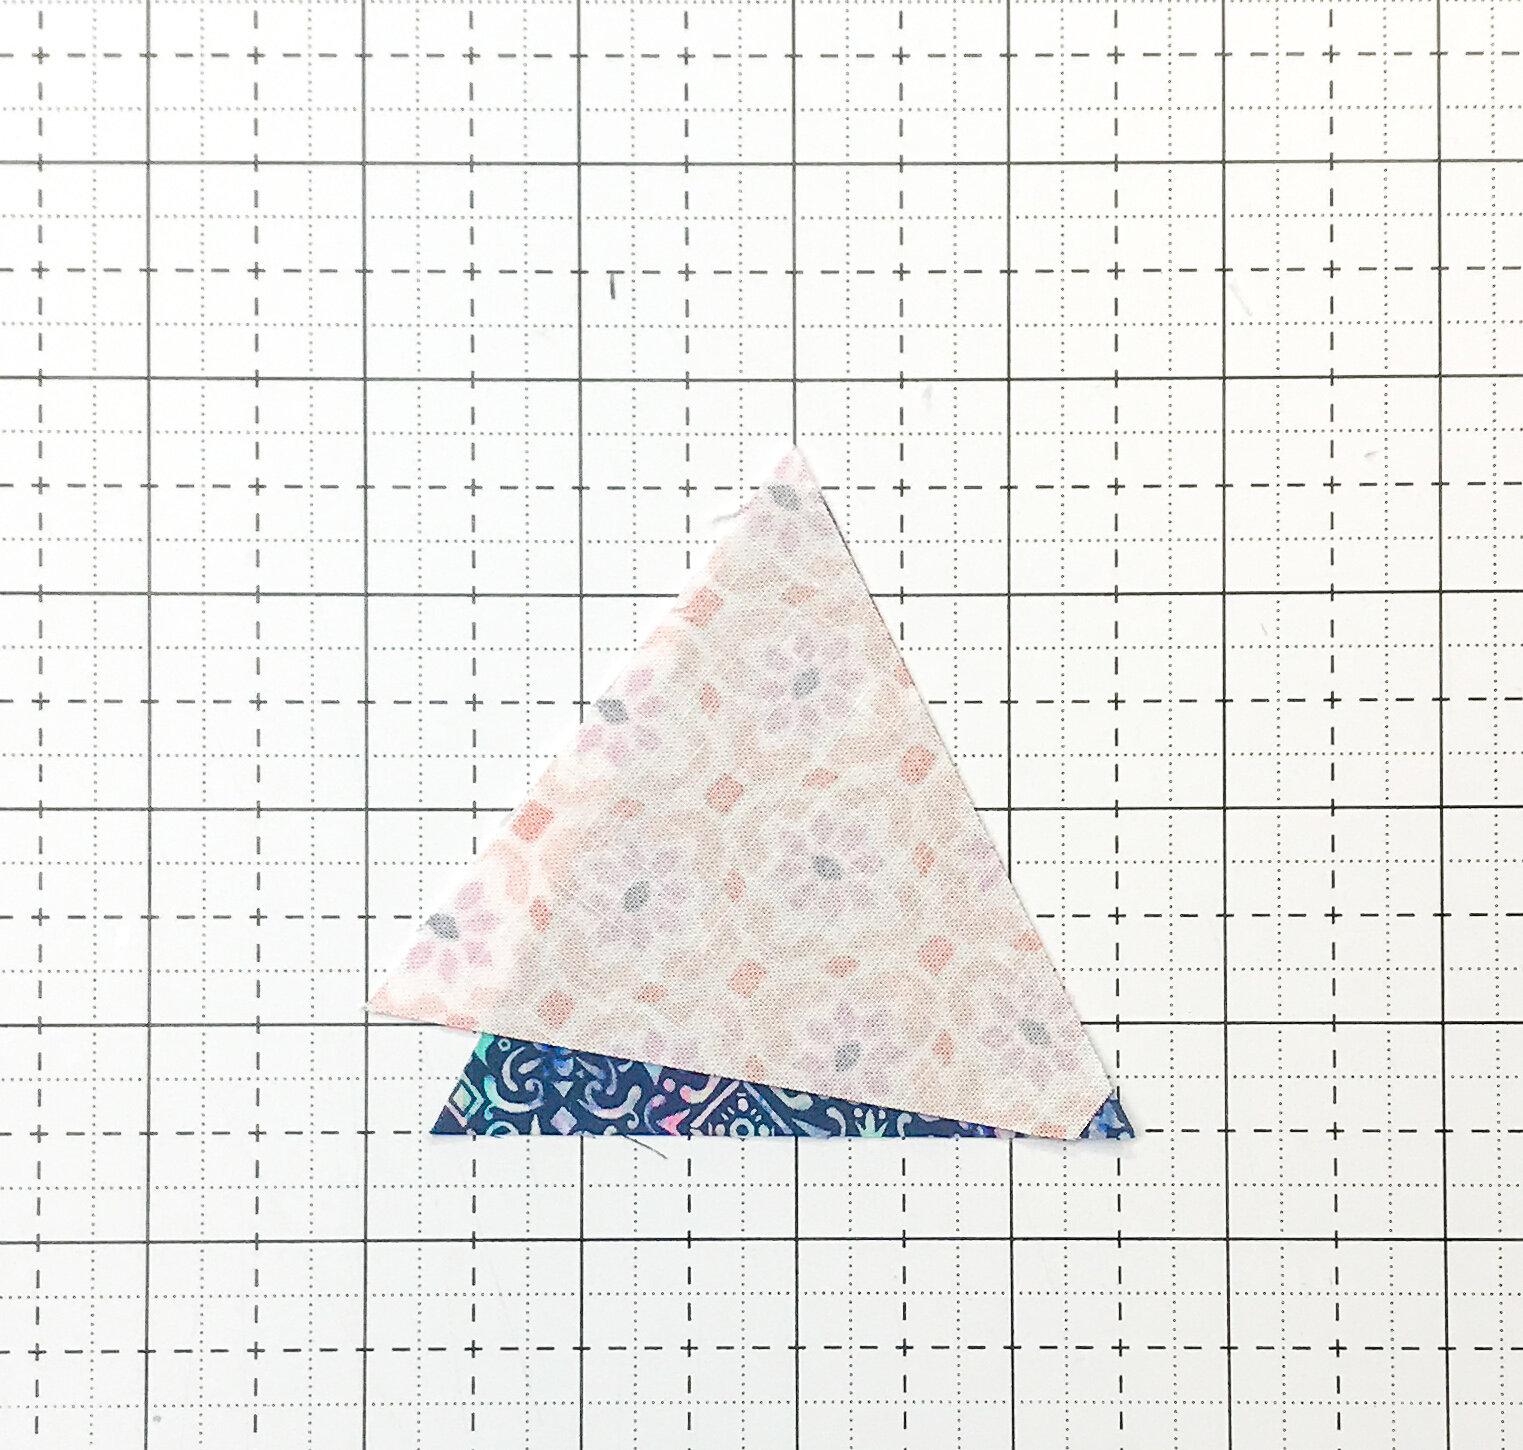
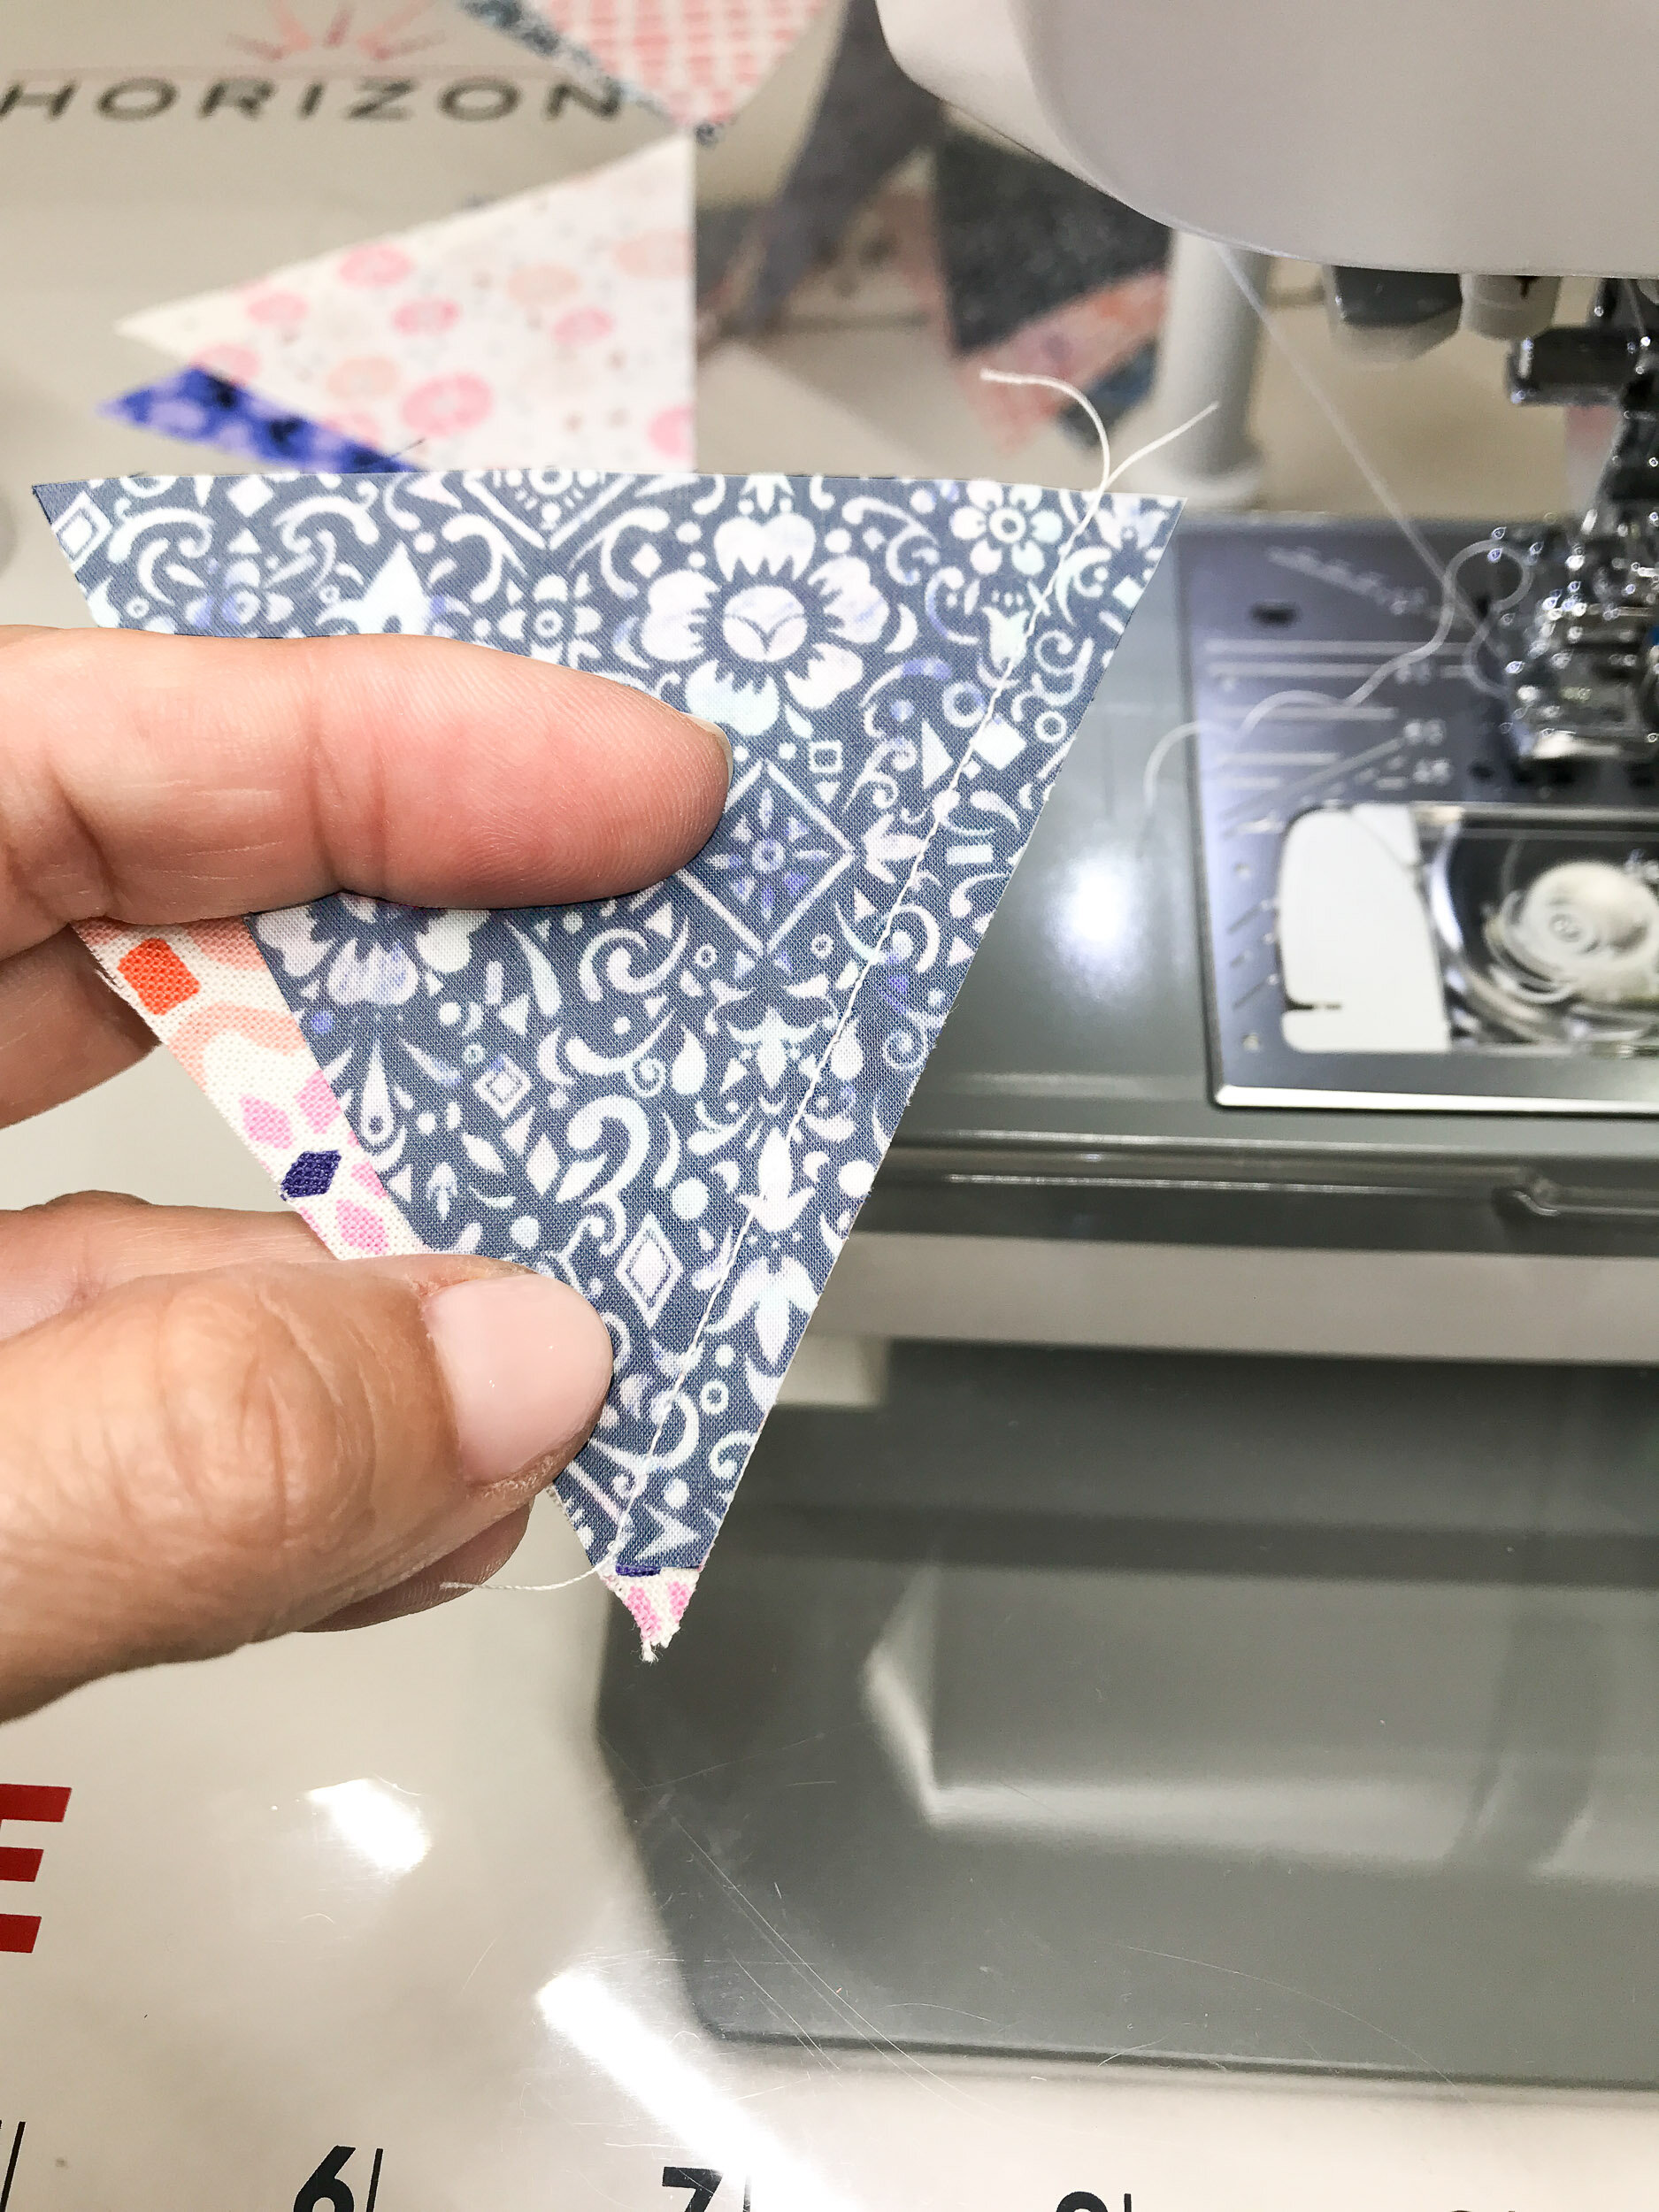
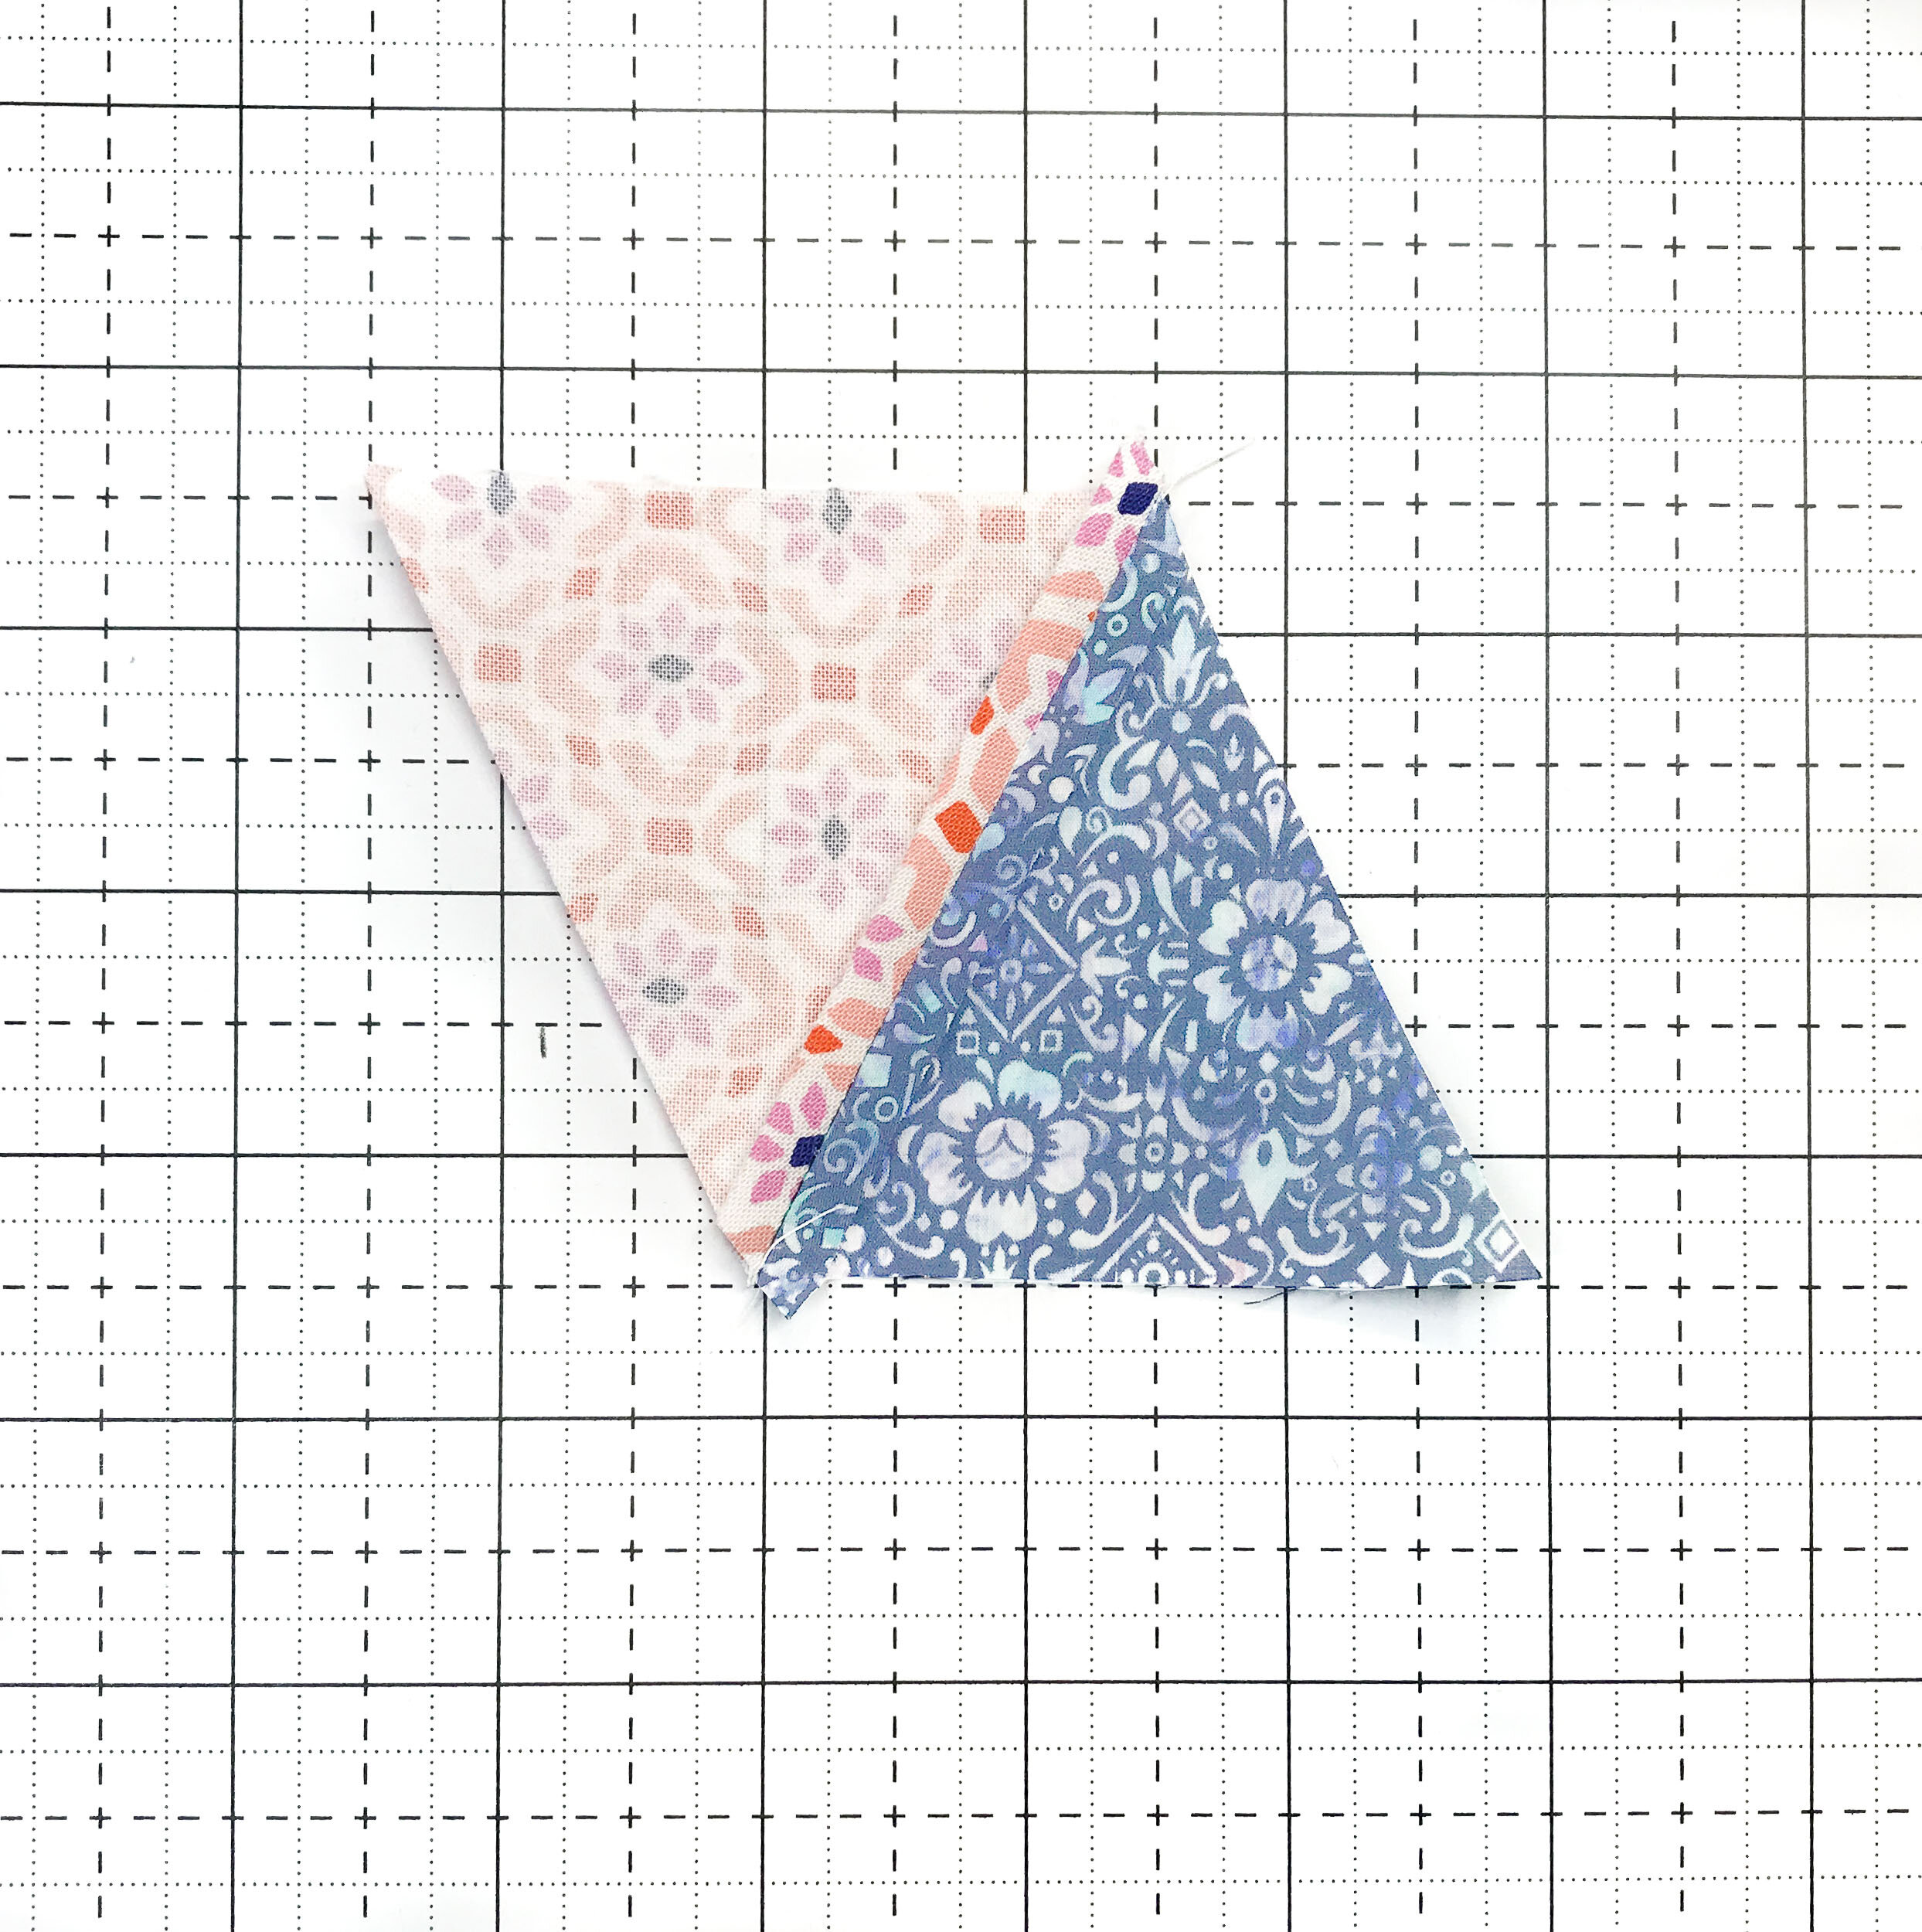
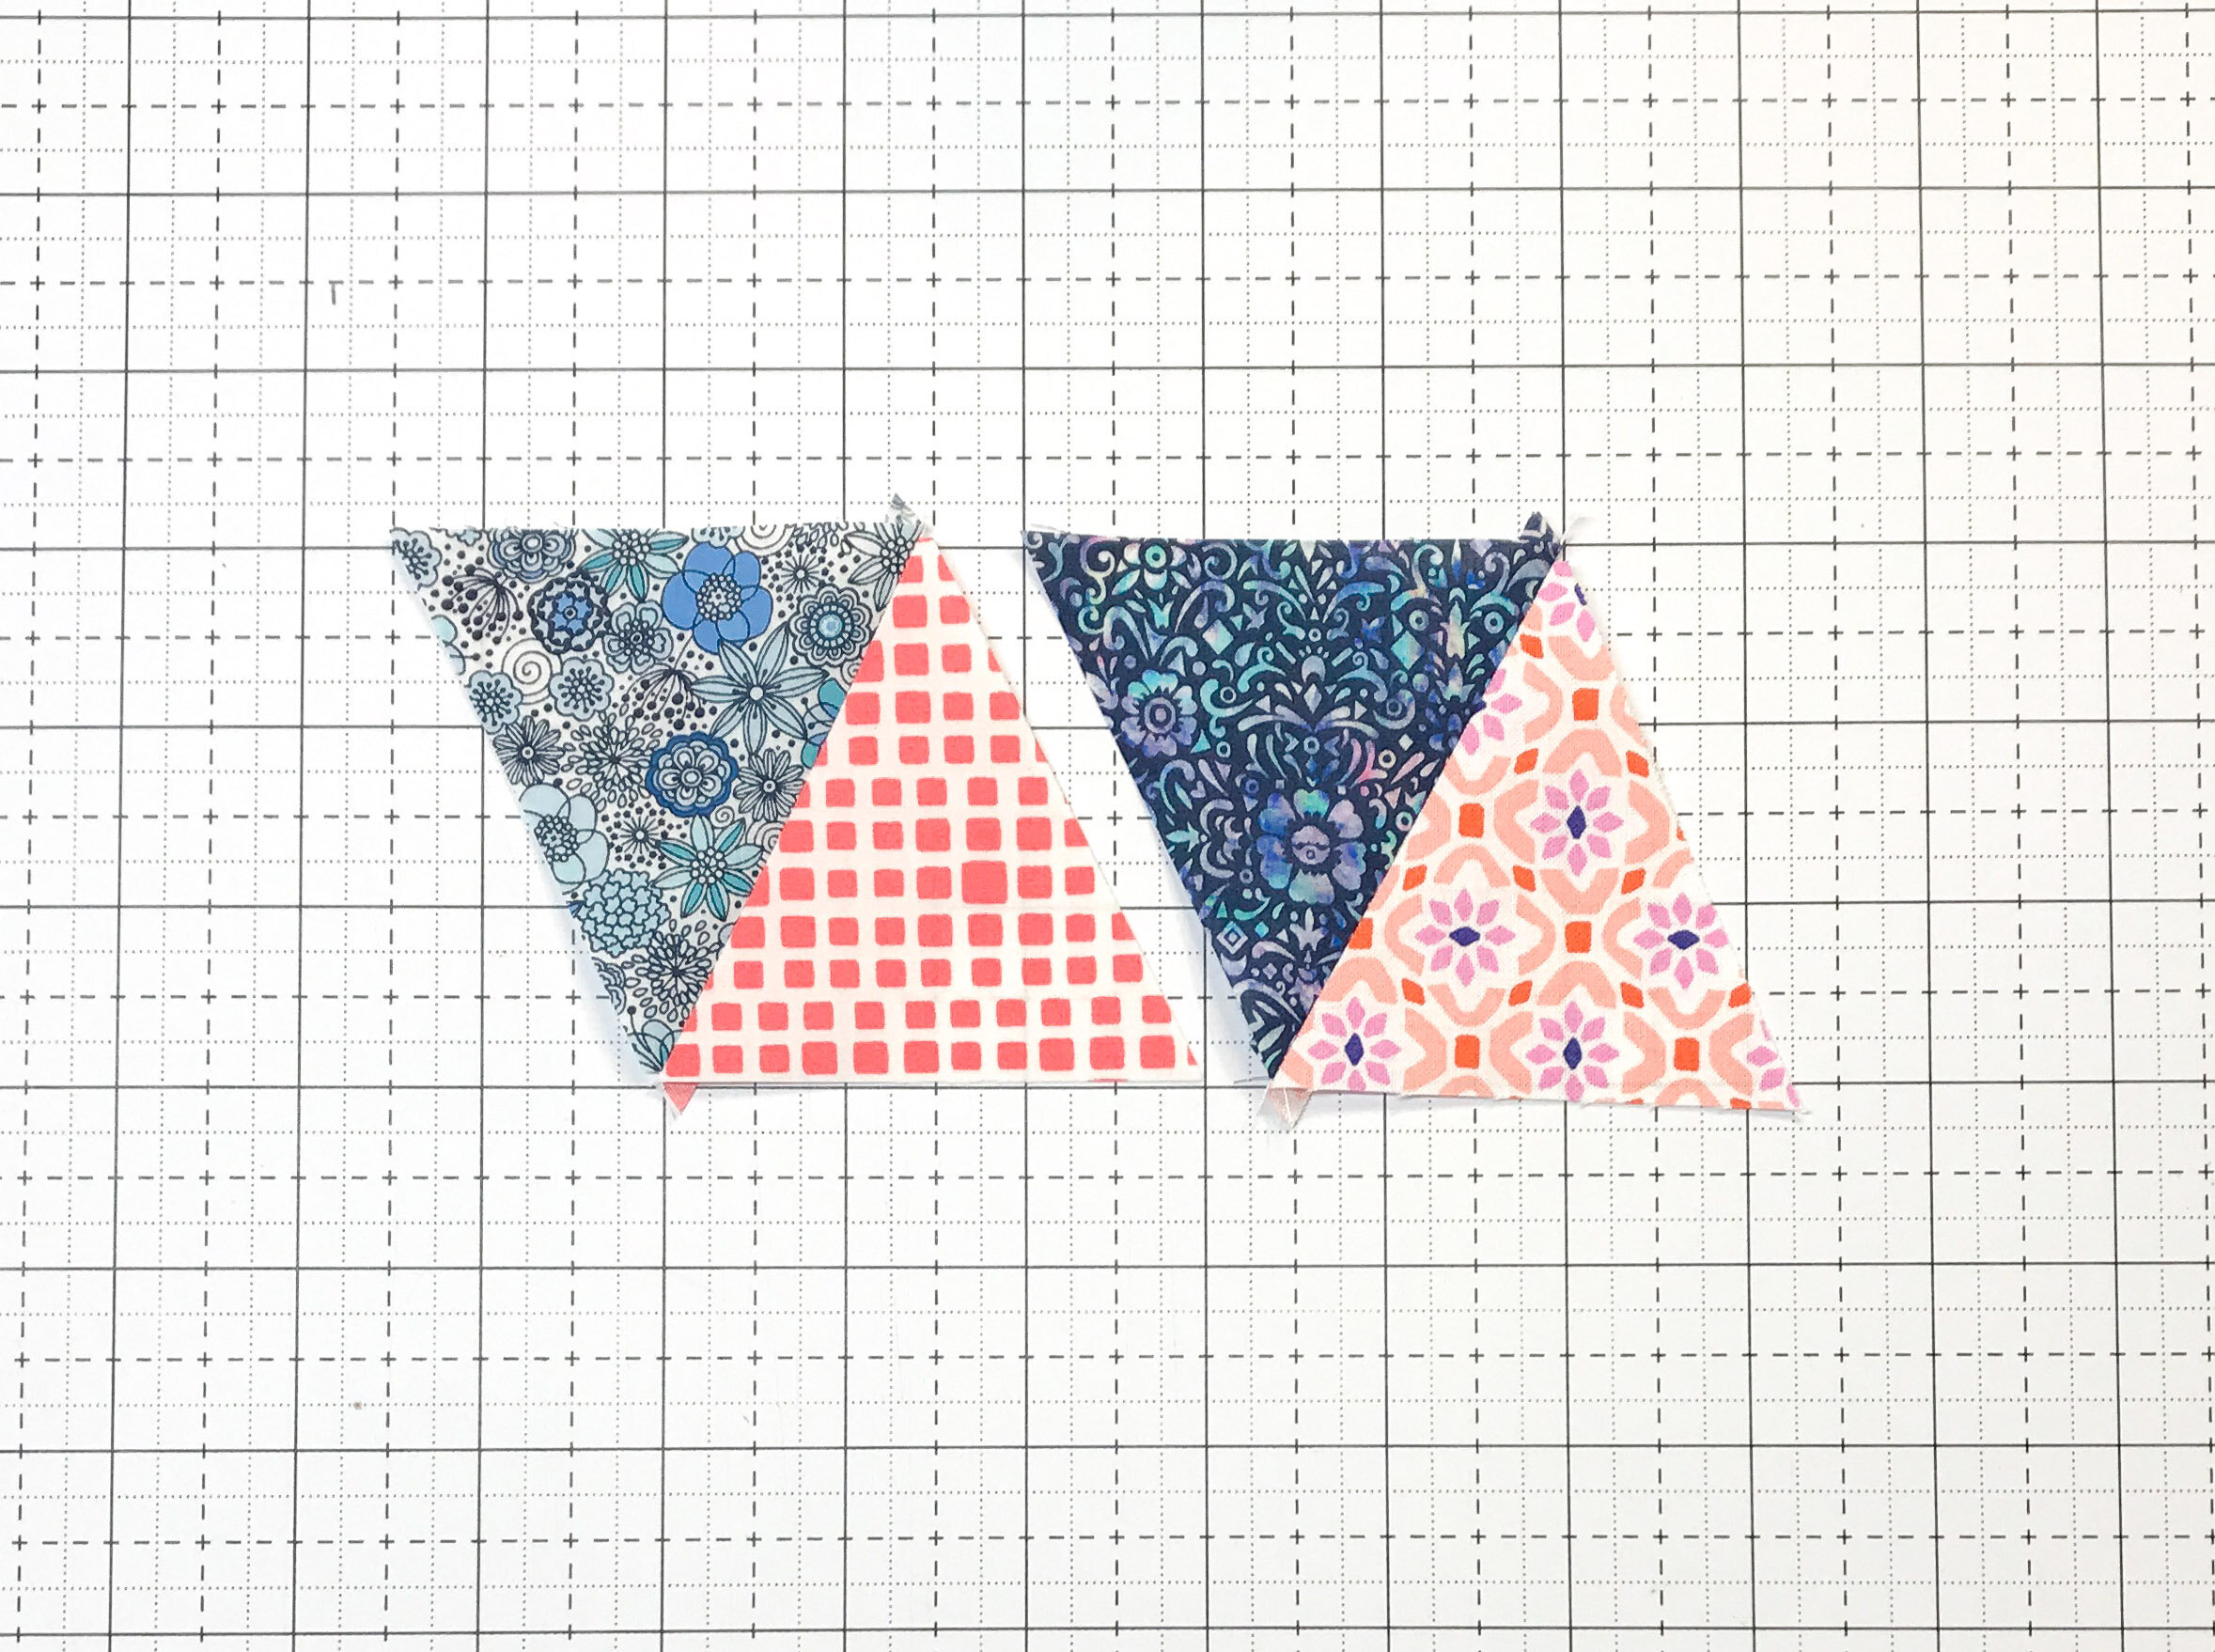
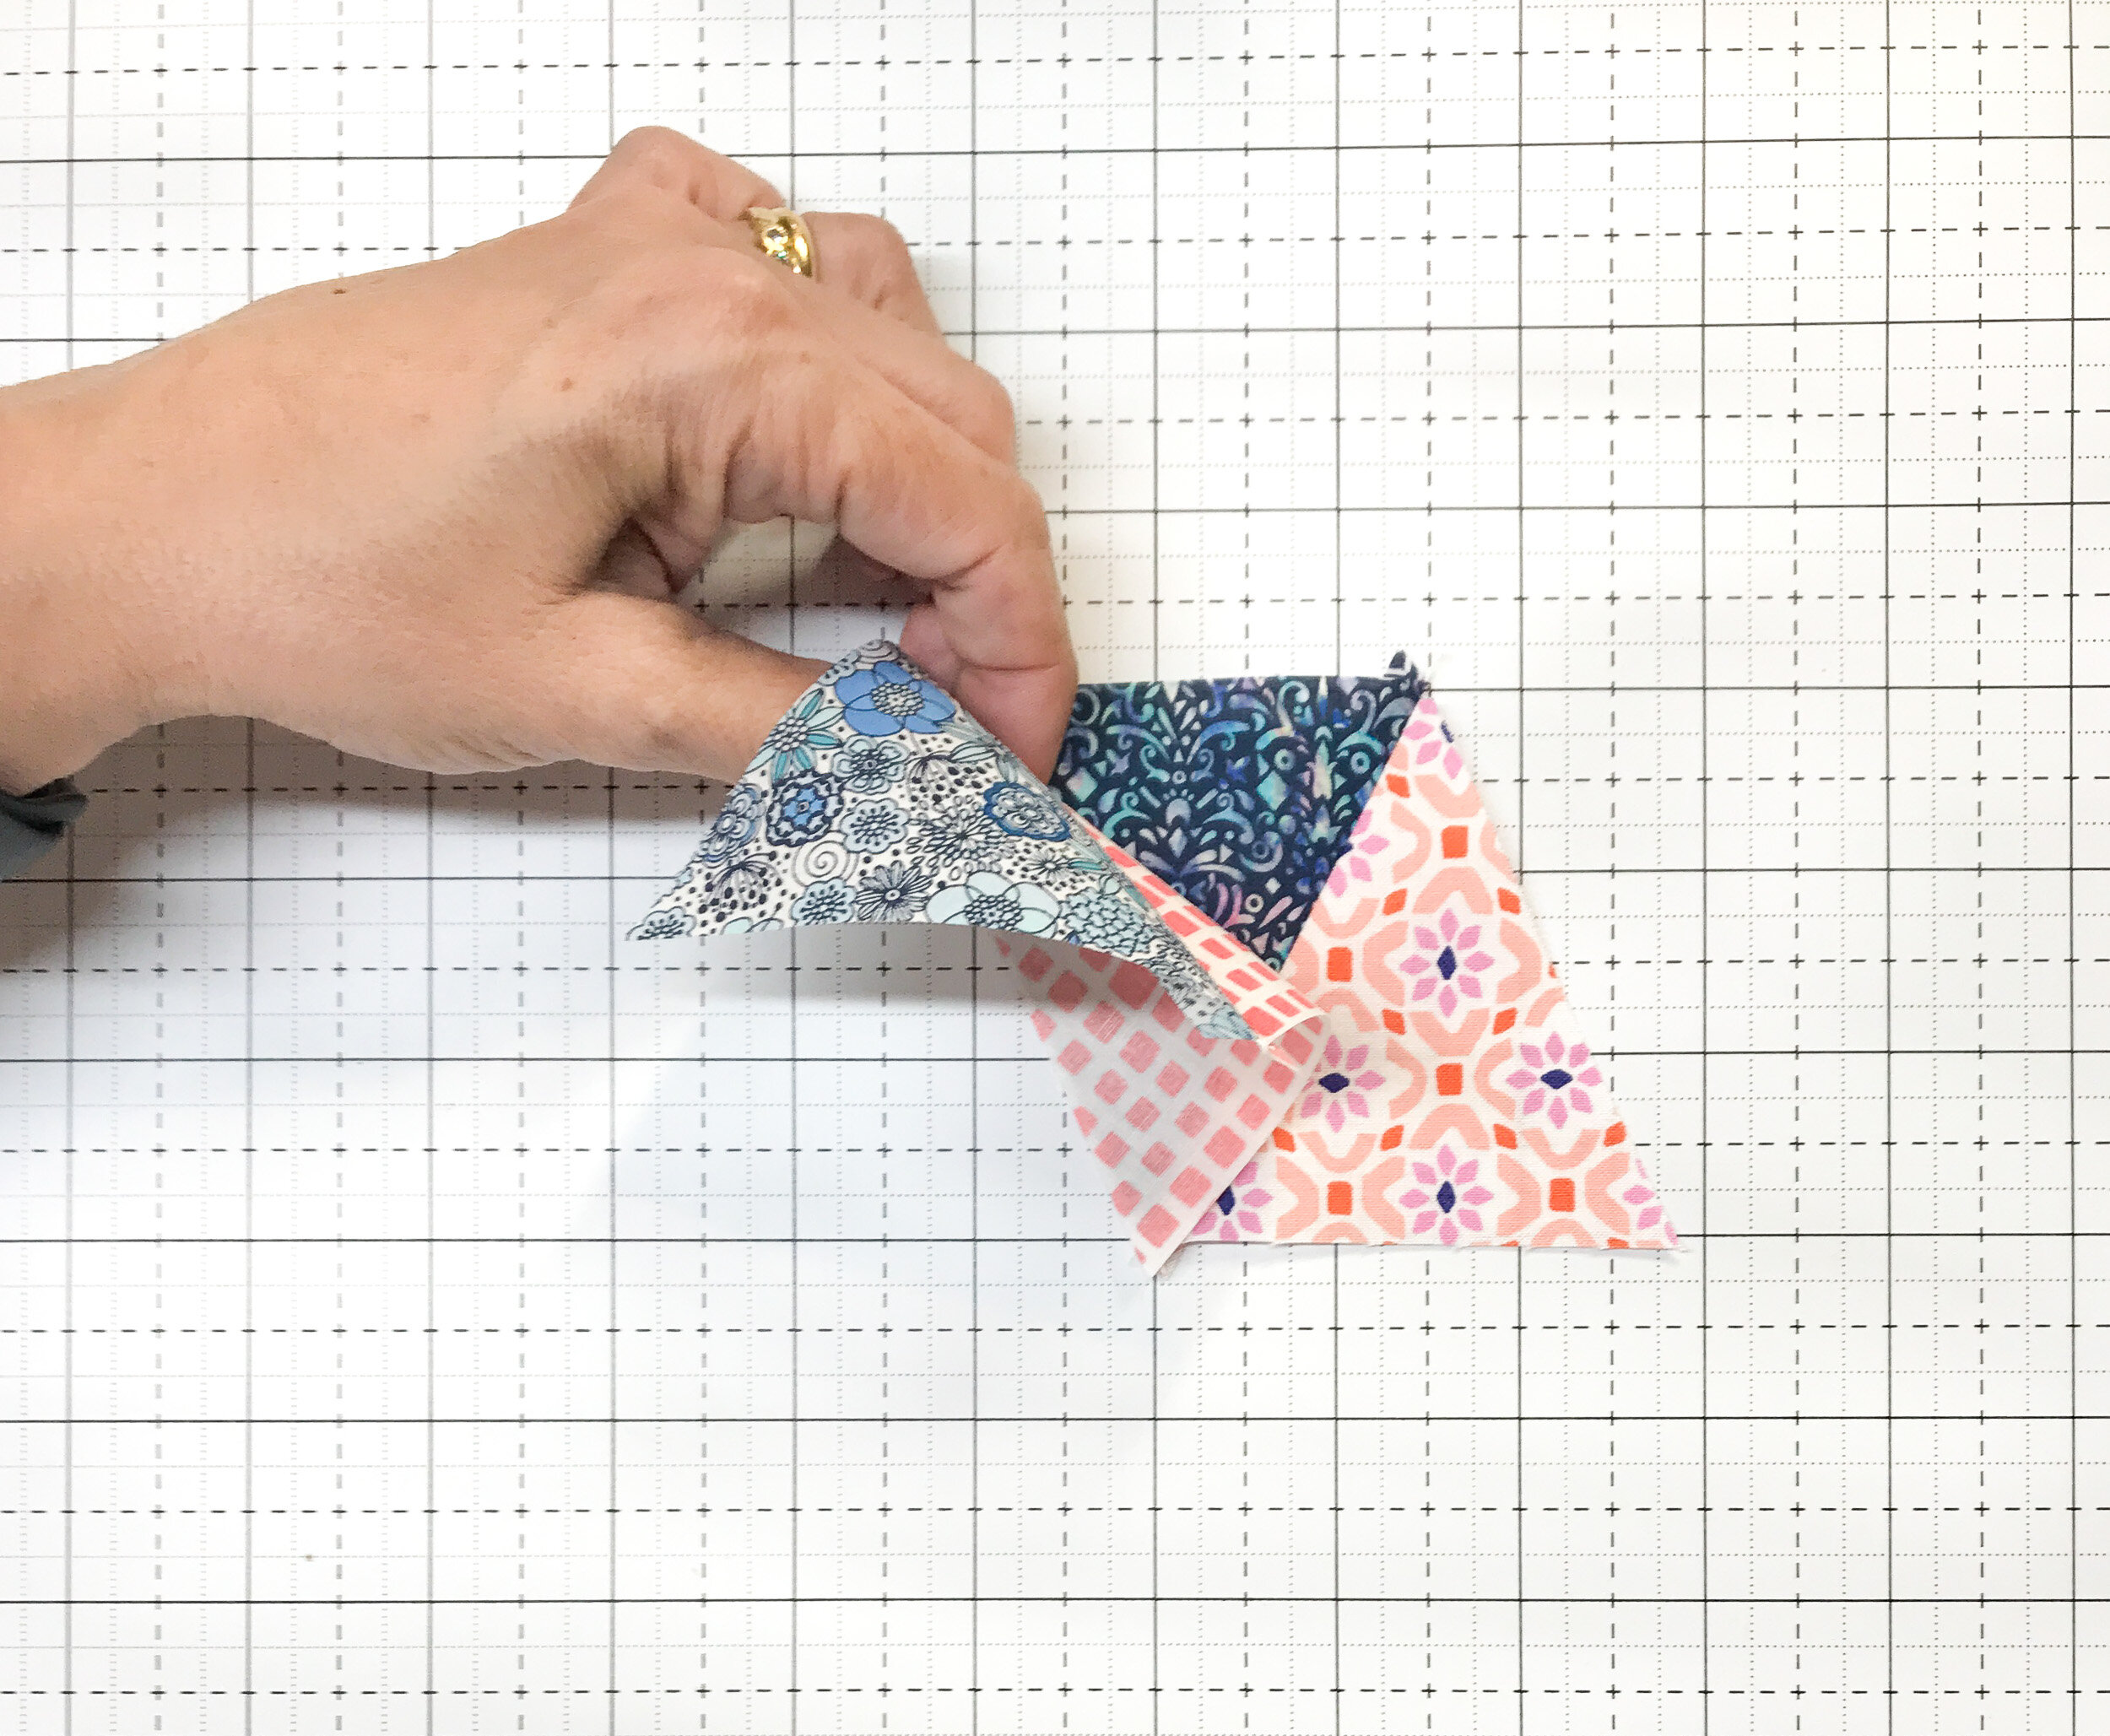
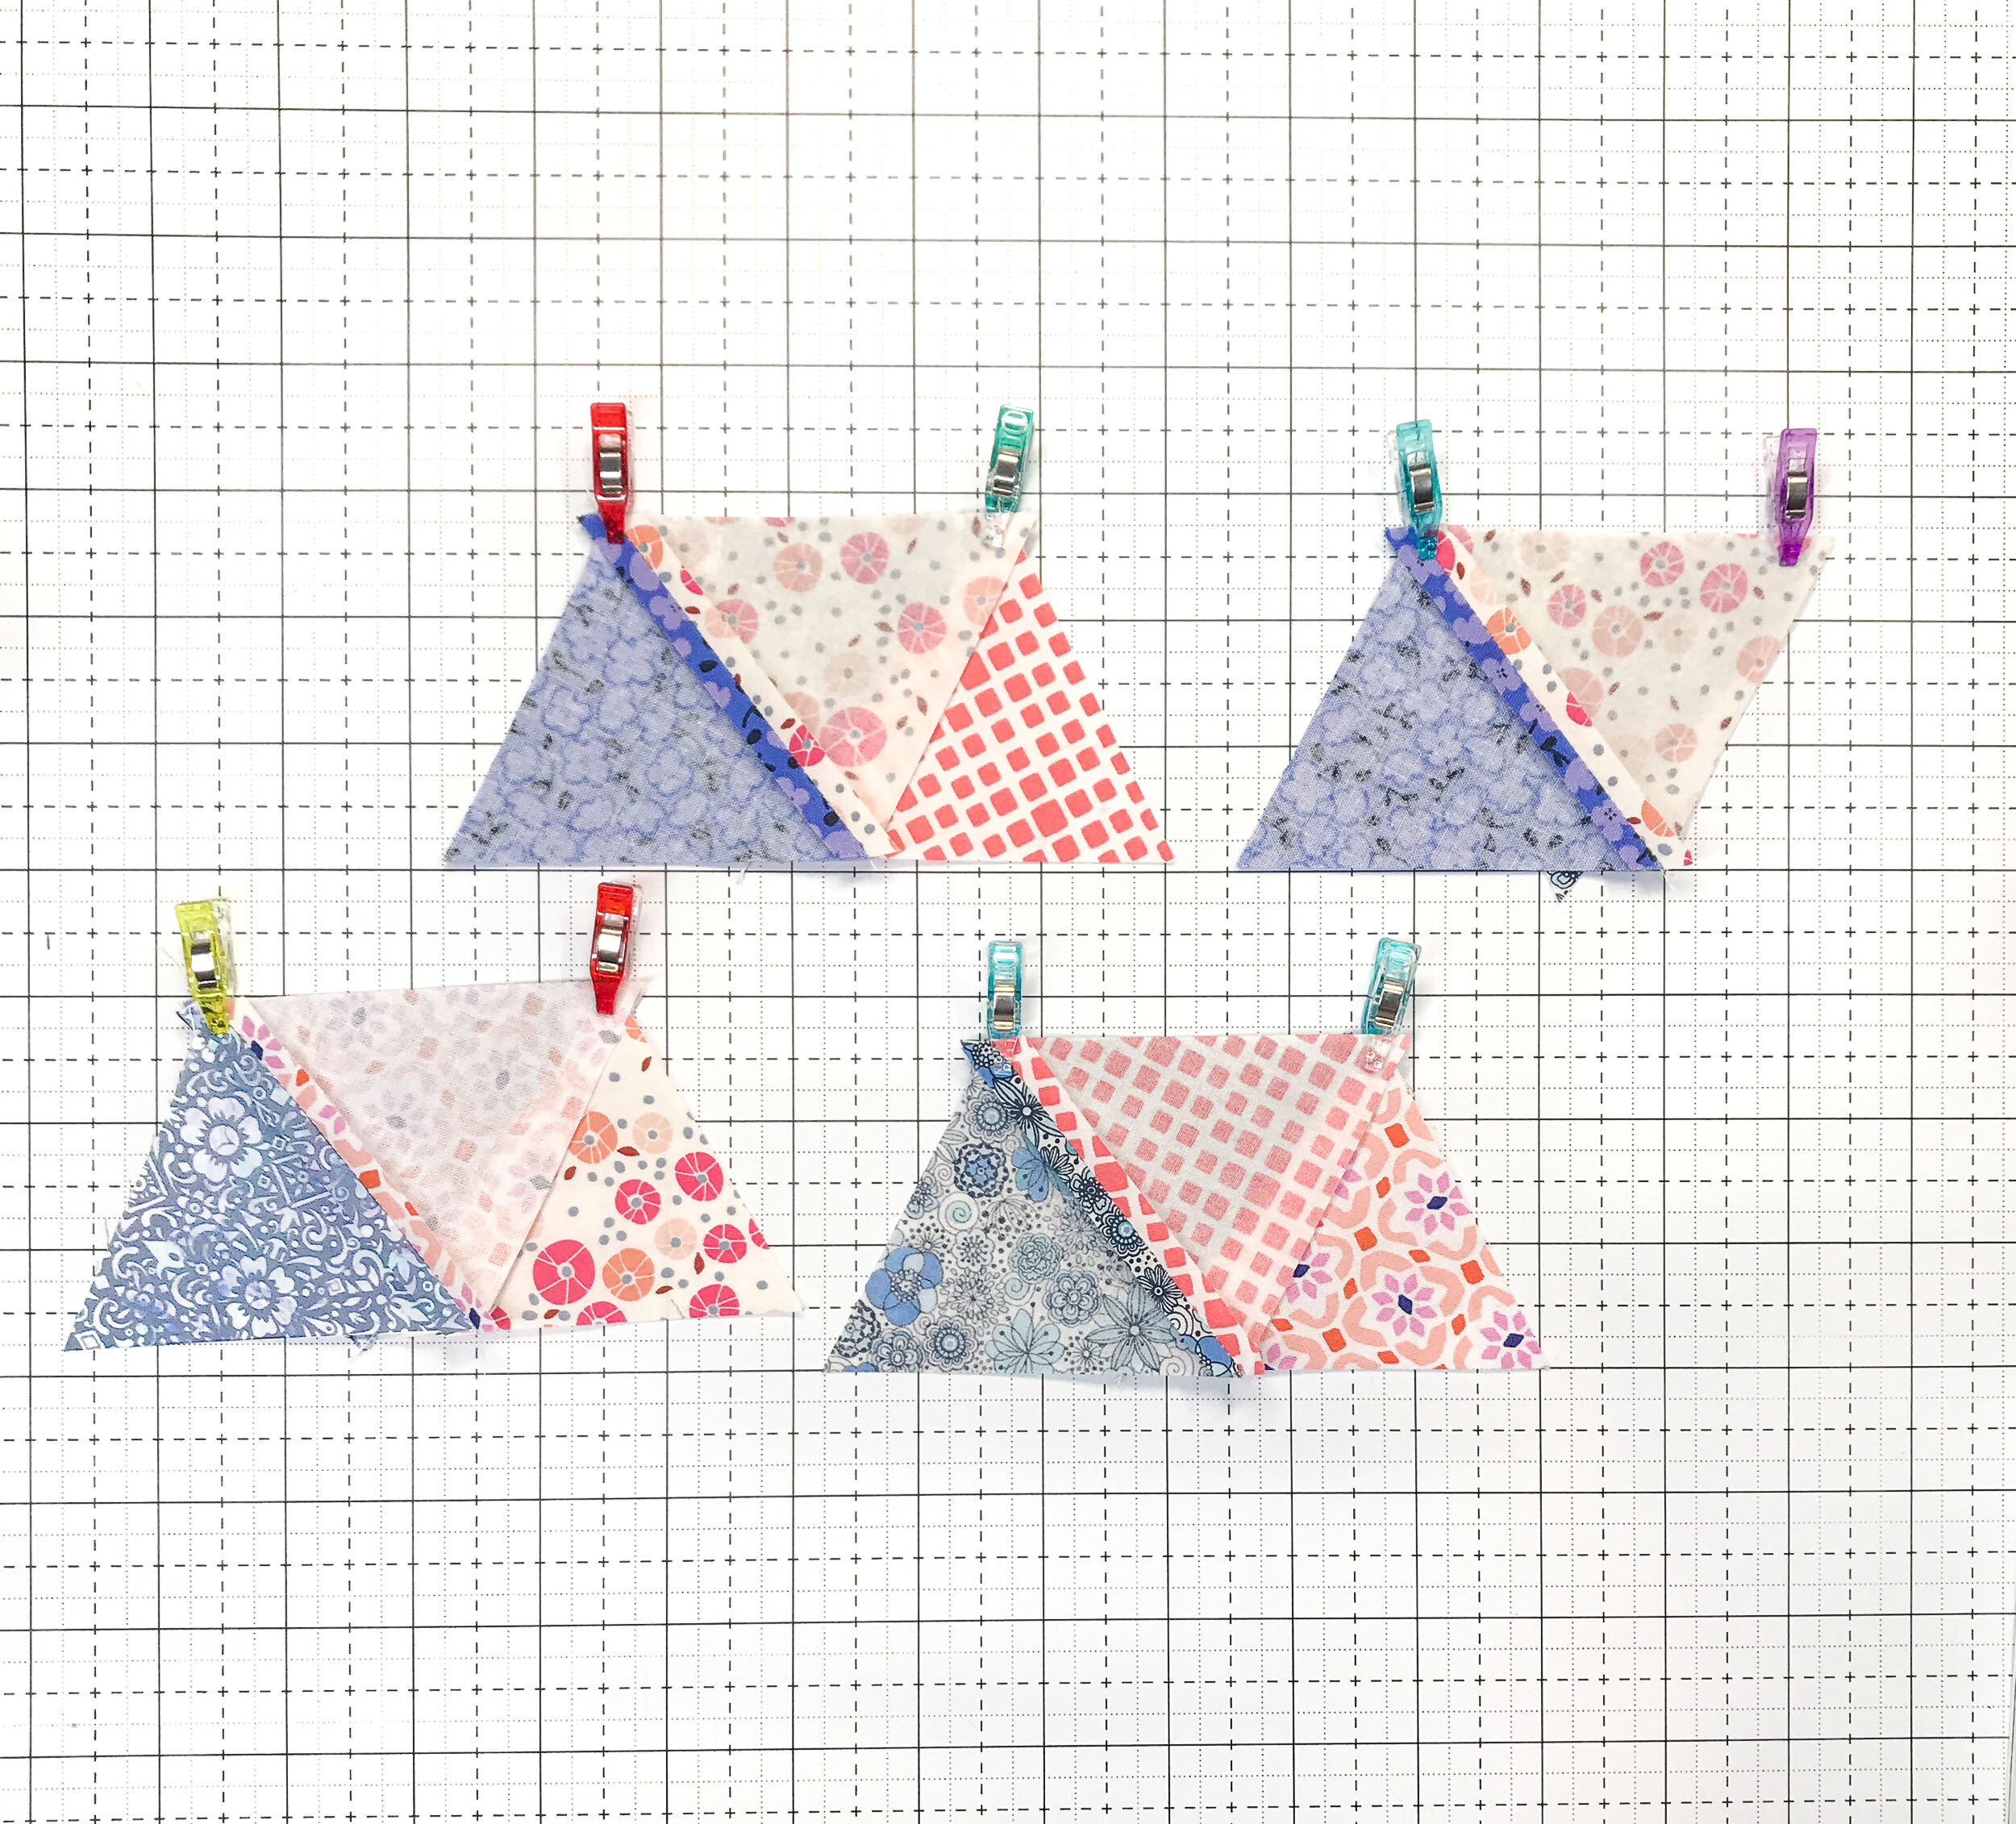
After cutting all your triangles, you start sewing them in pairs and align them like this:
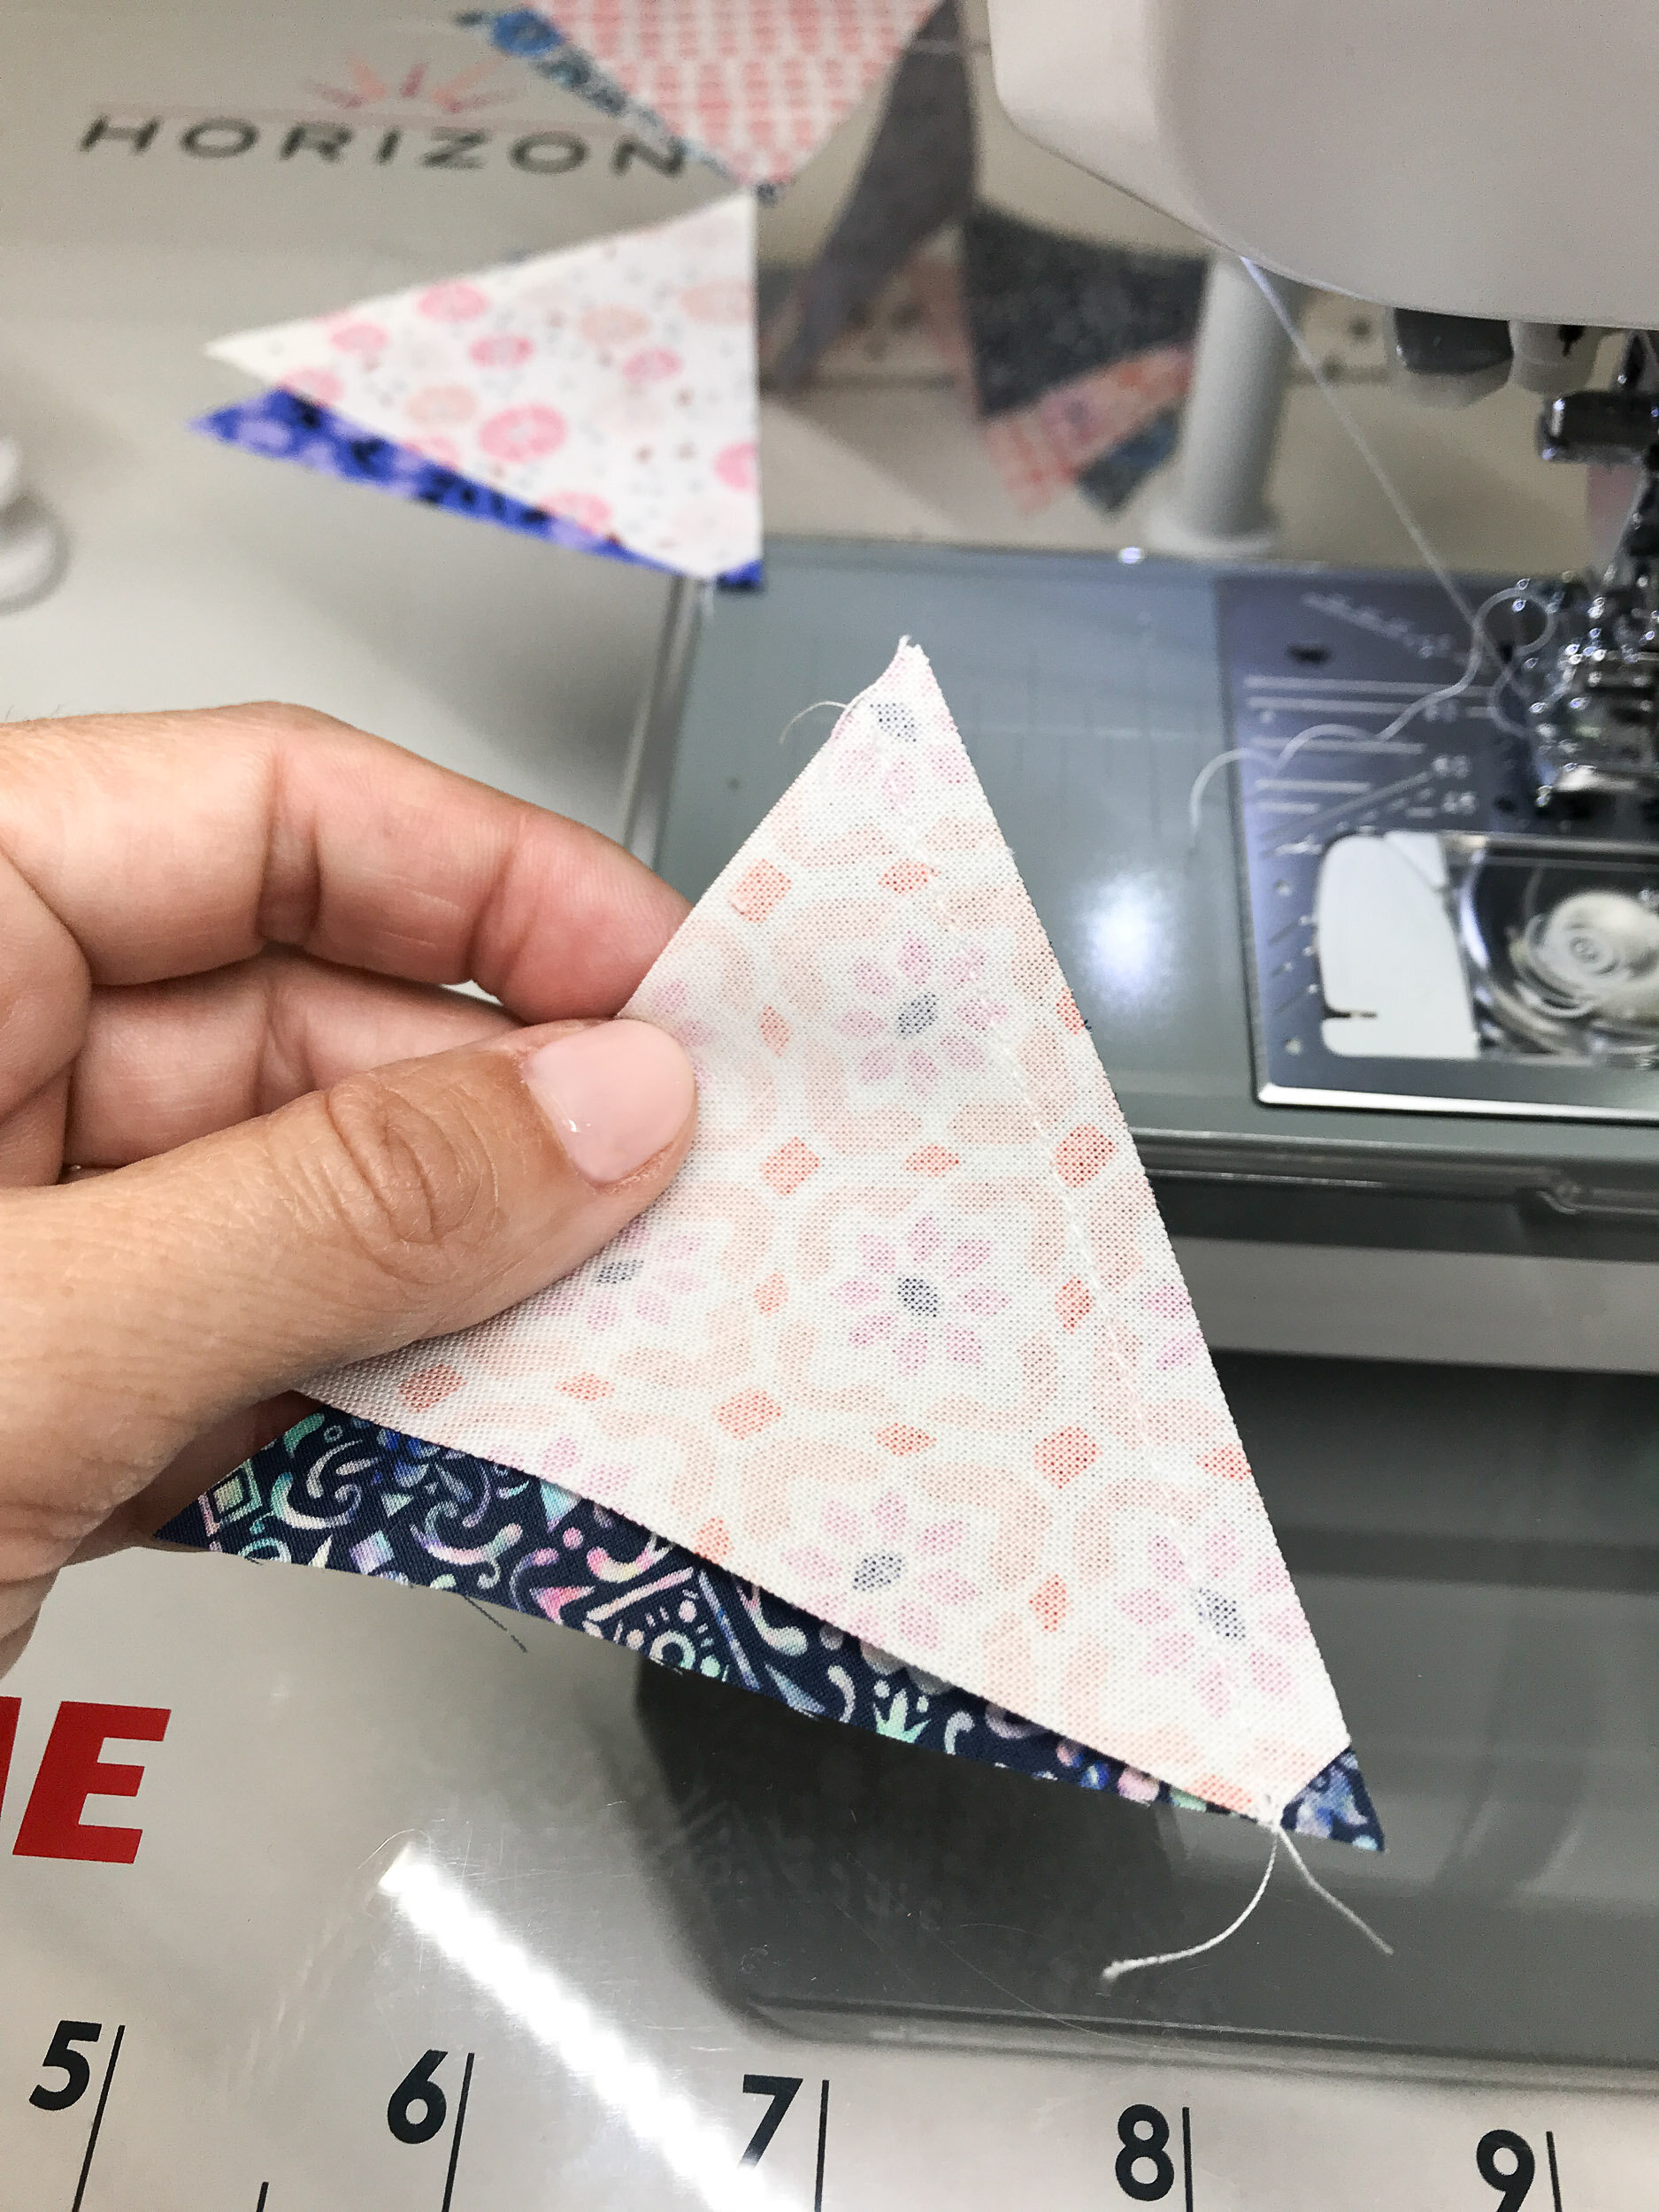
I always chain-piece, it saves a lot of time.

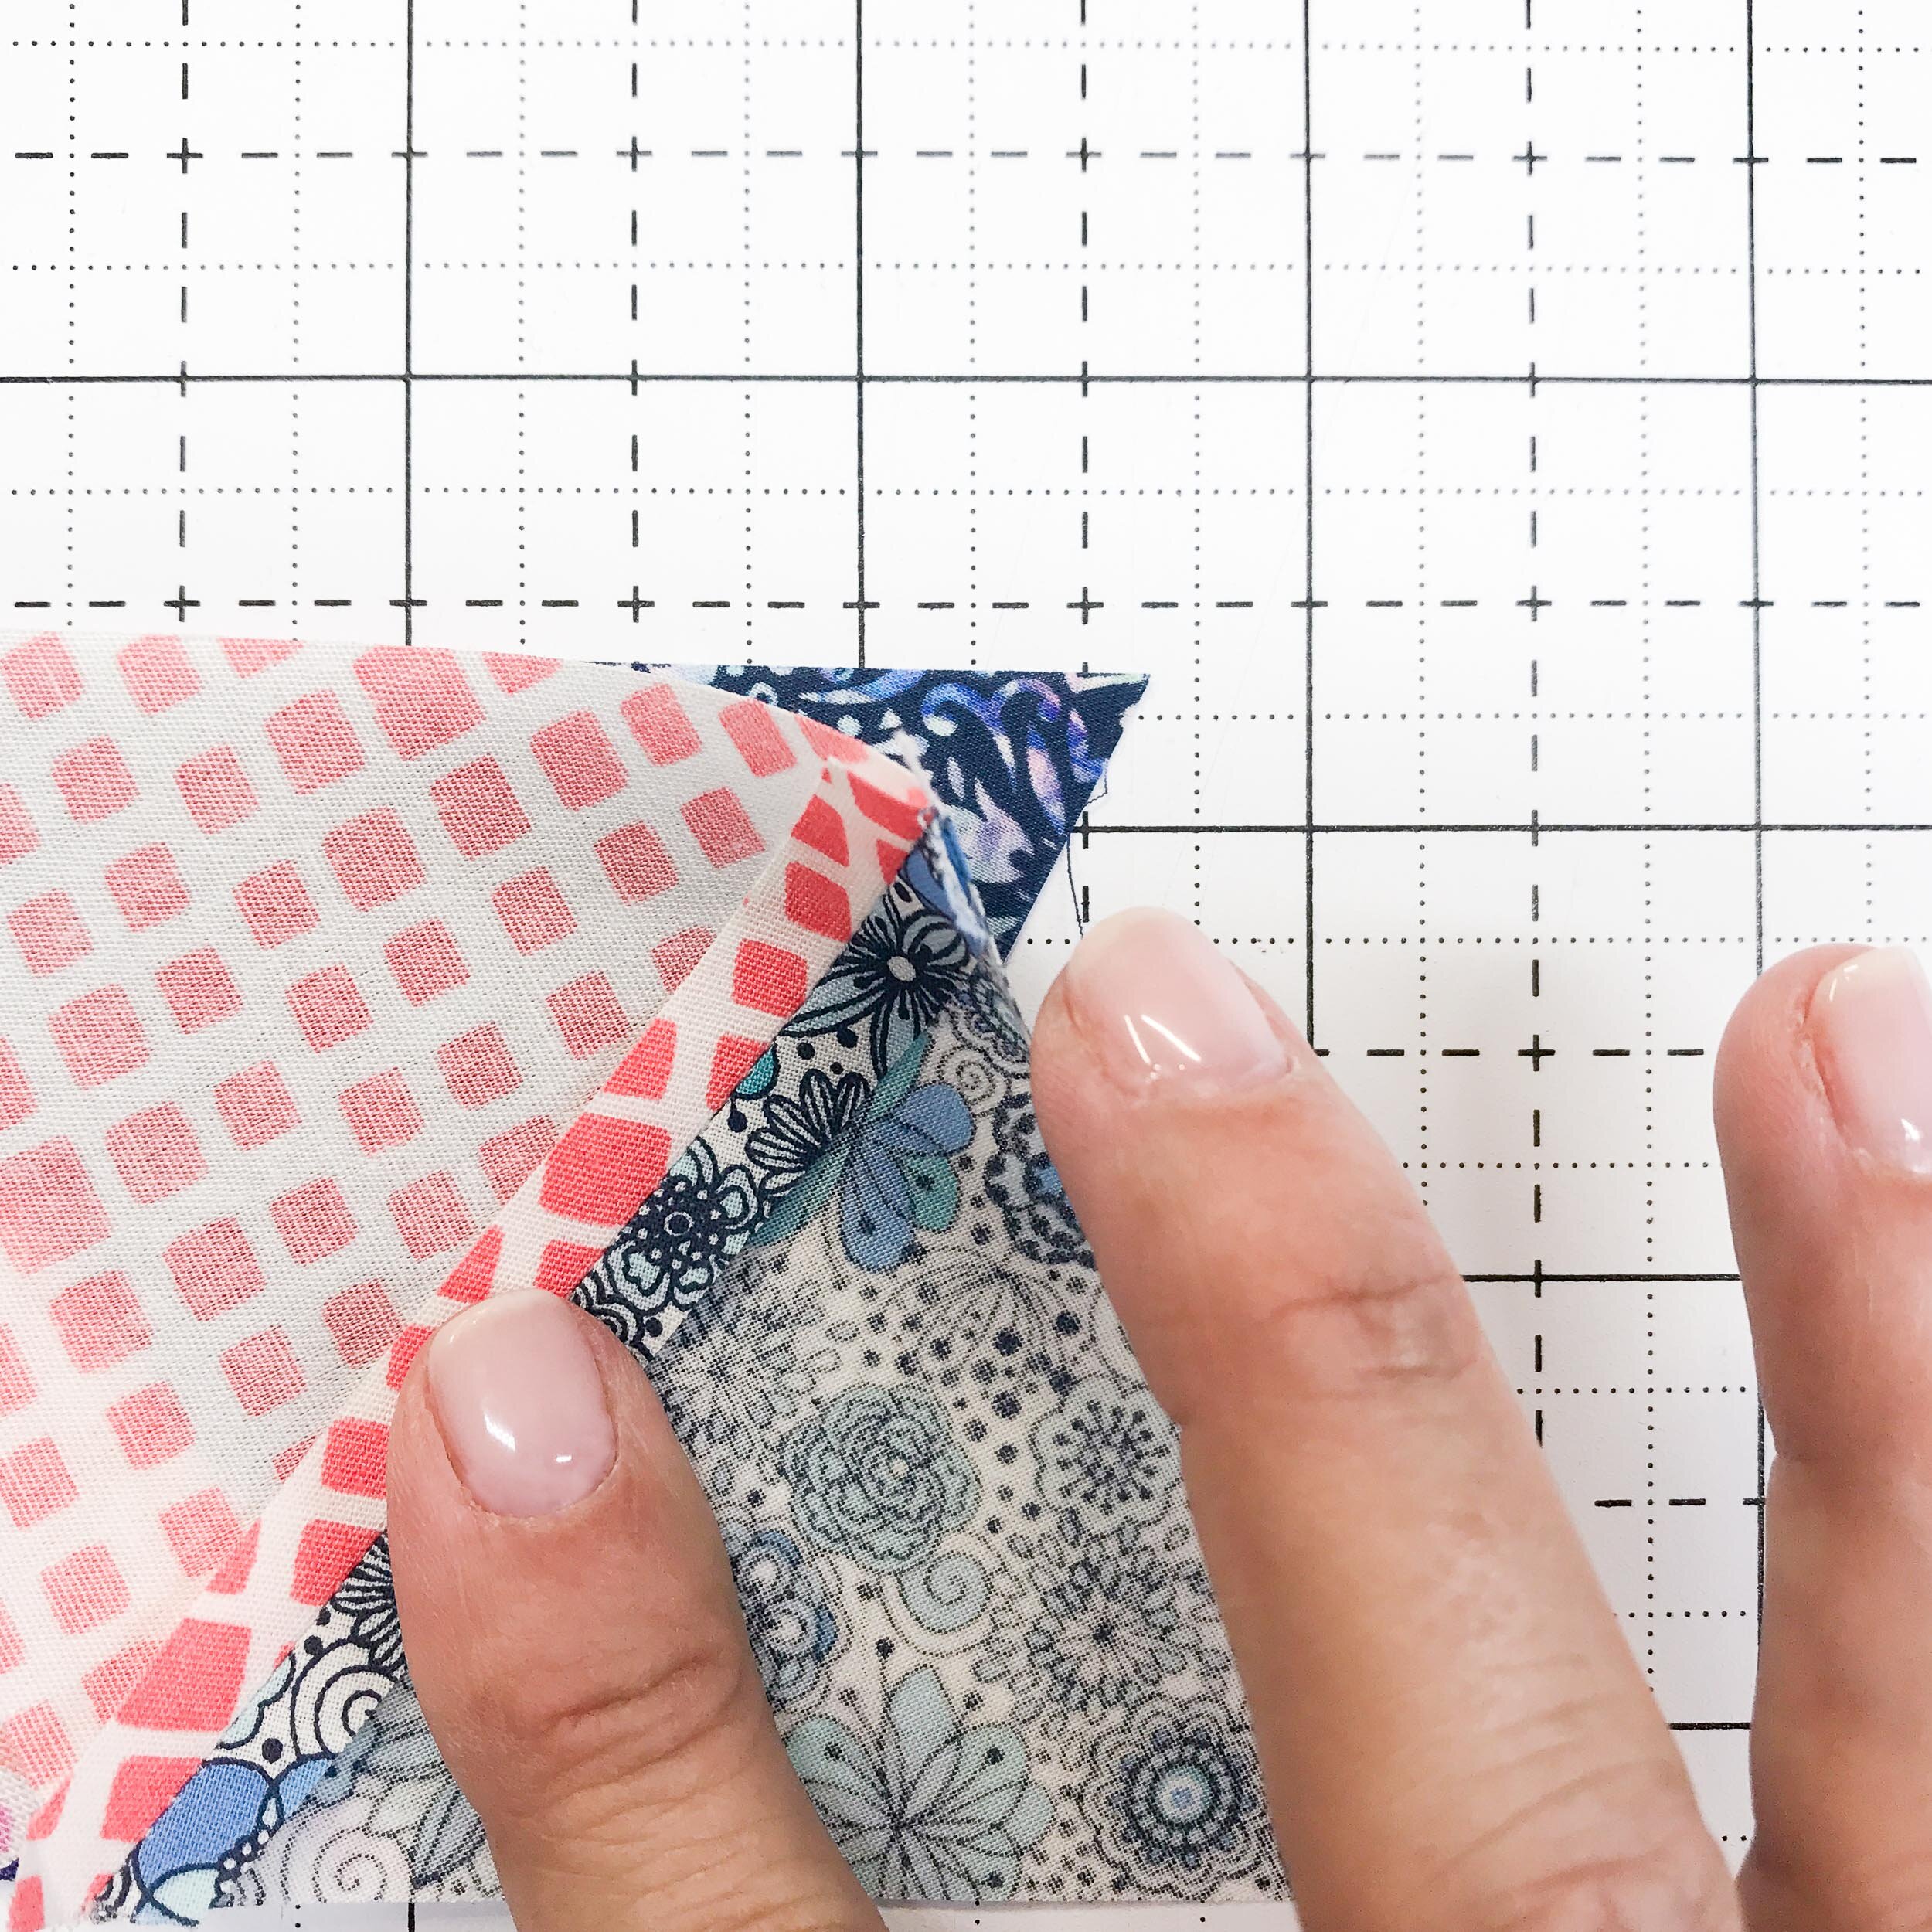
Note how you get the ¼” tip on both sides.
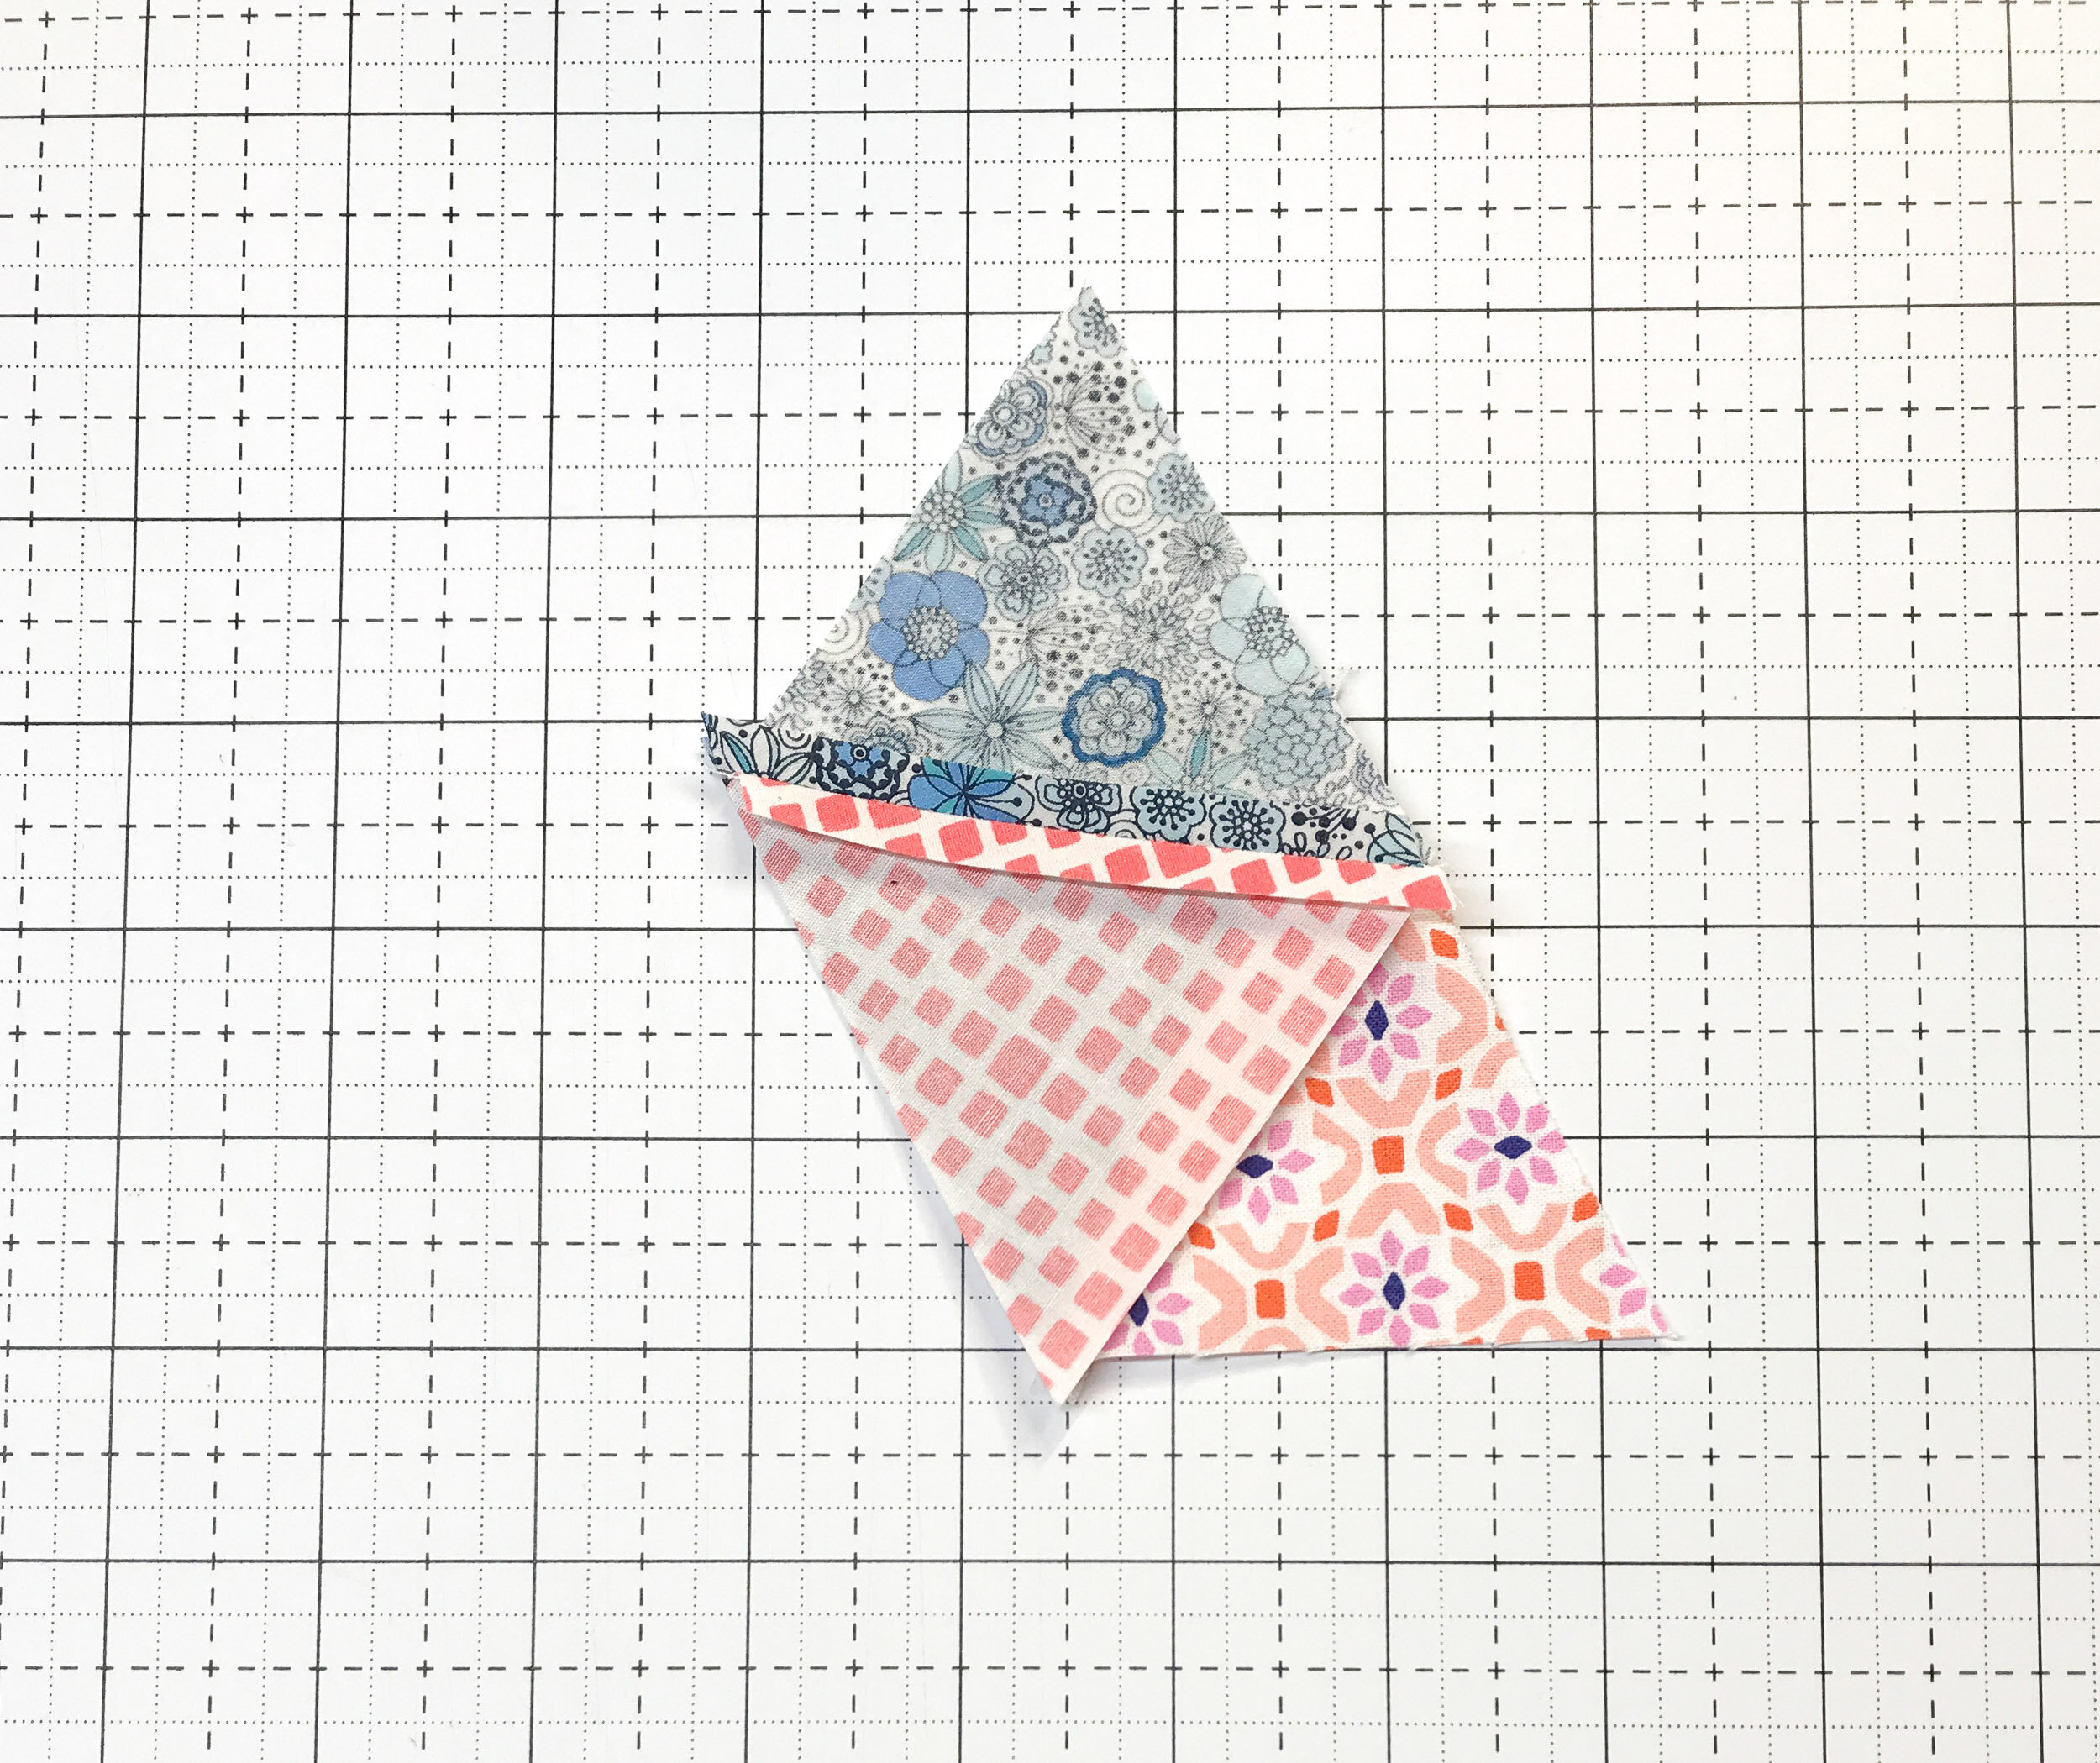
Press your seams open.
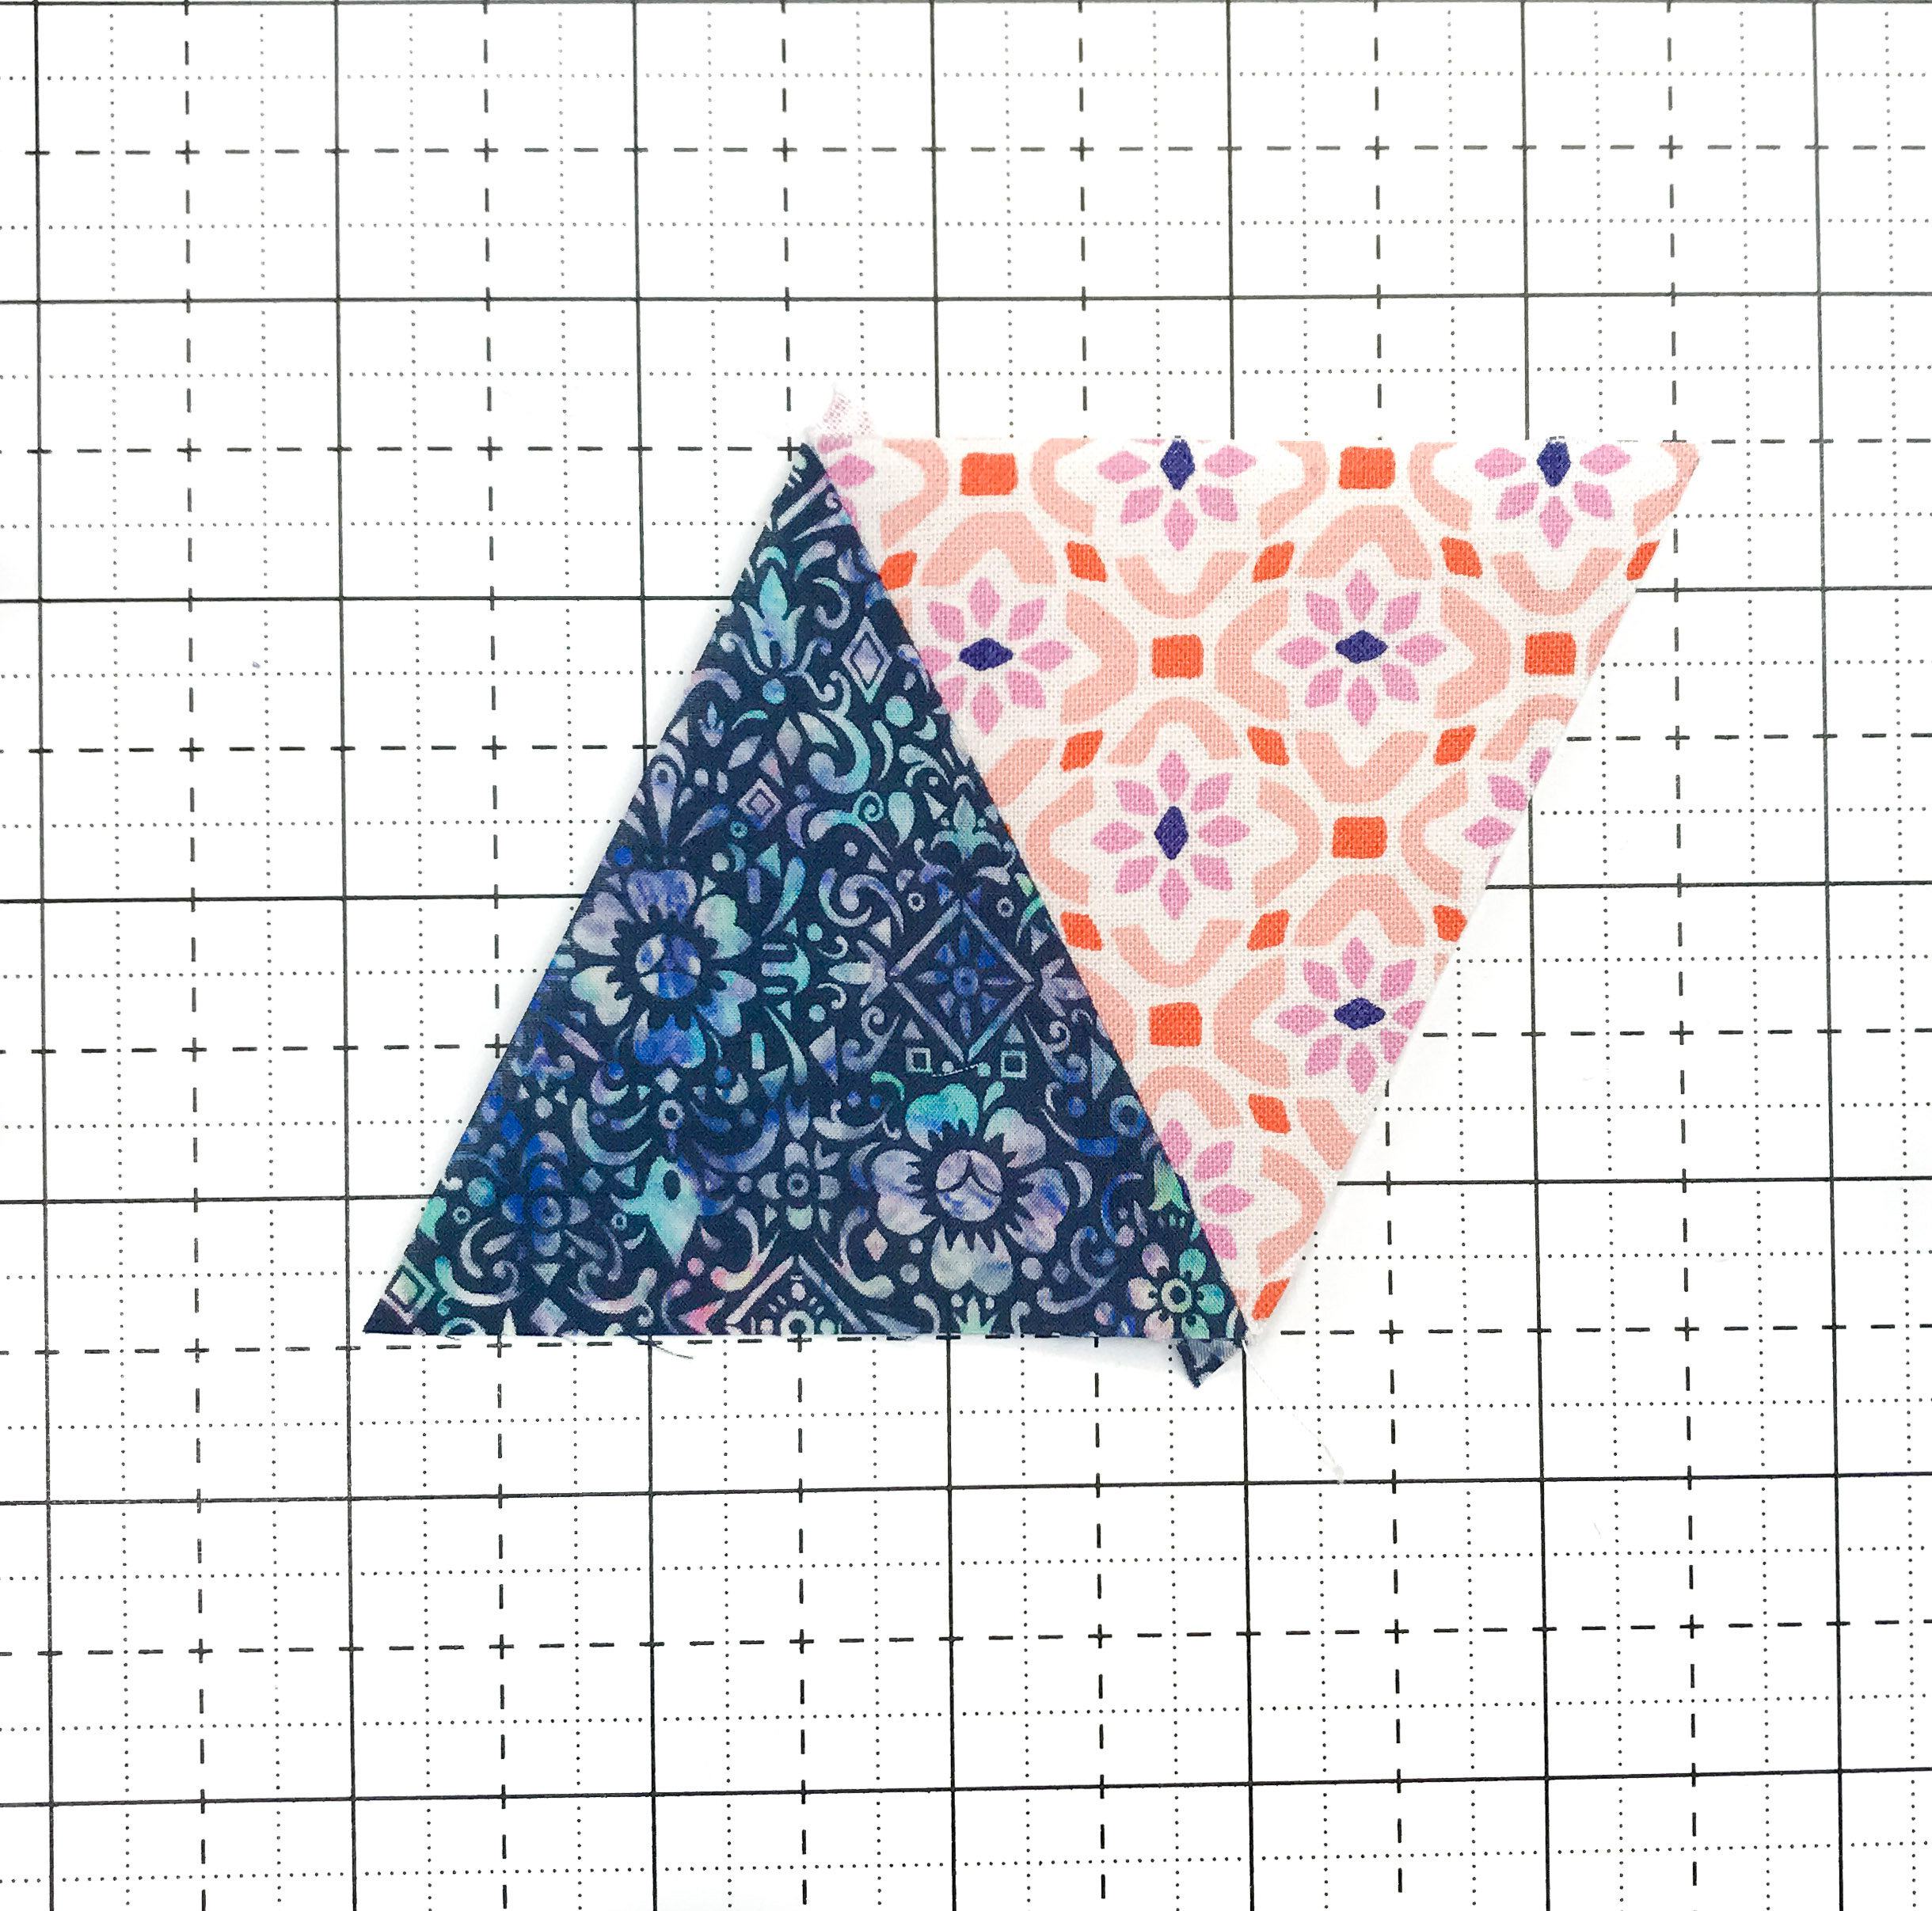
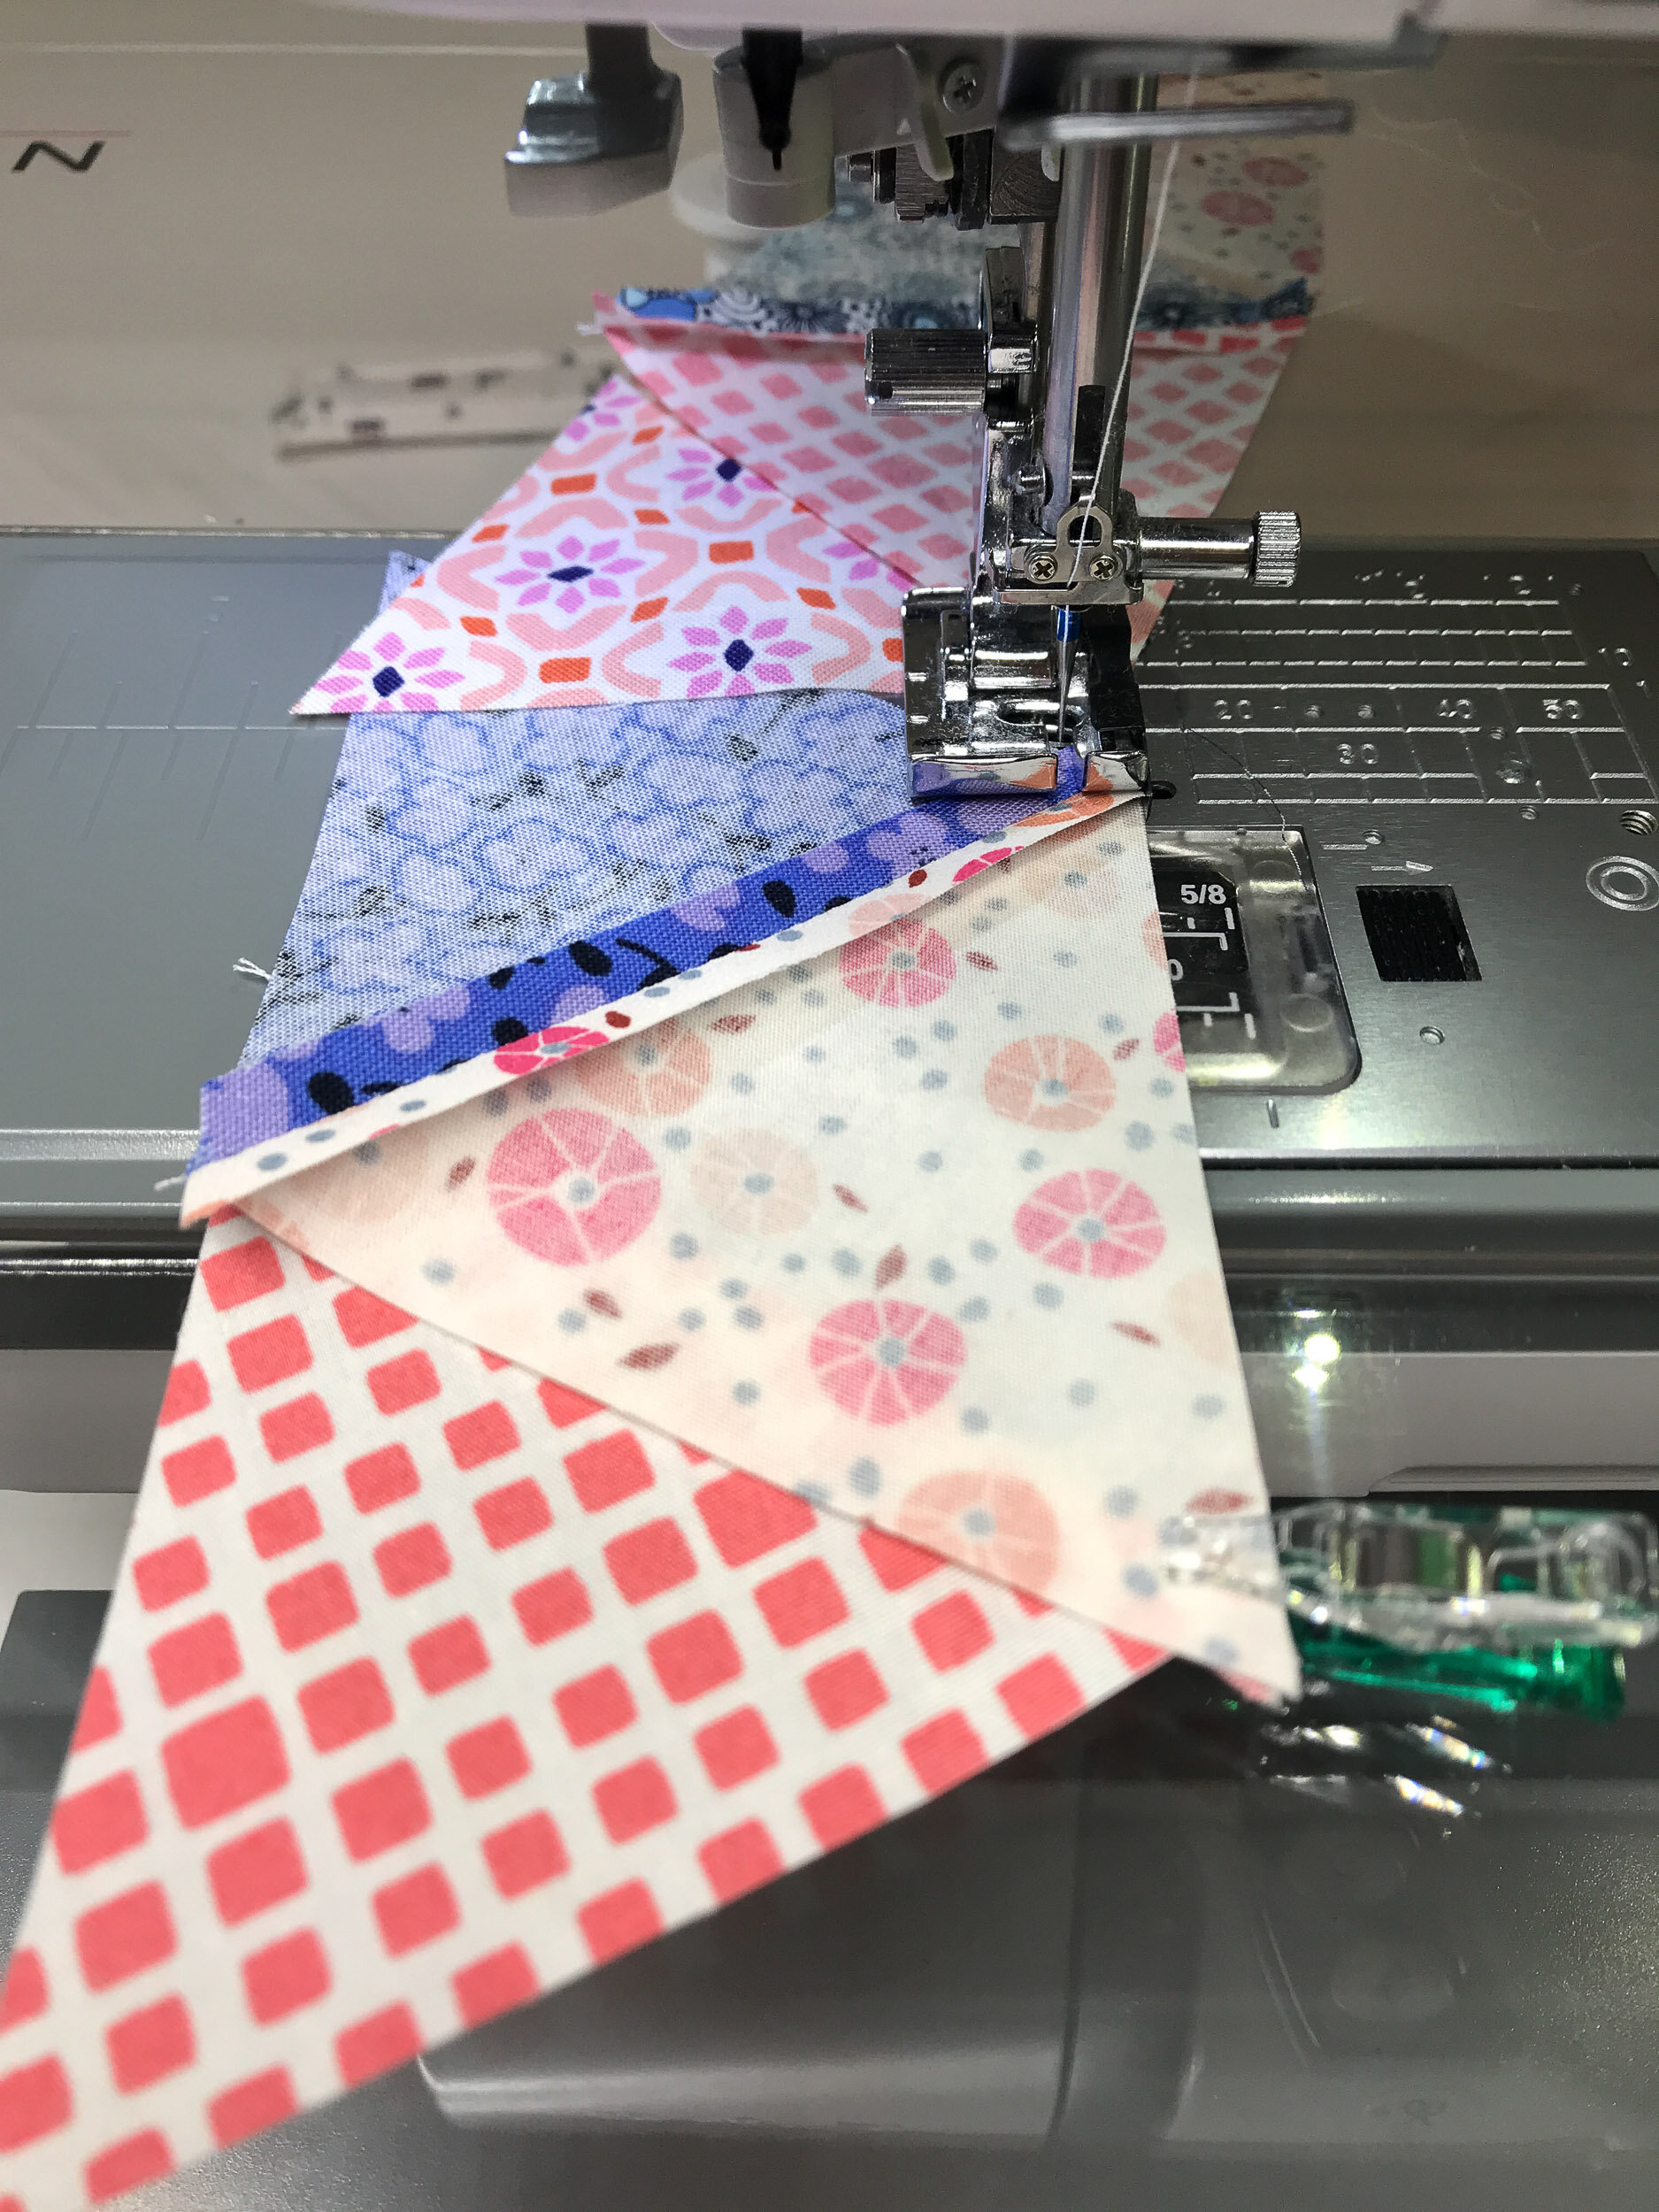
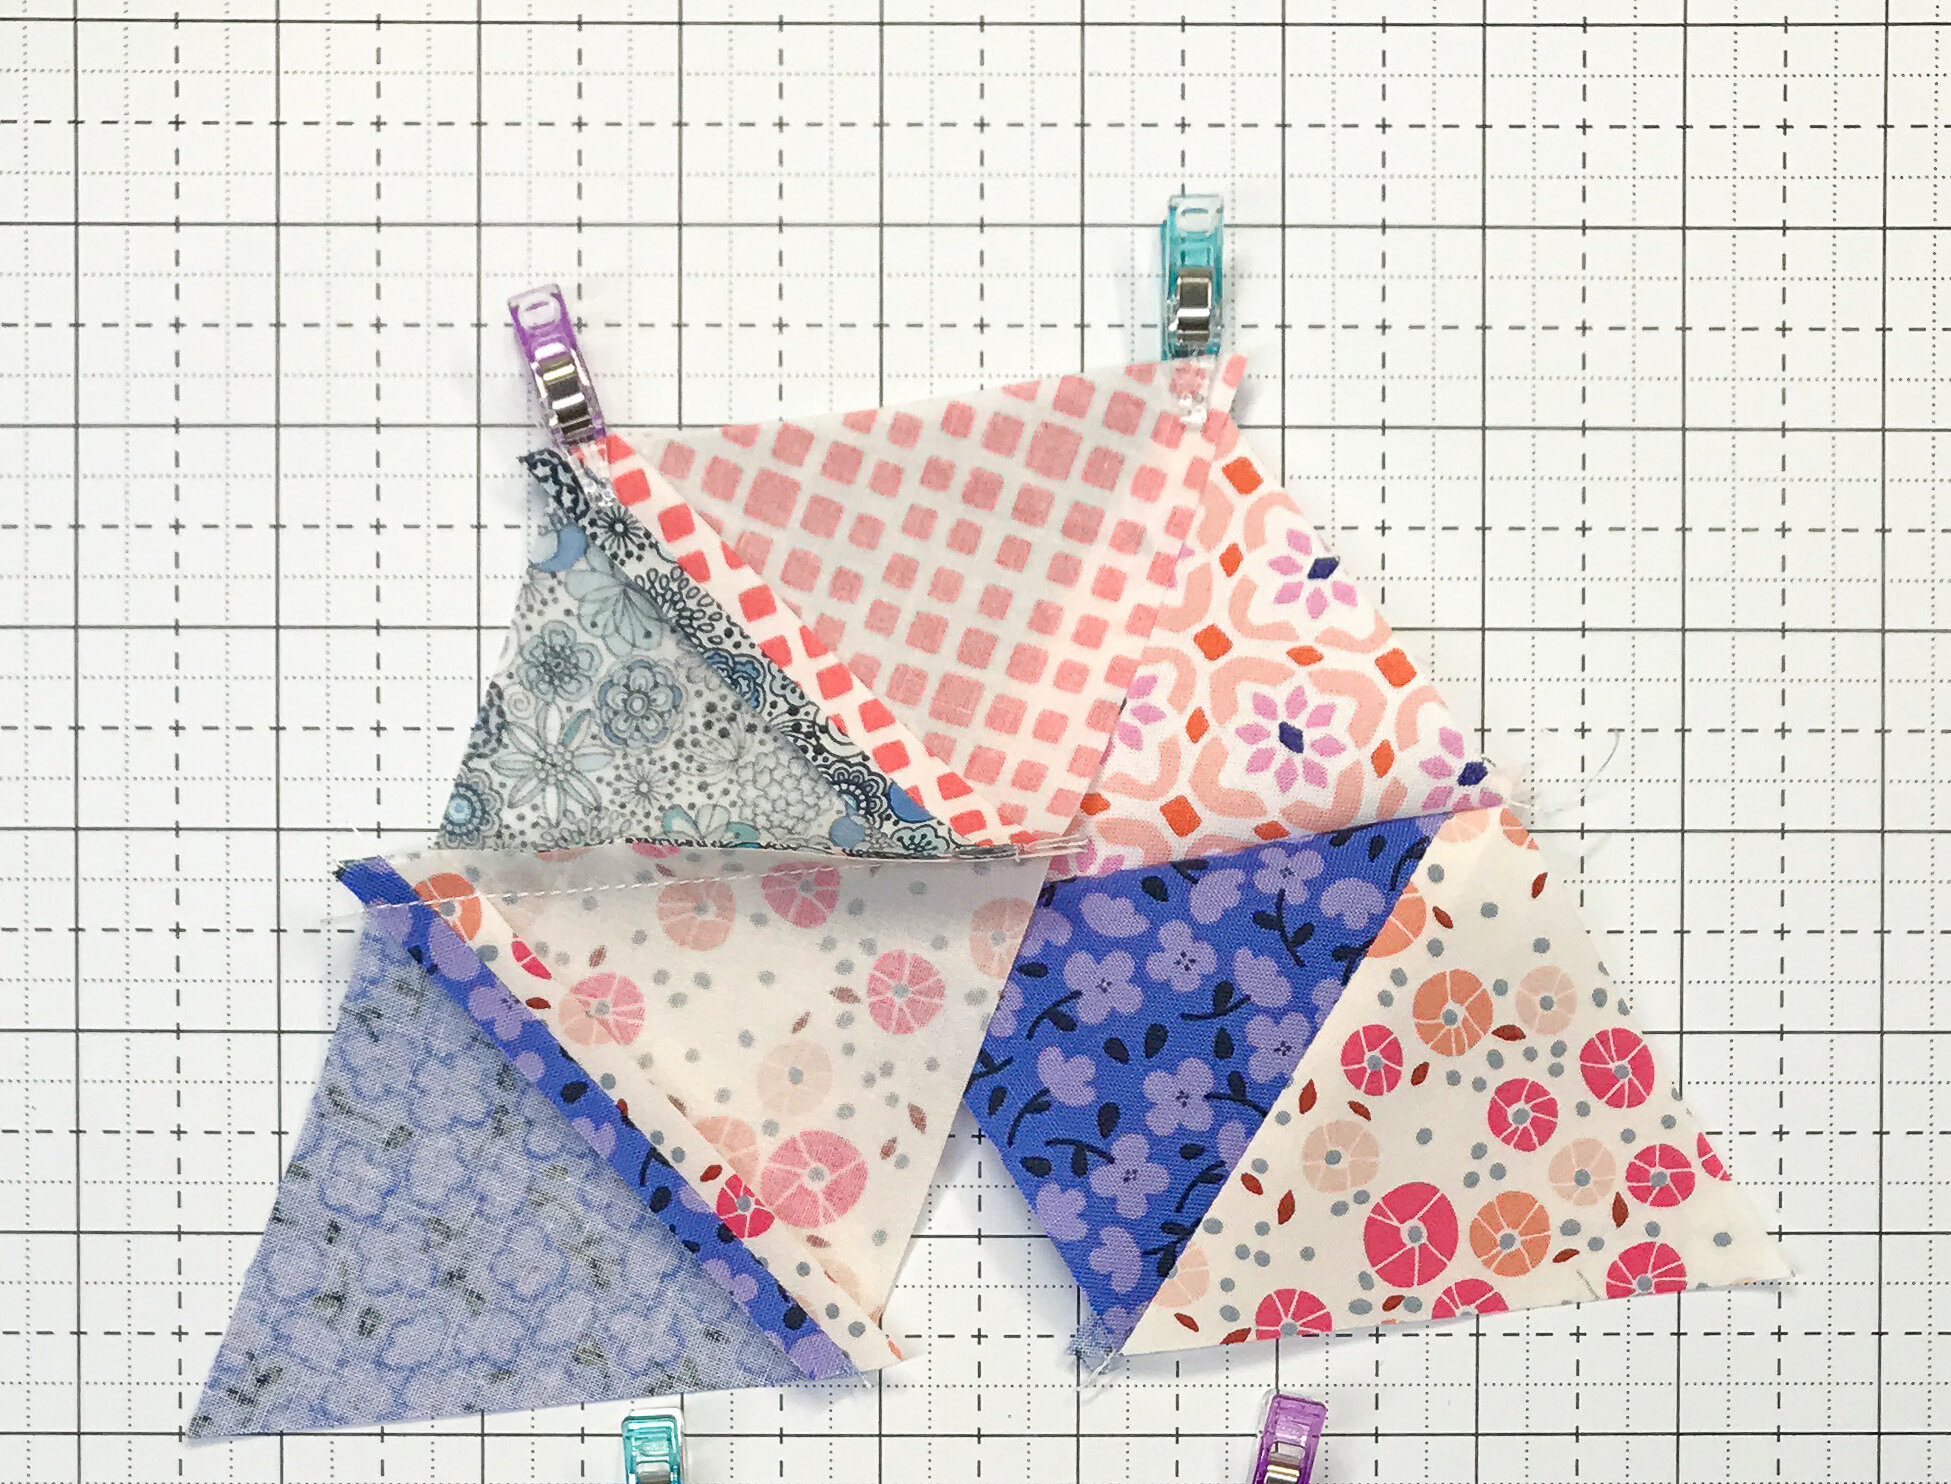
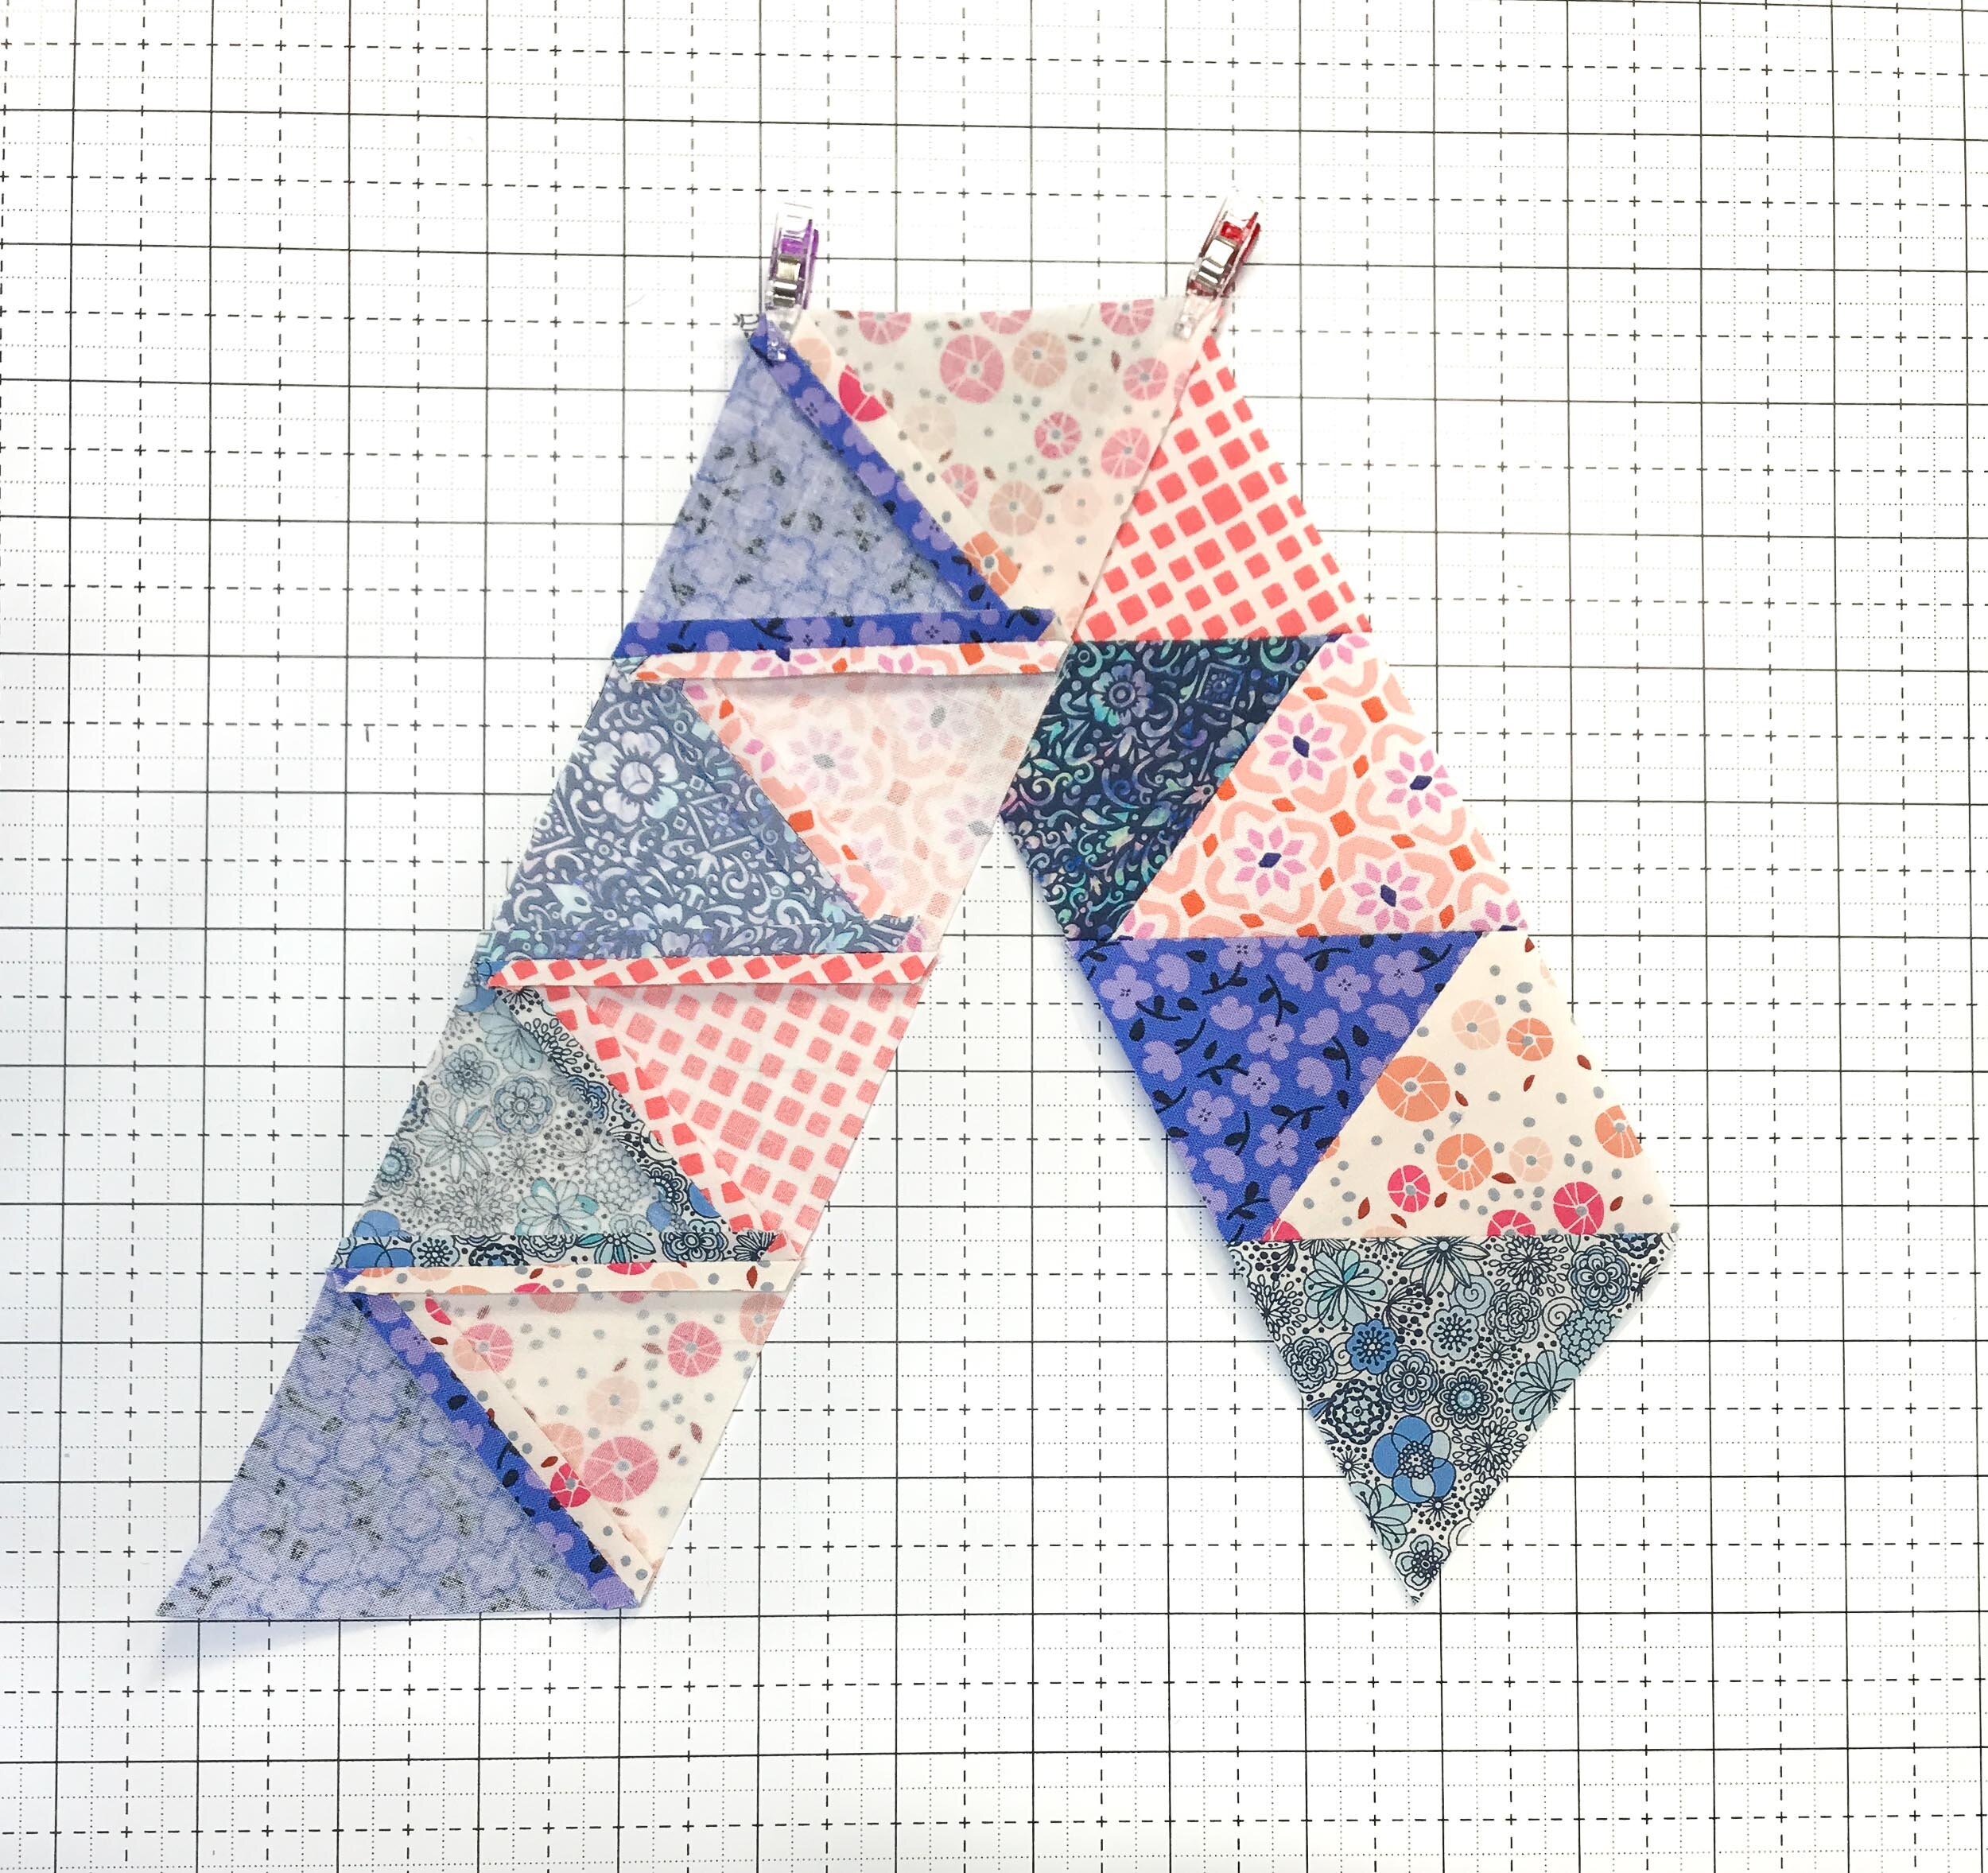
Now you’re going to sew the pairs into groups of four:

I rotate them and use Clover Clips to keep my seams open and avoid any fabric shifting.
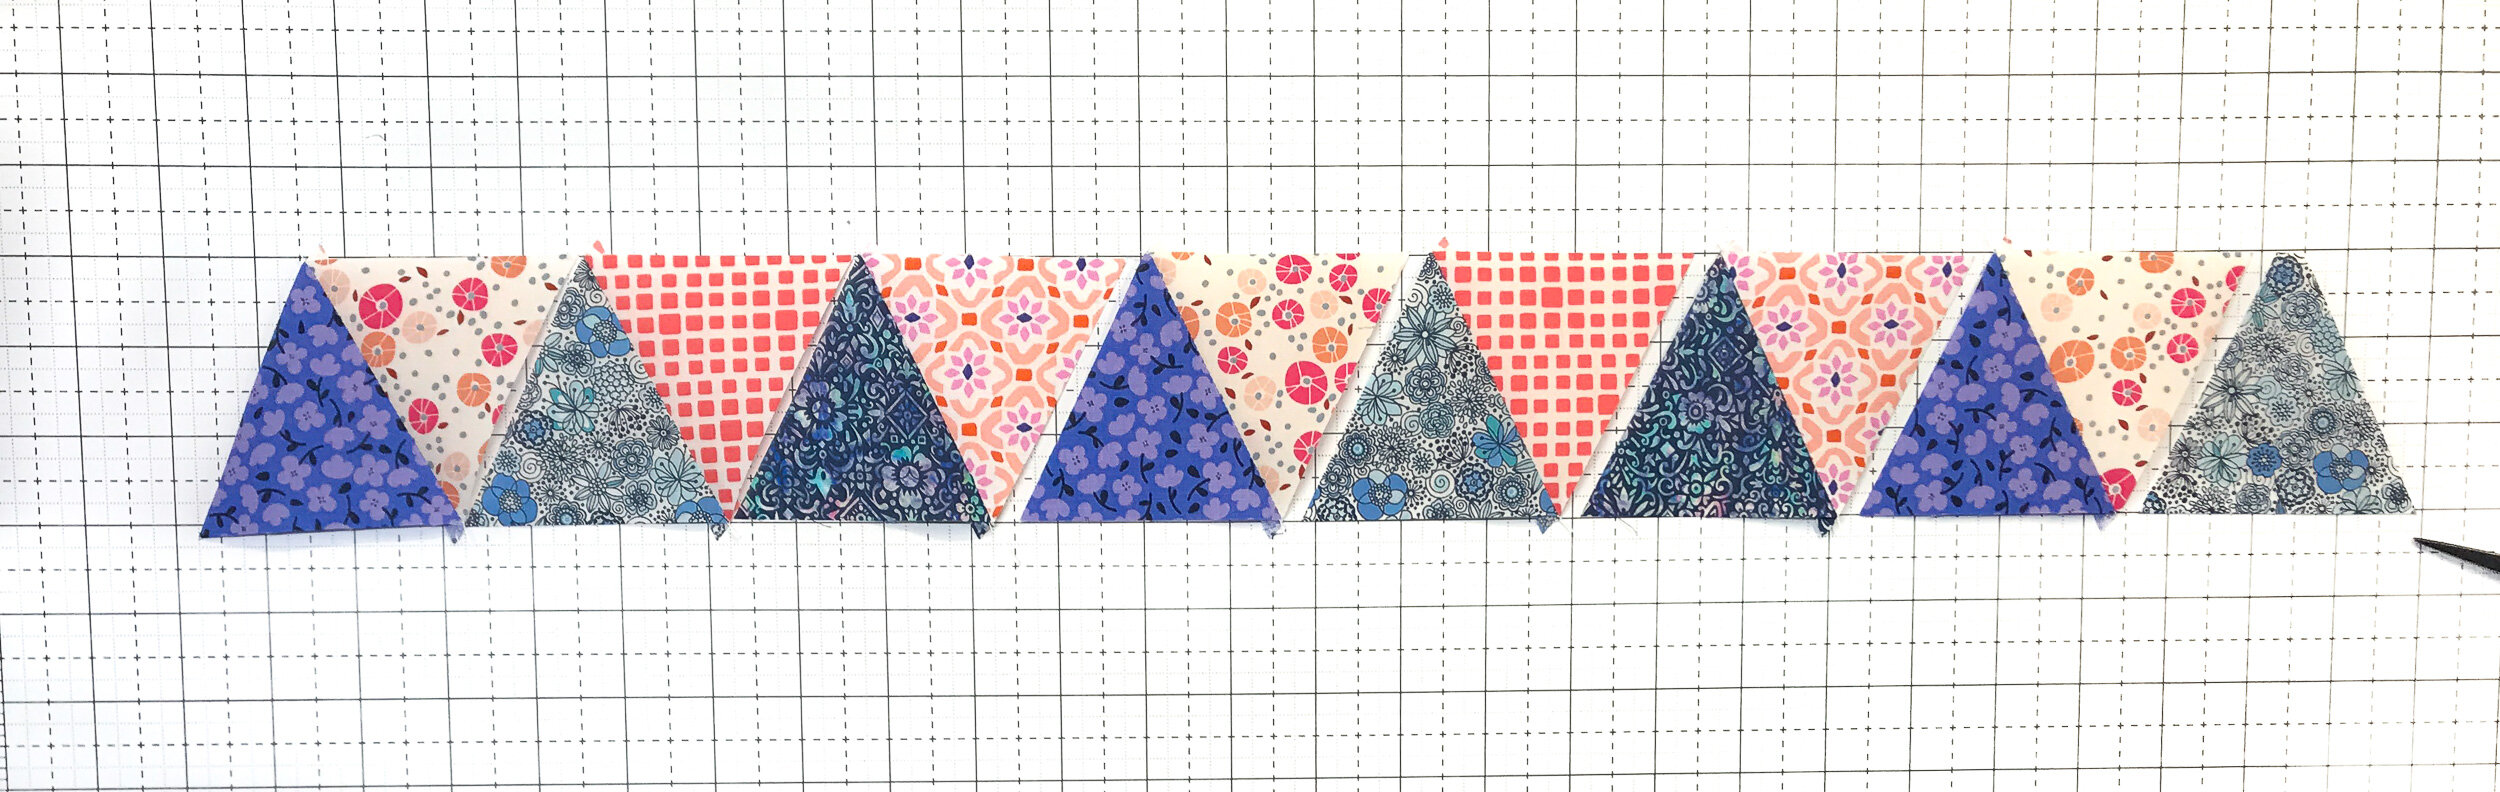
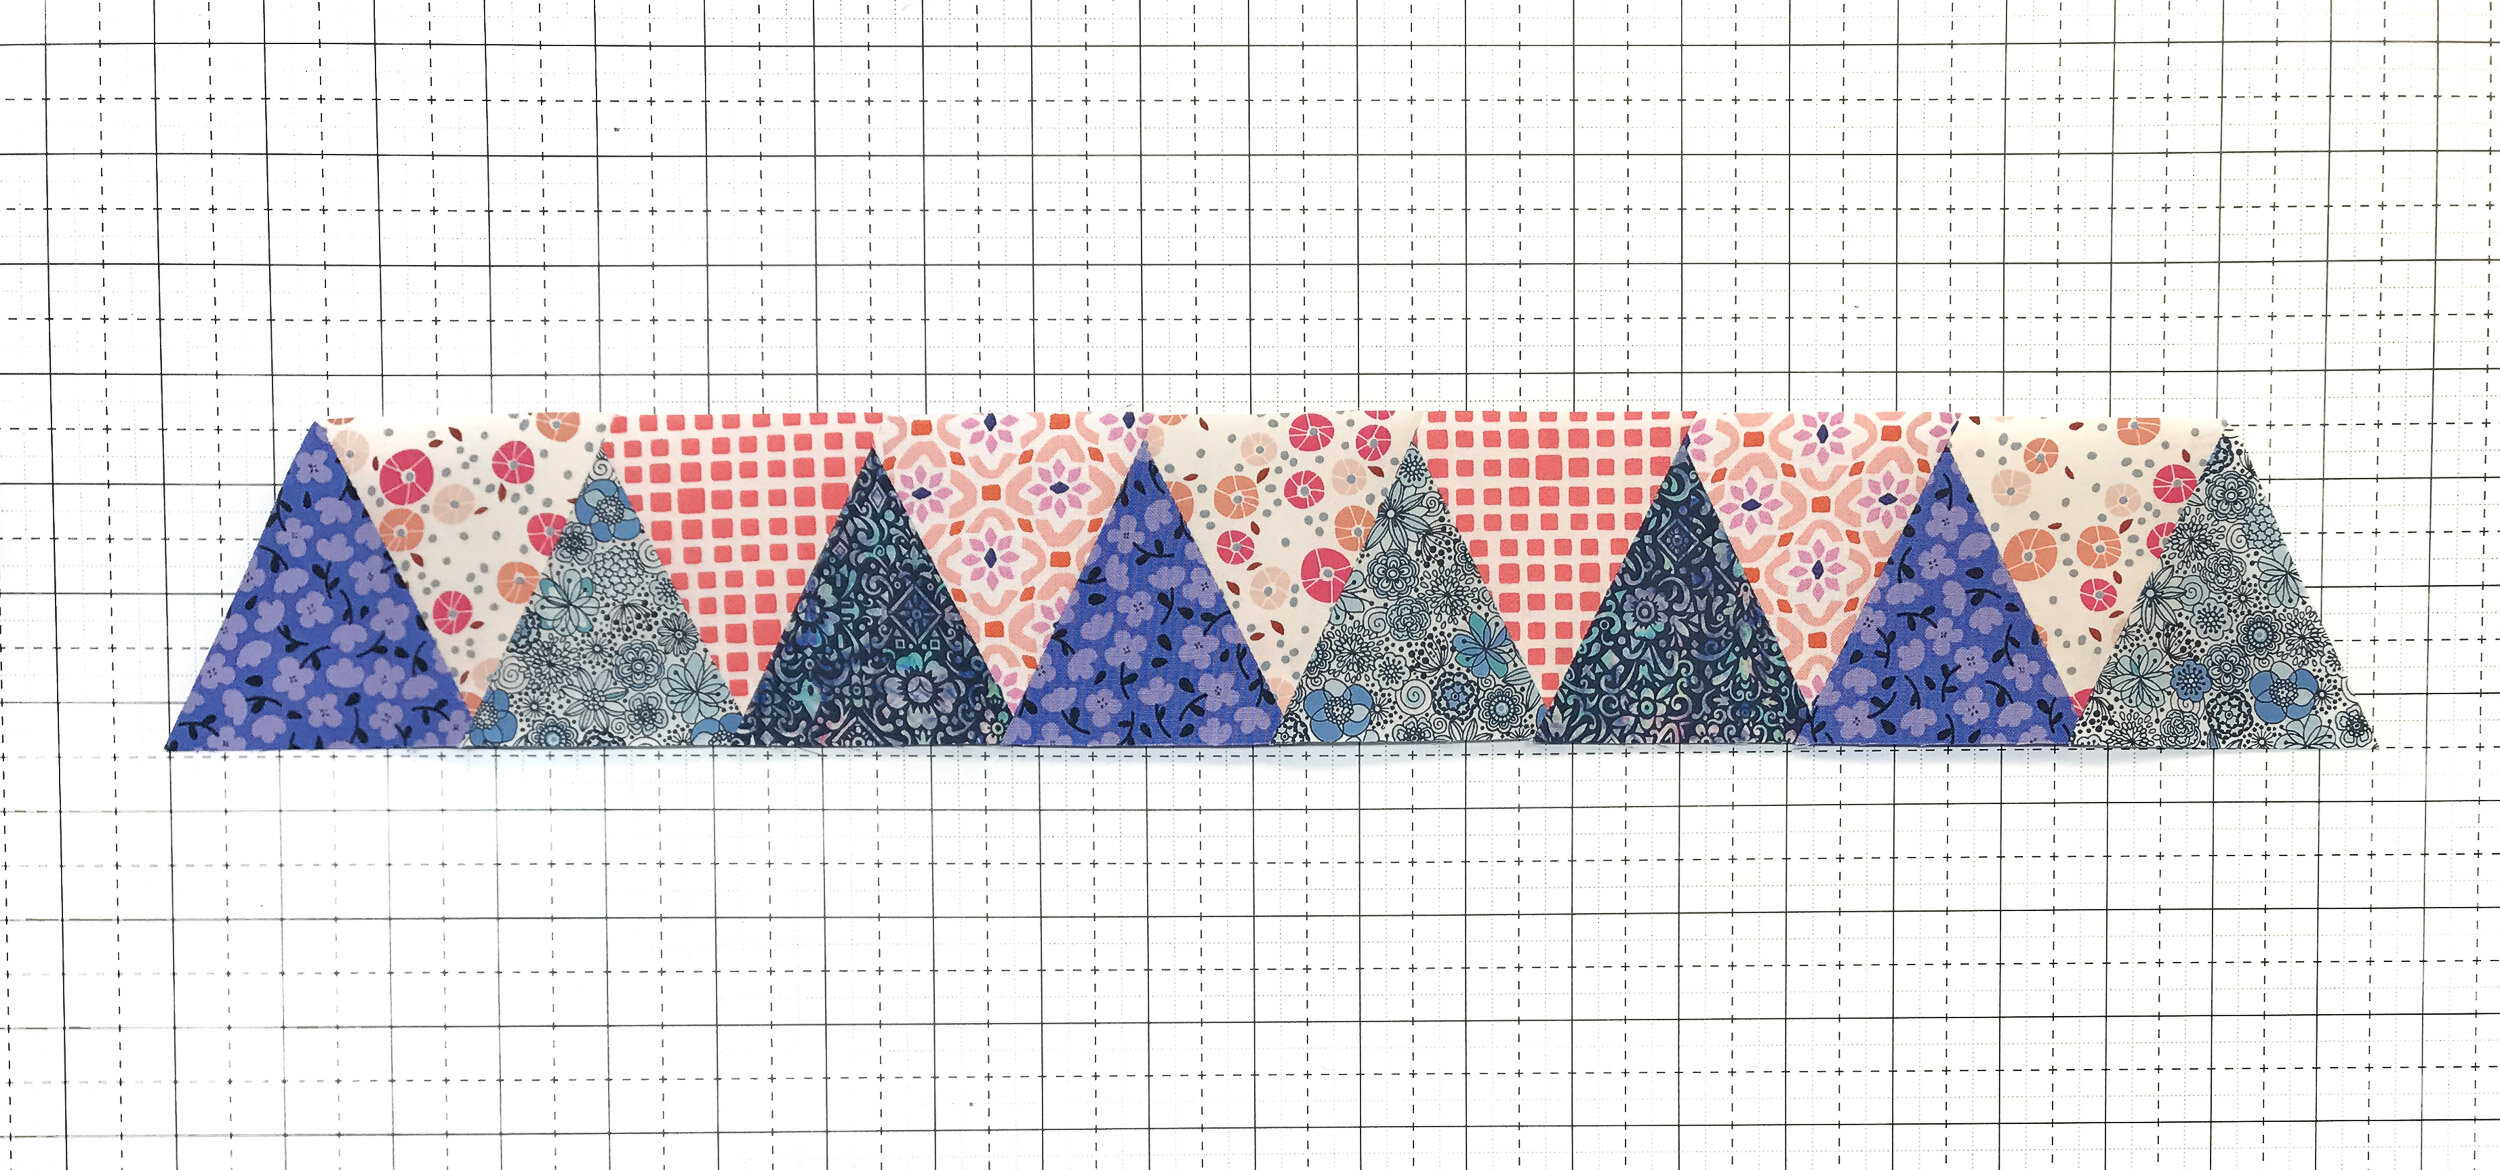
Continue sewing your groups of four into groups of eight.
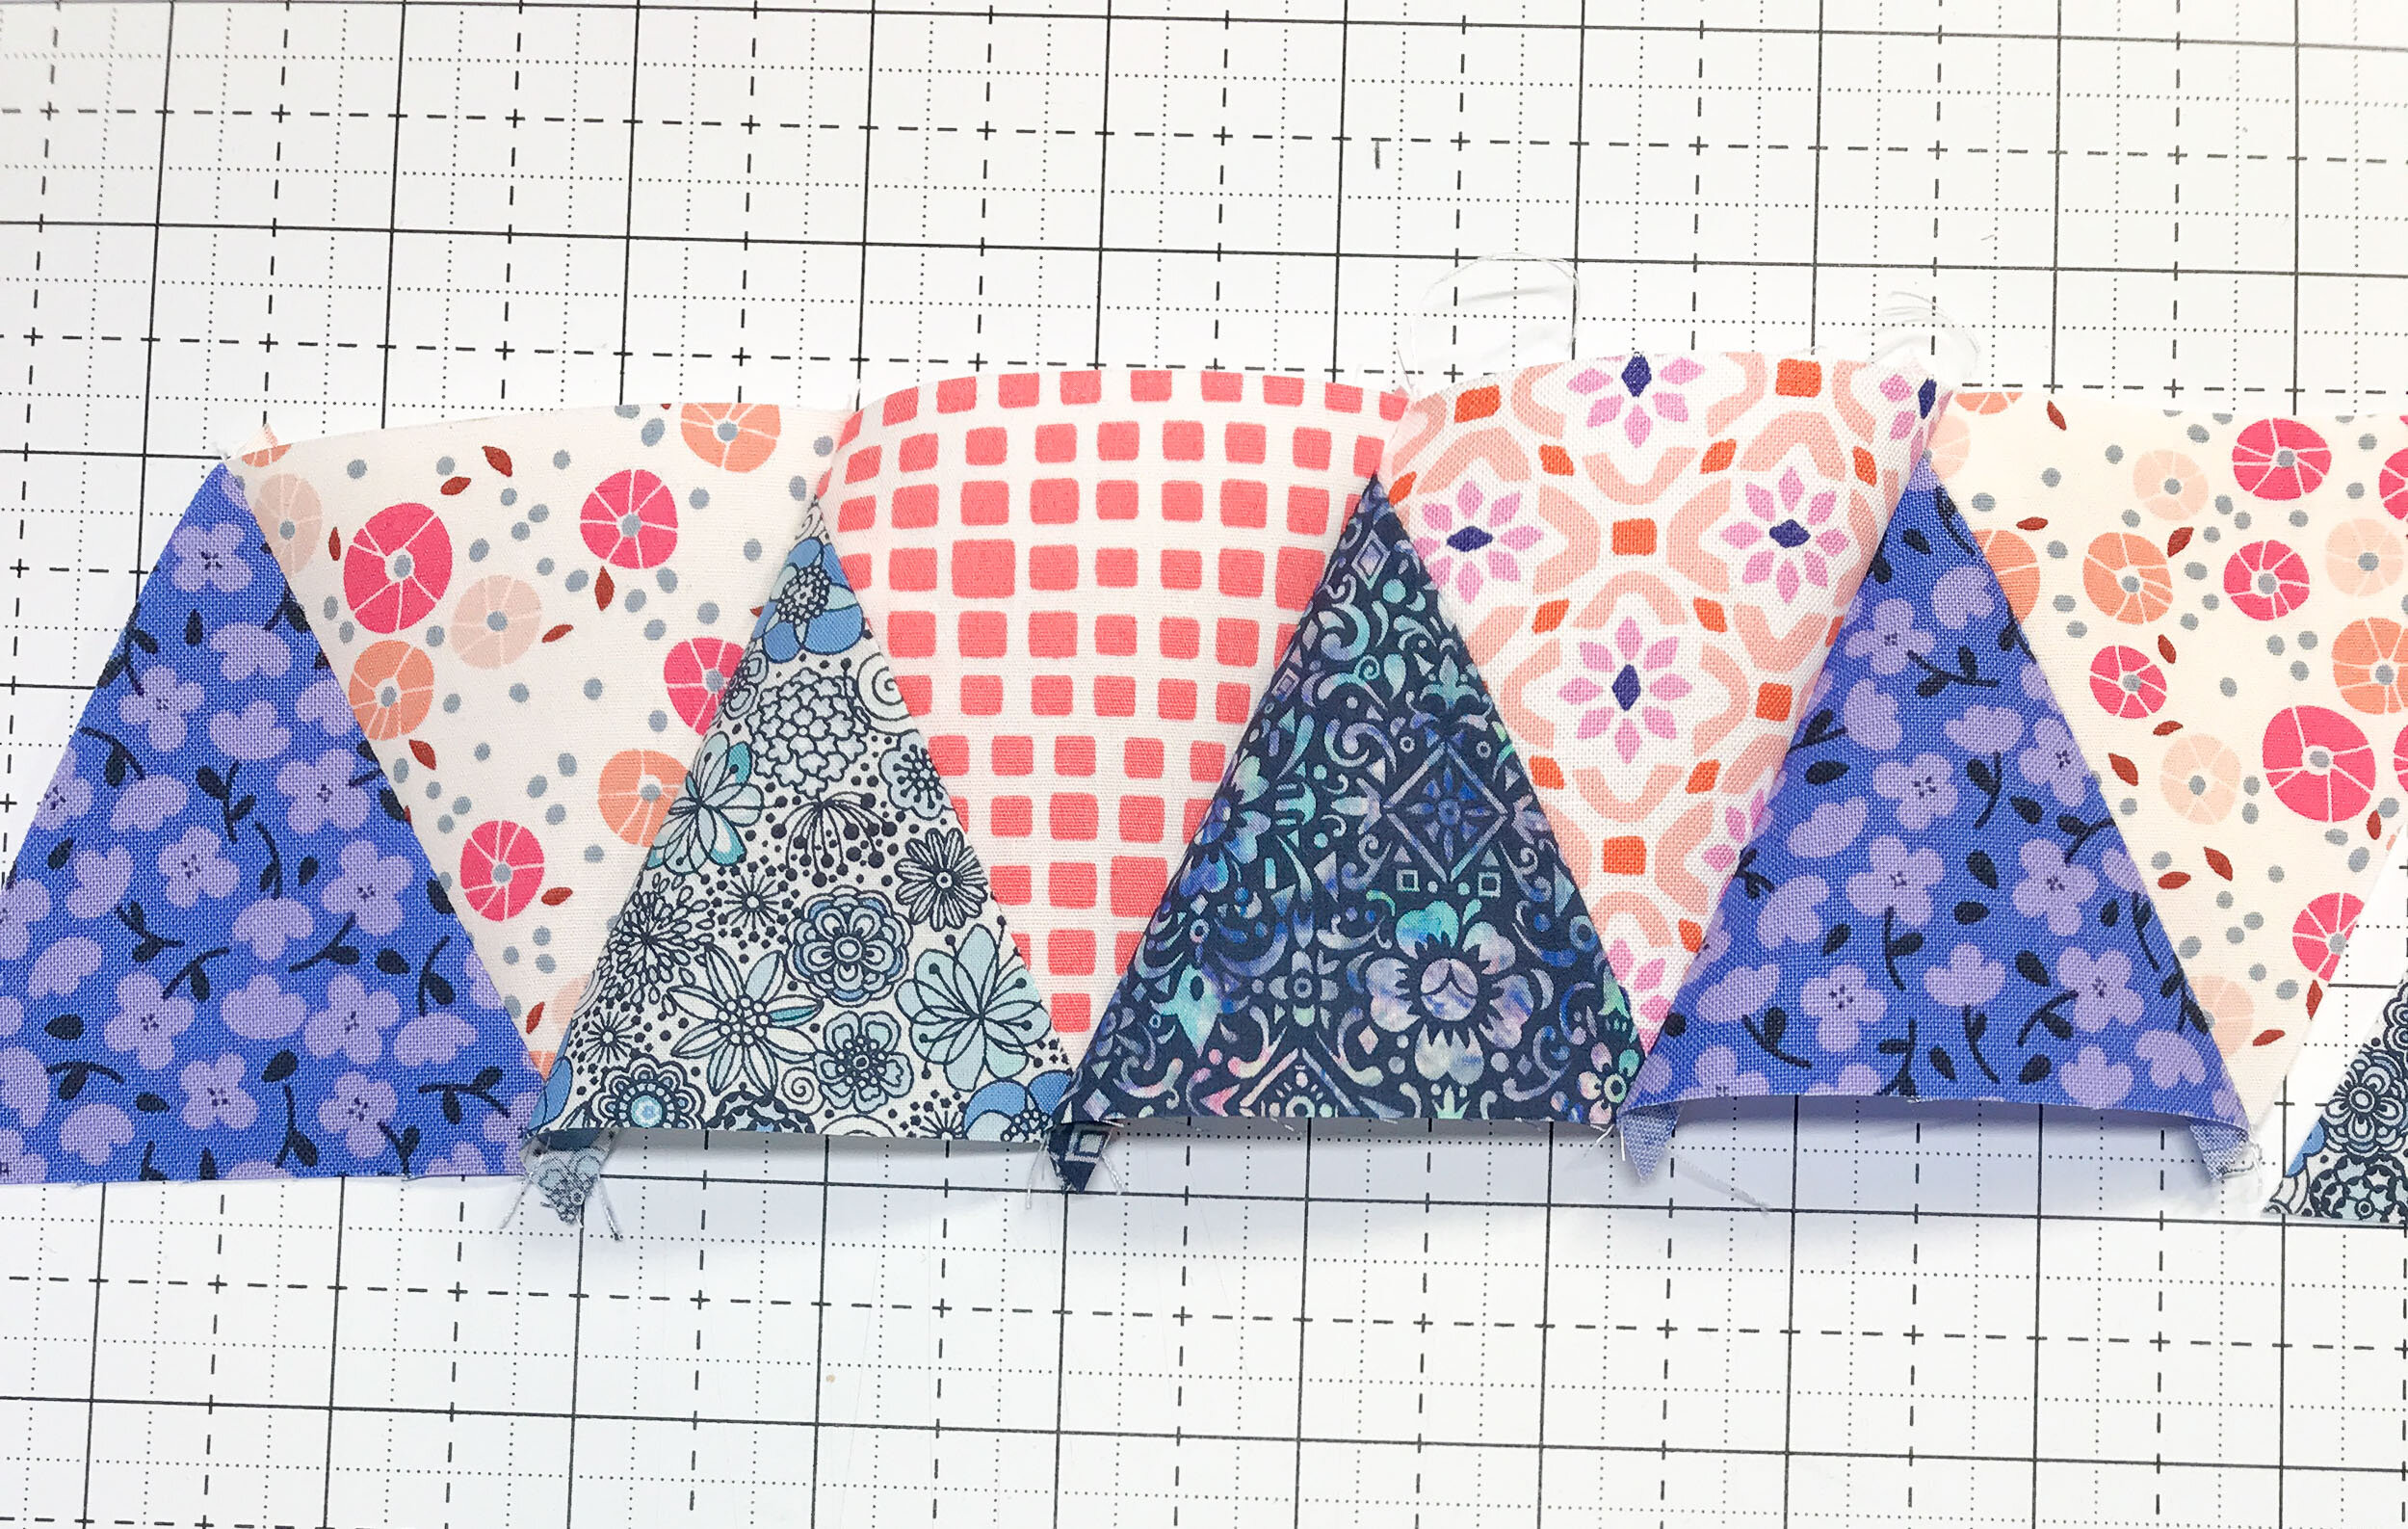
In this case, I needed 15 triangles on each row, so I pieced a group of eight and a group of seven.
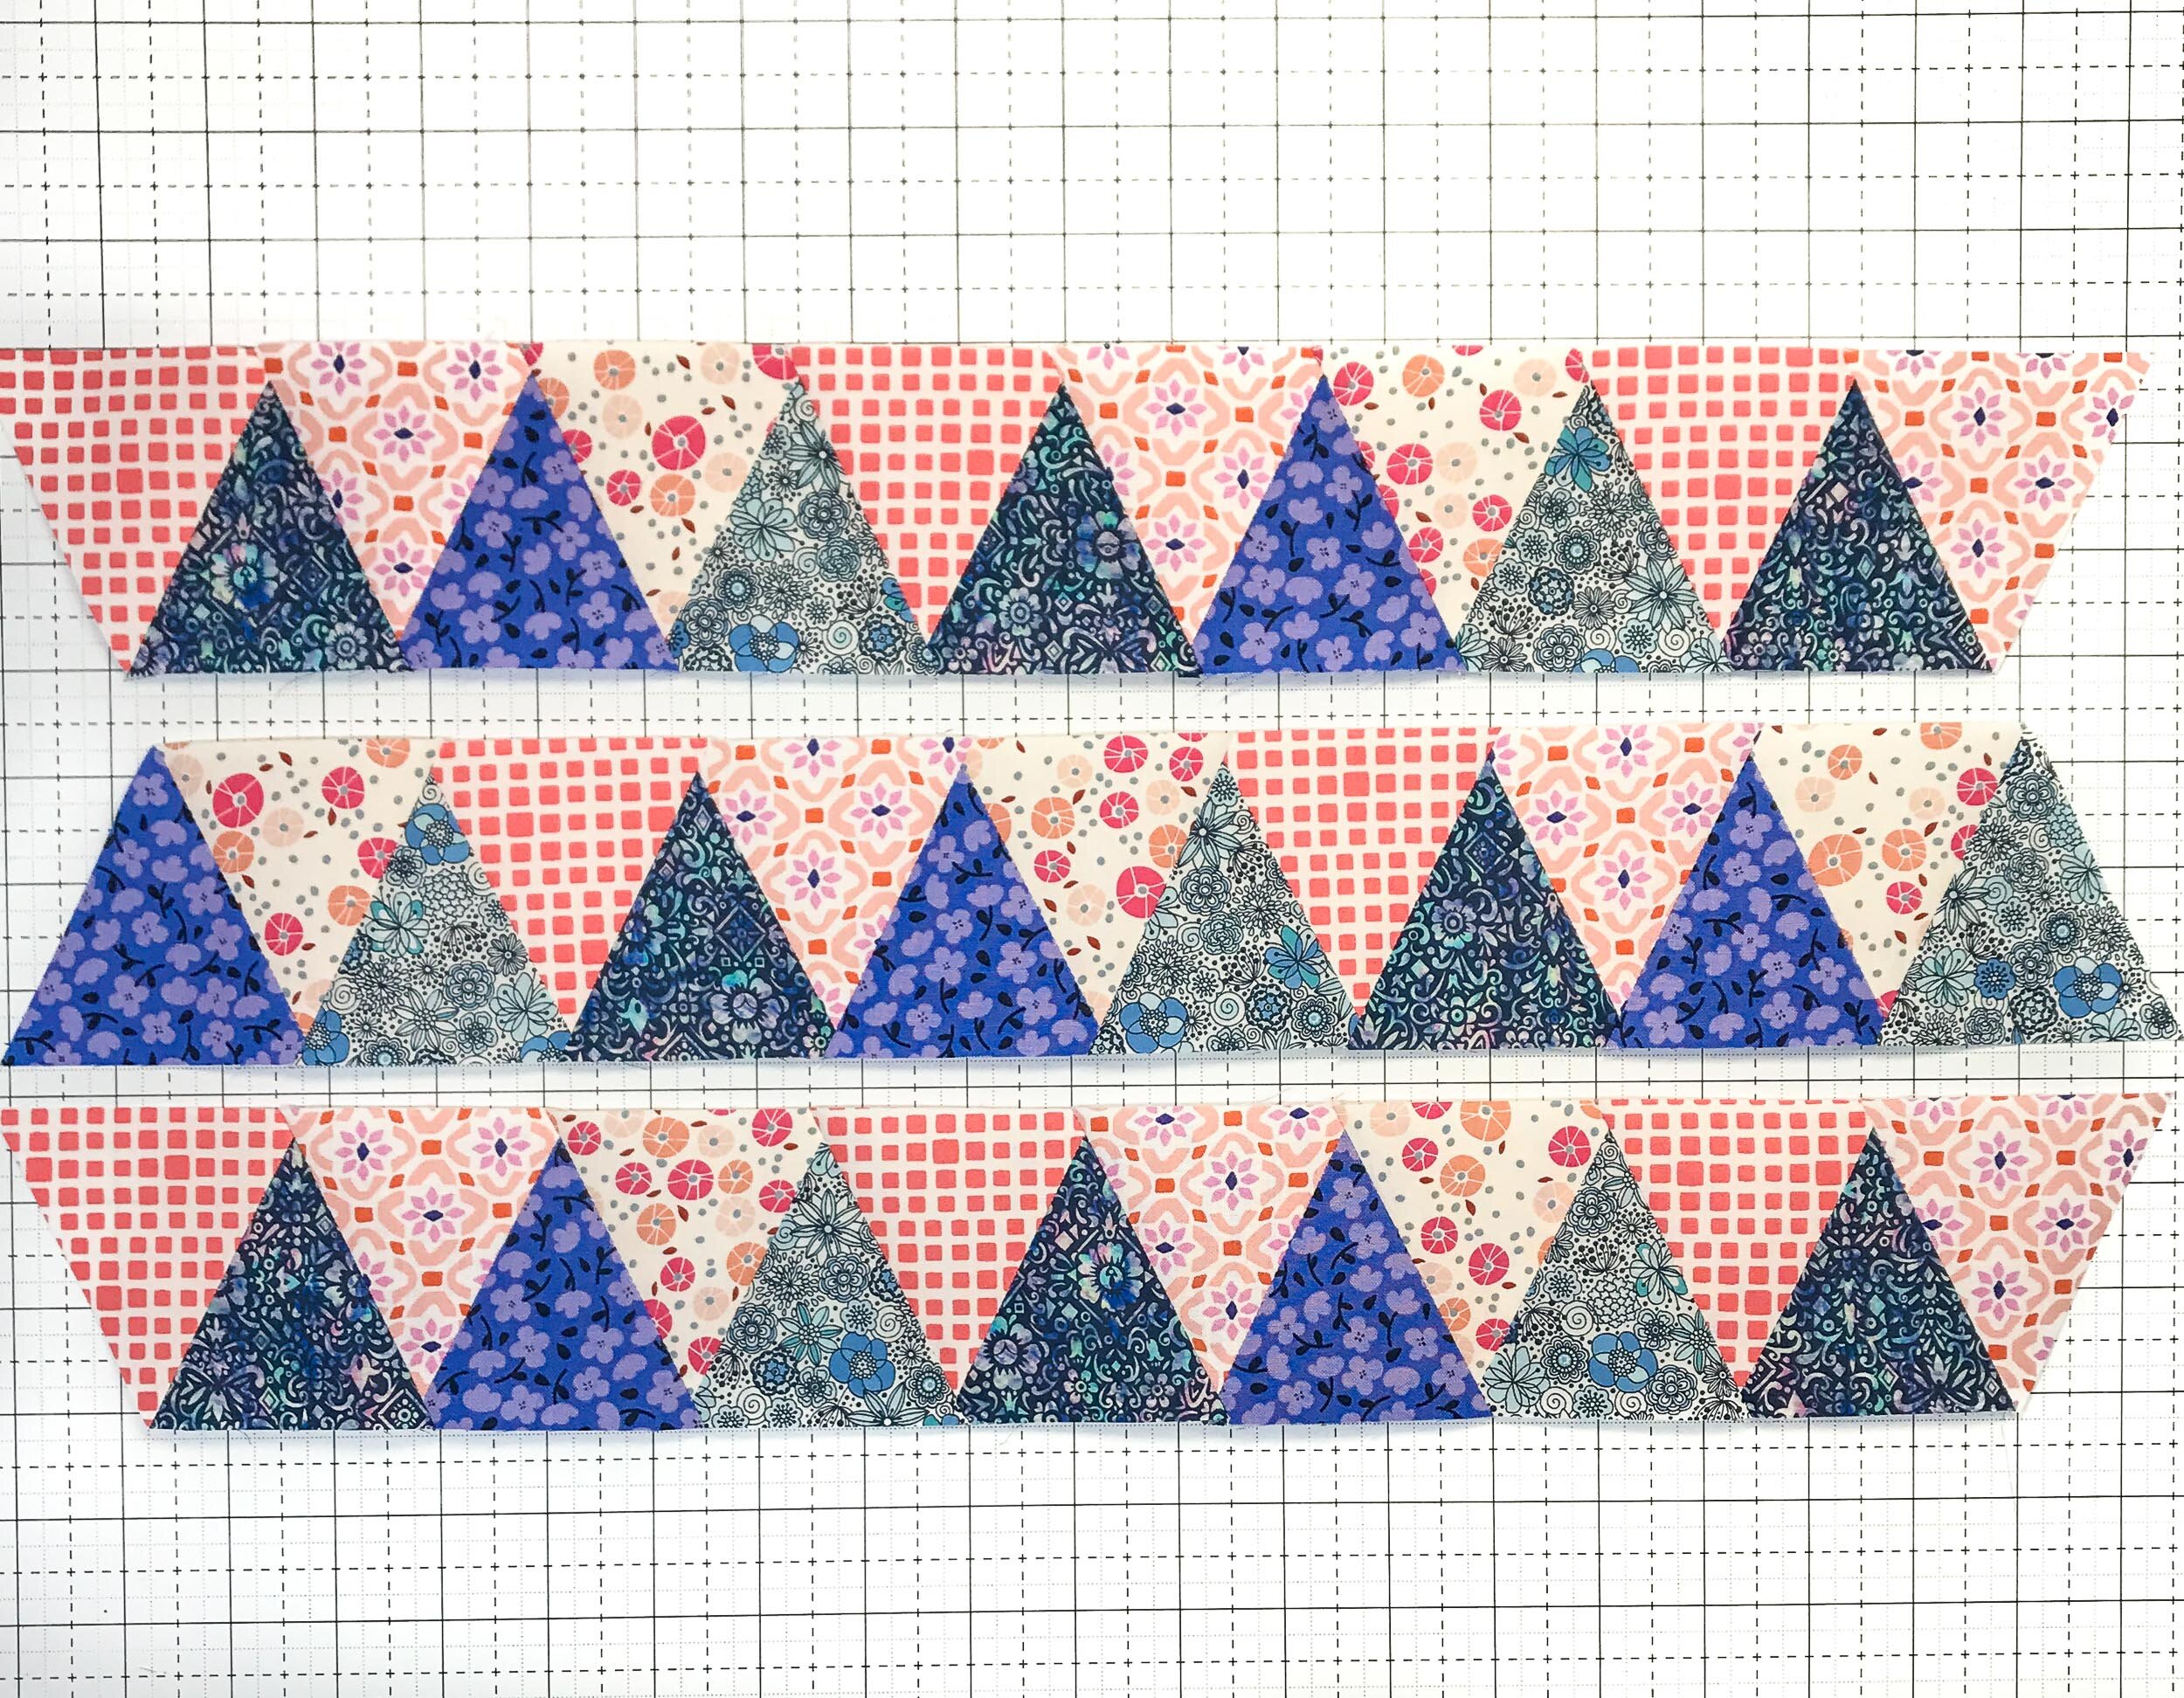
Keep going until you have completed your row.
I formed a three-row panel to make a bag.
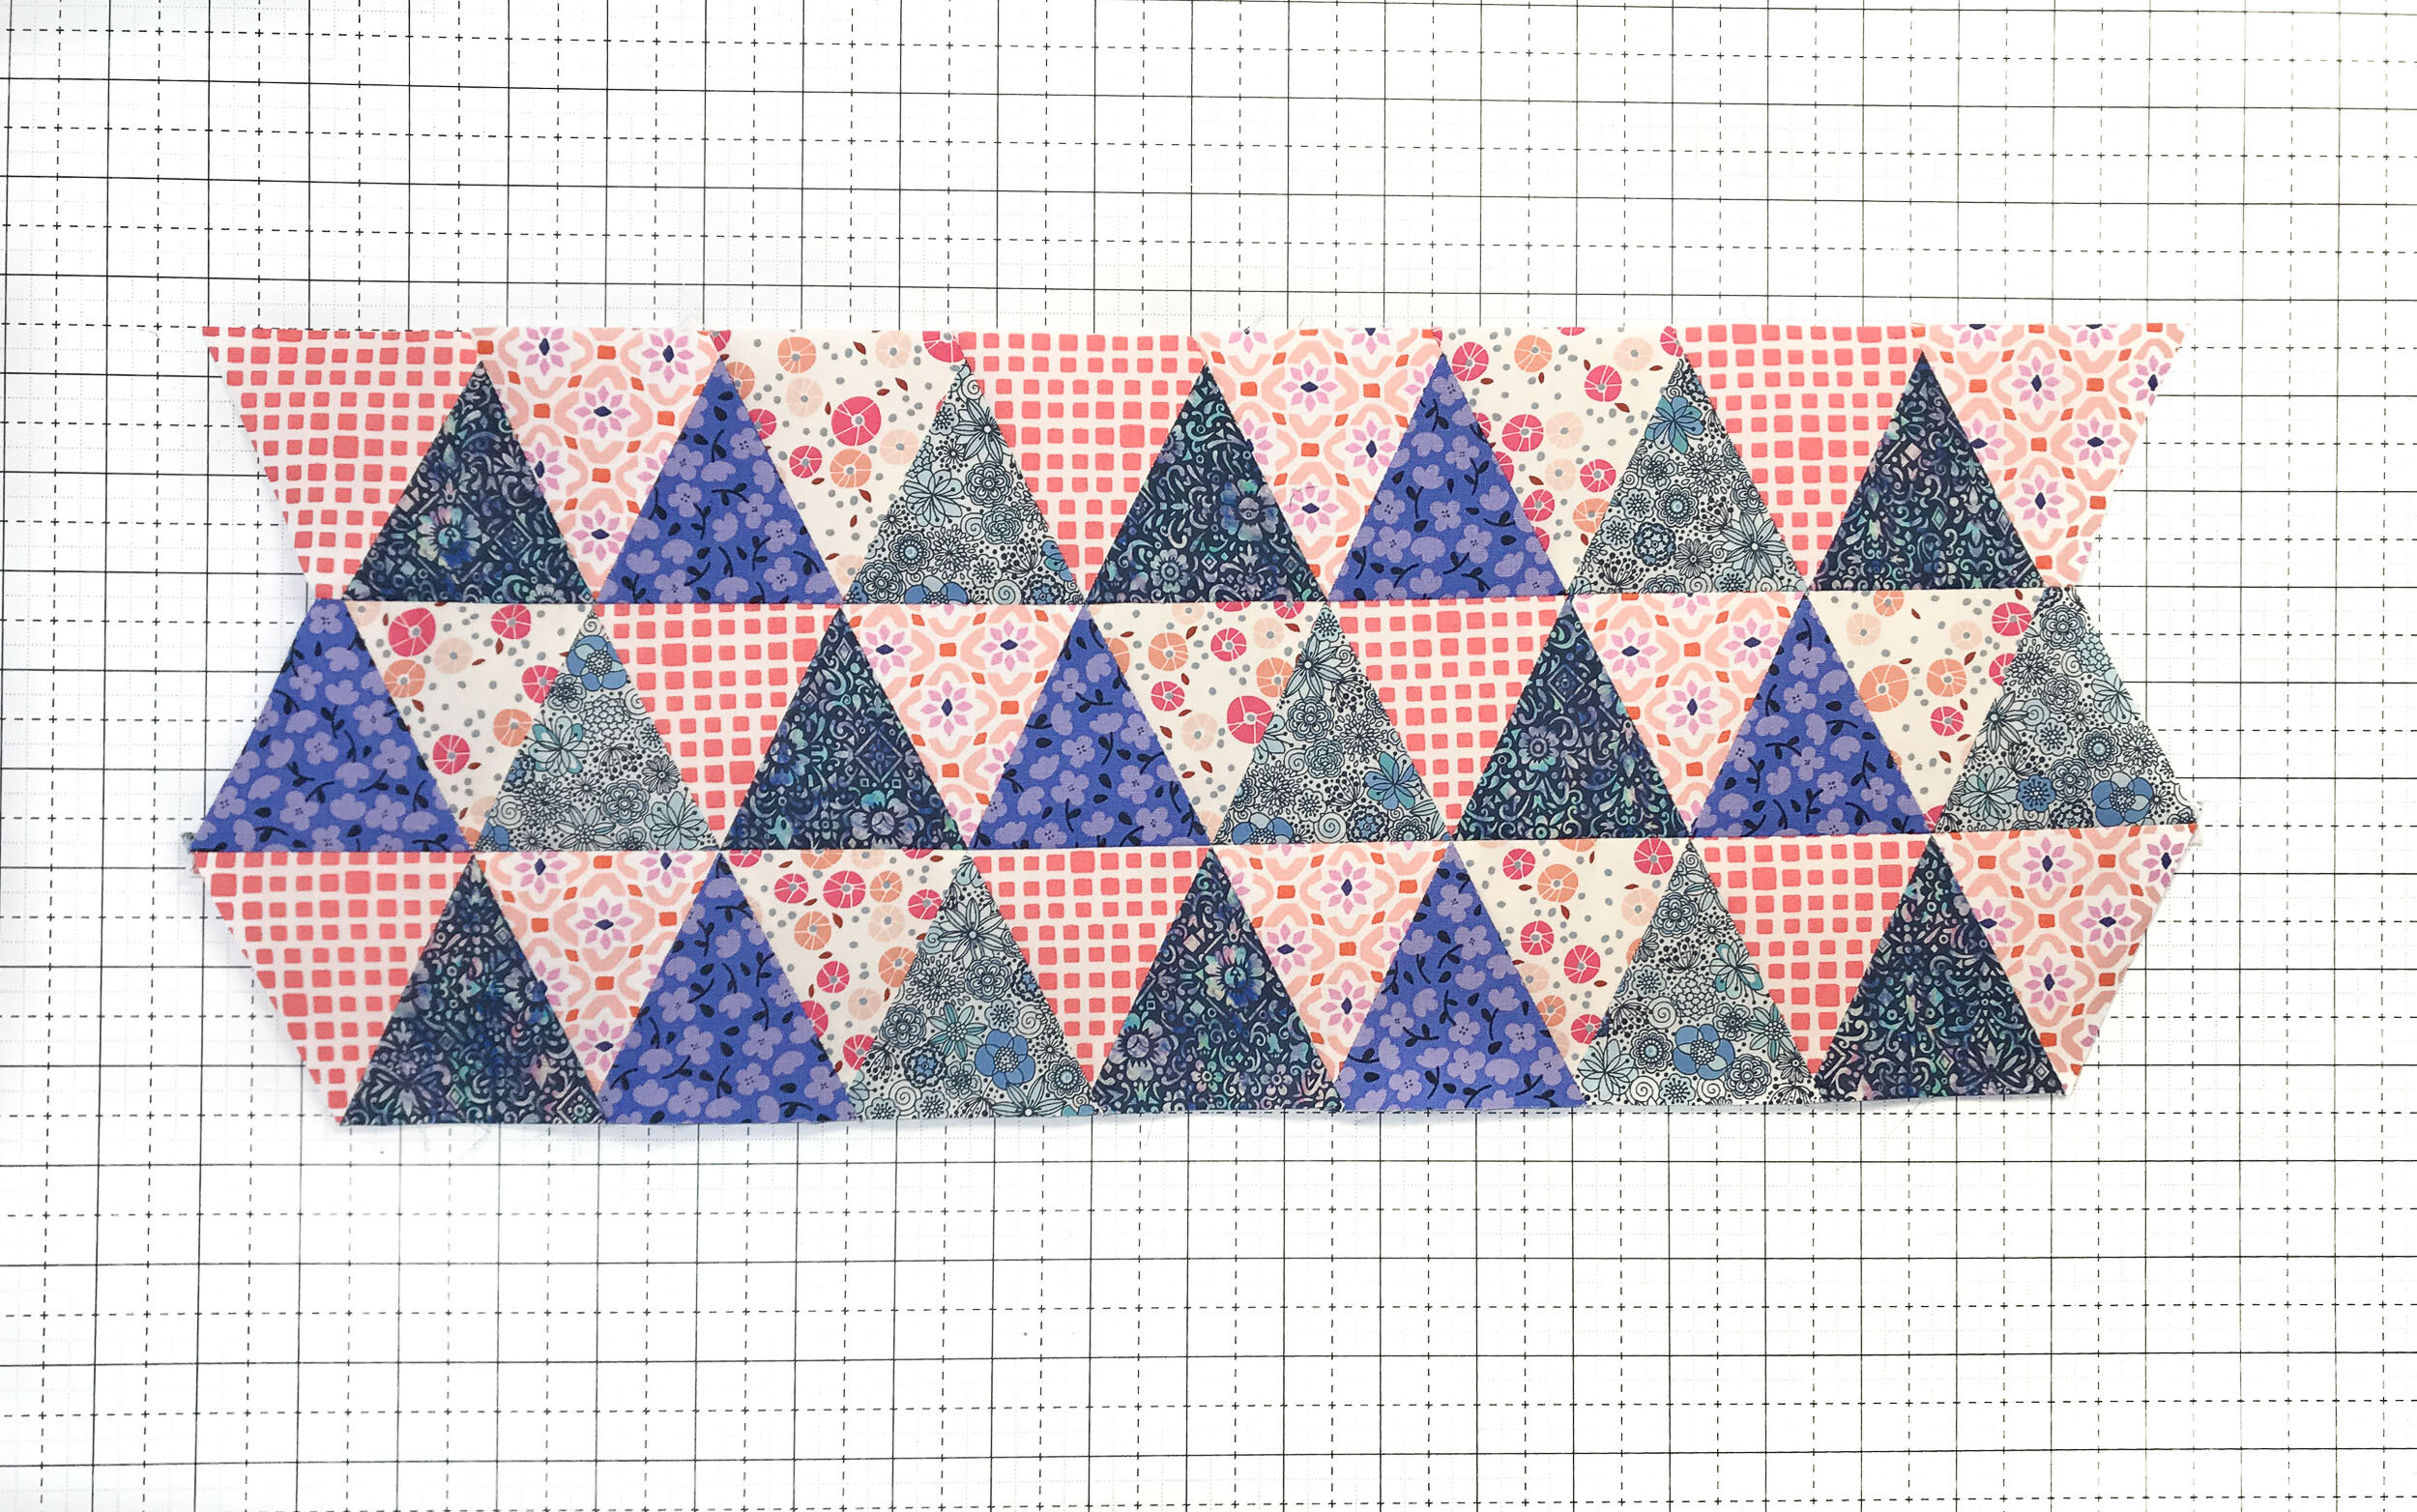
The pattern for the tote bag is on the Rainy Day Sewing book by Amy Sinibaldi and Kristyne Czepuryk.
If you want to see the finished tote, I have a blog post here.
Have a great day!
