Tote Bag Embellishment
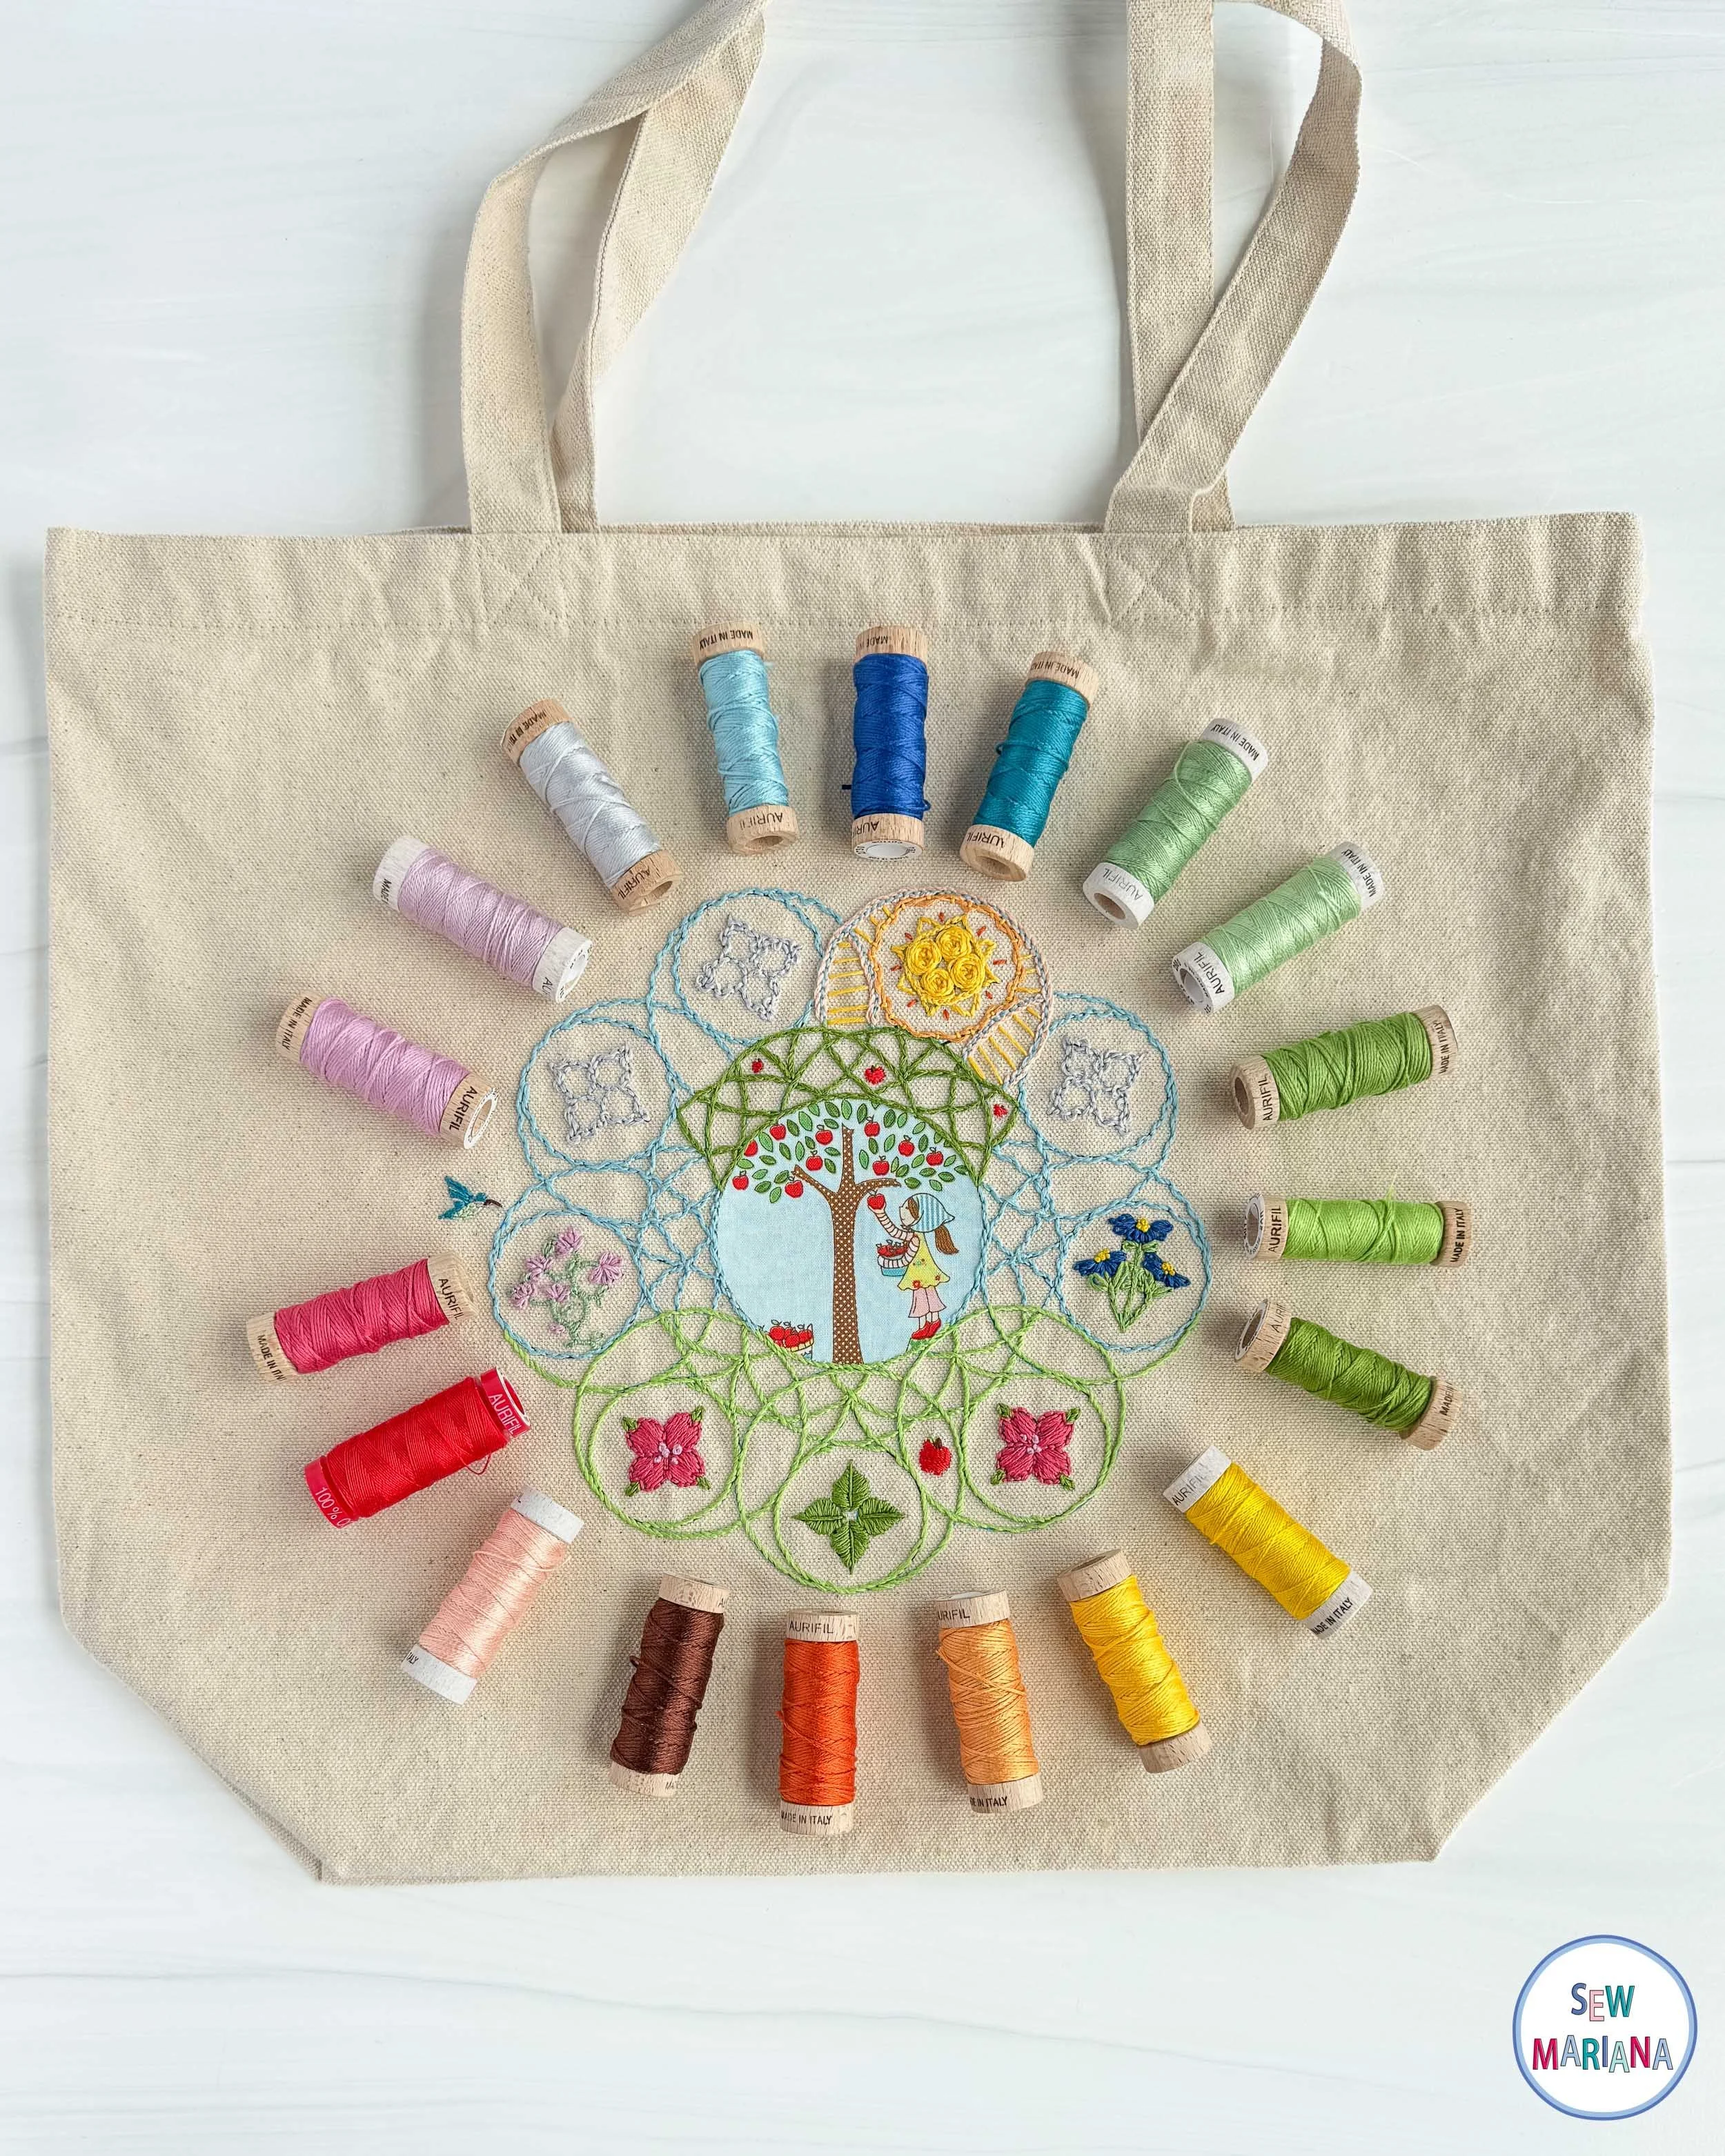
The task was straight-forward. We were given this tote bag and asked to embellish it however we liked. I knew at once I wanted to use the printed mandala to guide me… but I wanted to create my own shapes within the lines provided.
I started by taking out one of my favorite Tasha Noel old prints, fussy cutting this scene and sticking it on as applique, and for the space that remained, I decided to embroider a continuation of that center scene.
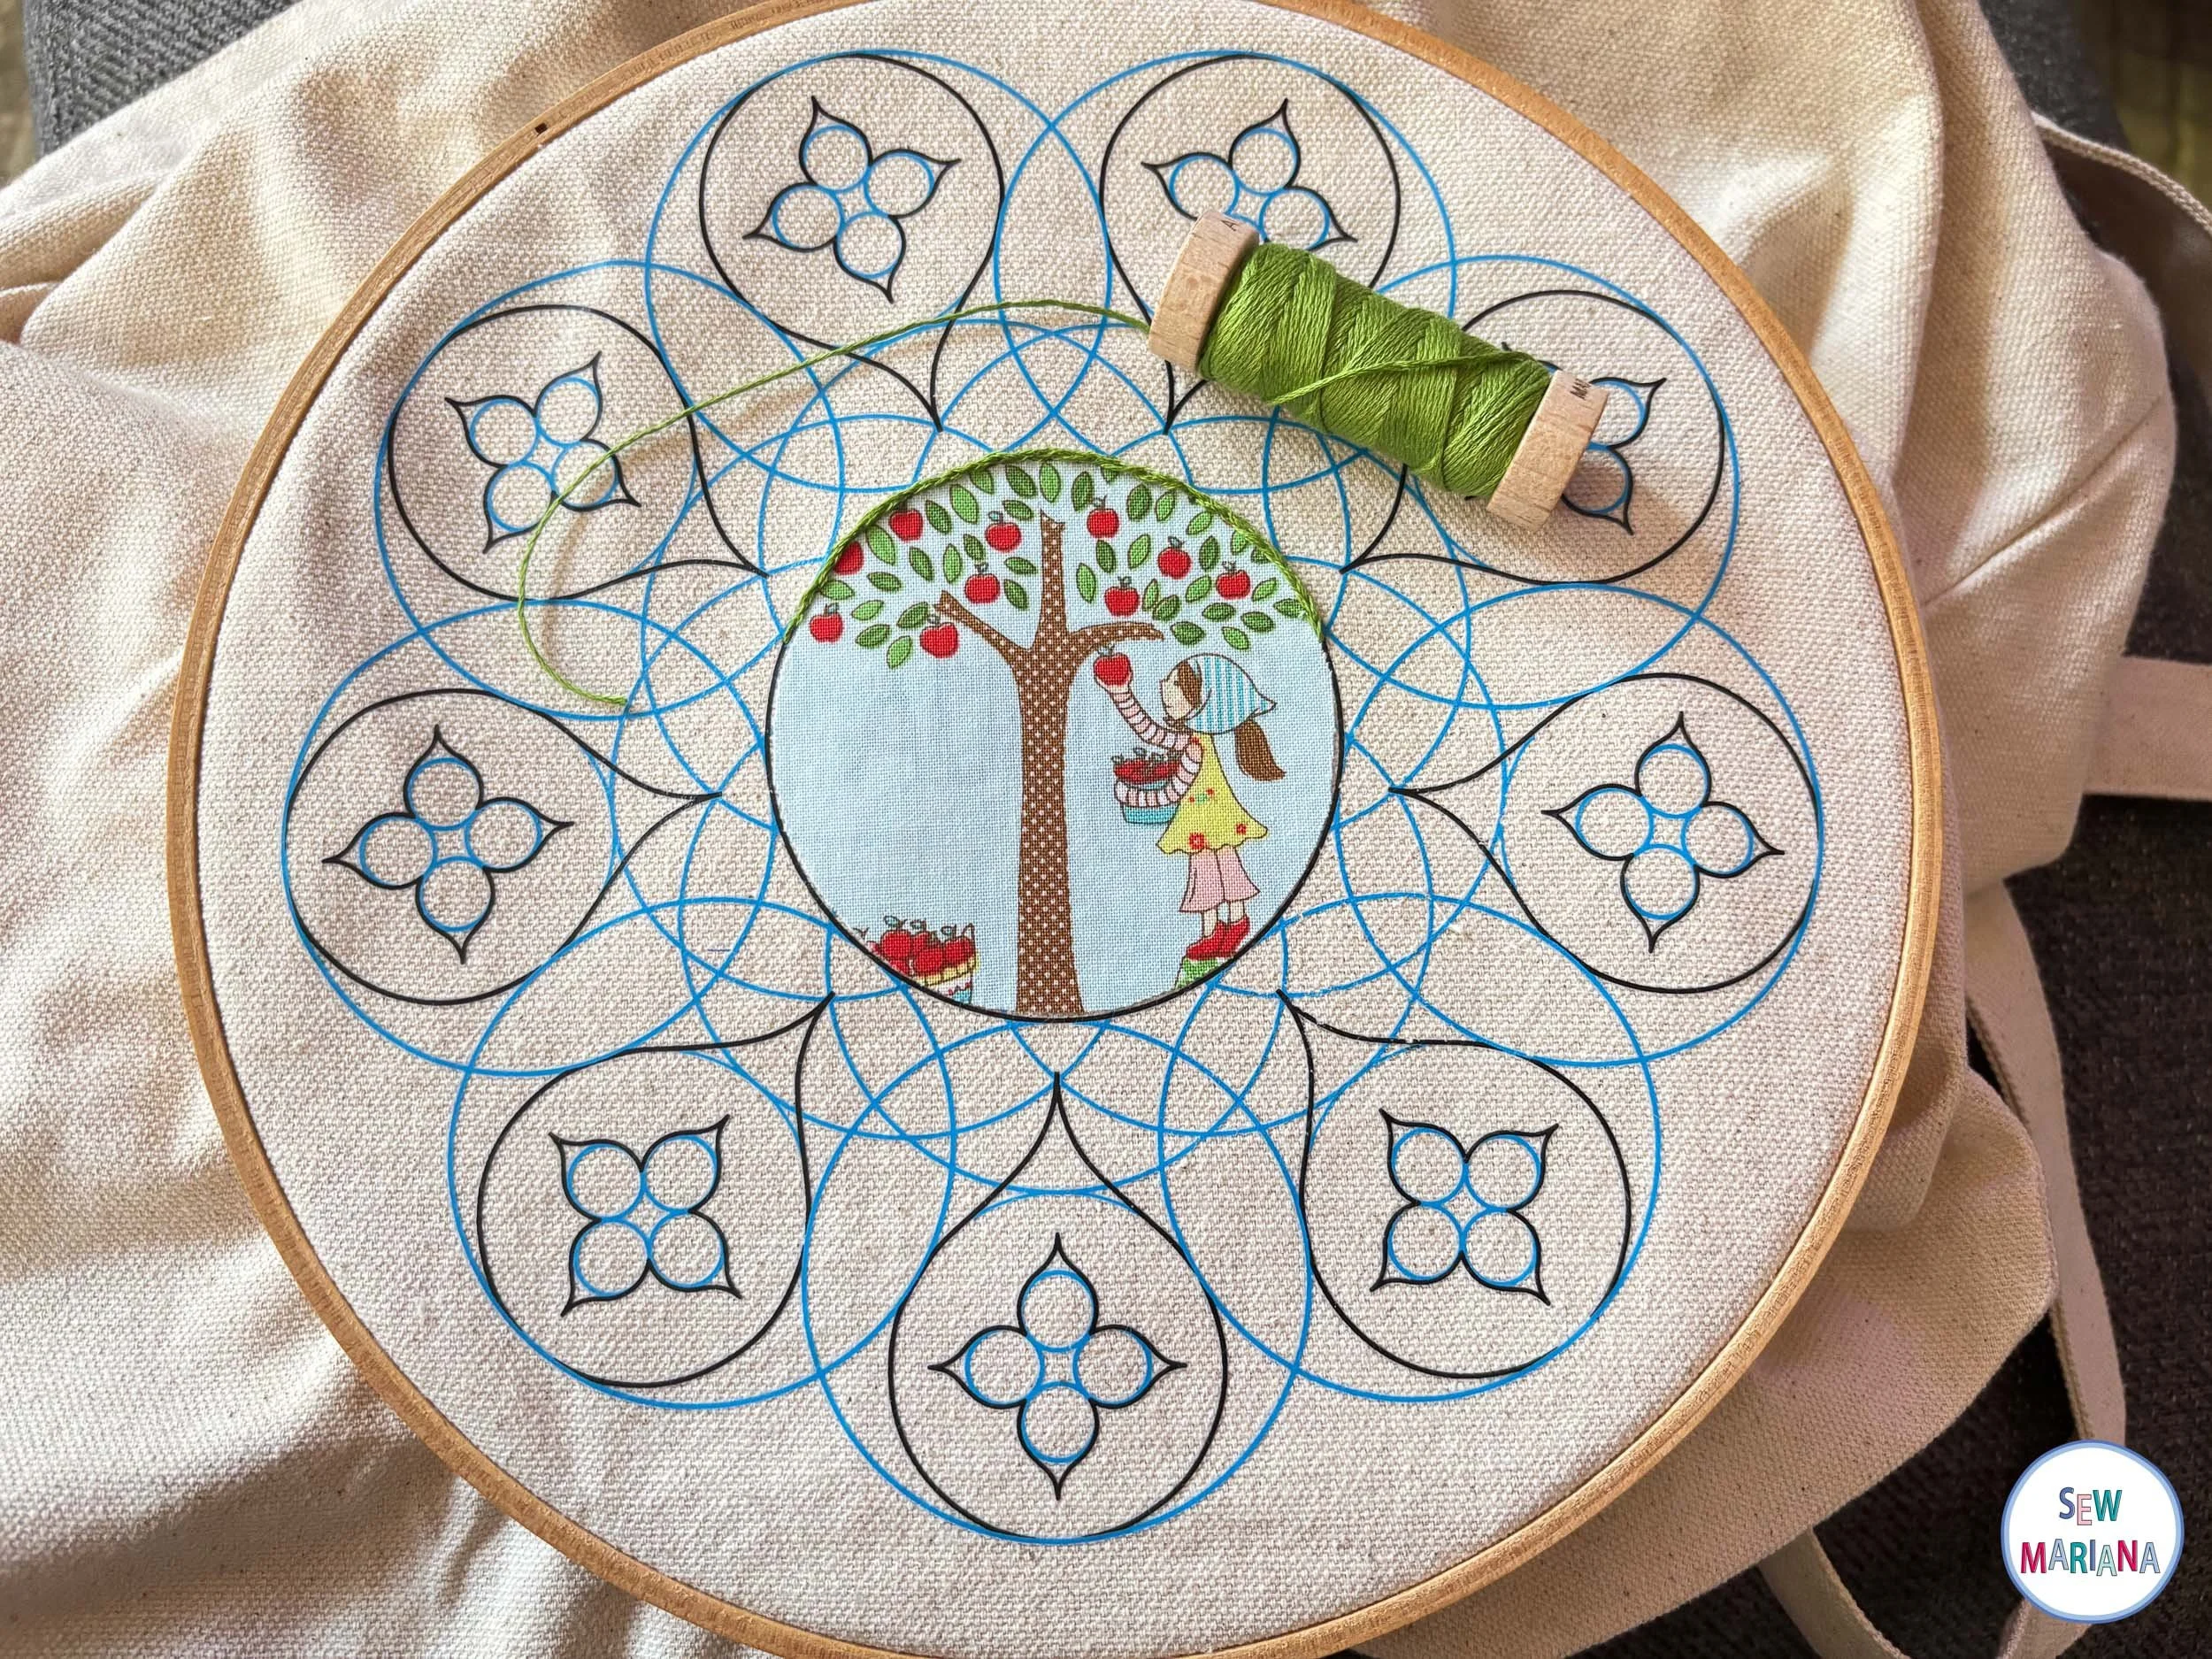
Now, I took this as an opportunity to really polish up my embroidering skills, so I treated this project as a hand stitching masterclass: I bought a little book of stitches from Sue Spargo for inspiration, and got to work.
First, and most important, was finishing that tree. I used a split stitch with every strand of the floss. I may have poked my finger once or twice before I remembered to grab a thimble, but it was worth it to get that beautiful thick canopy!
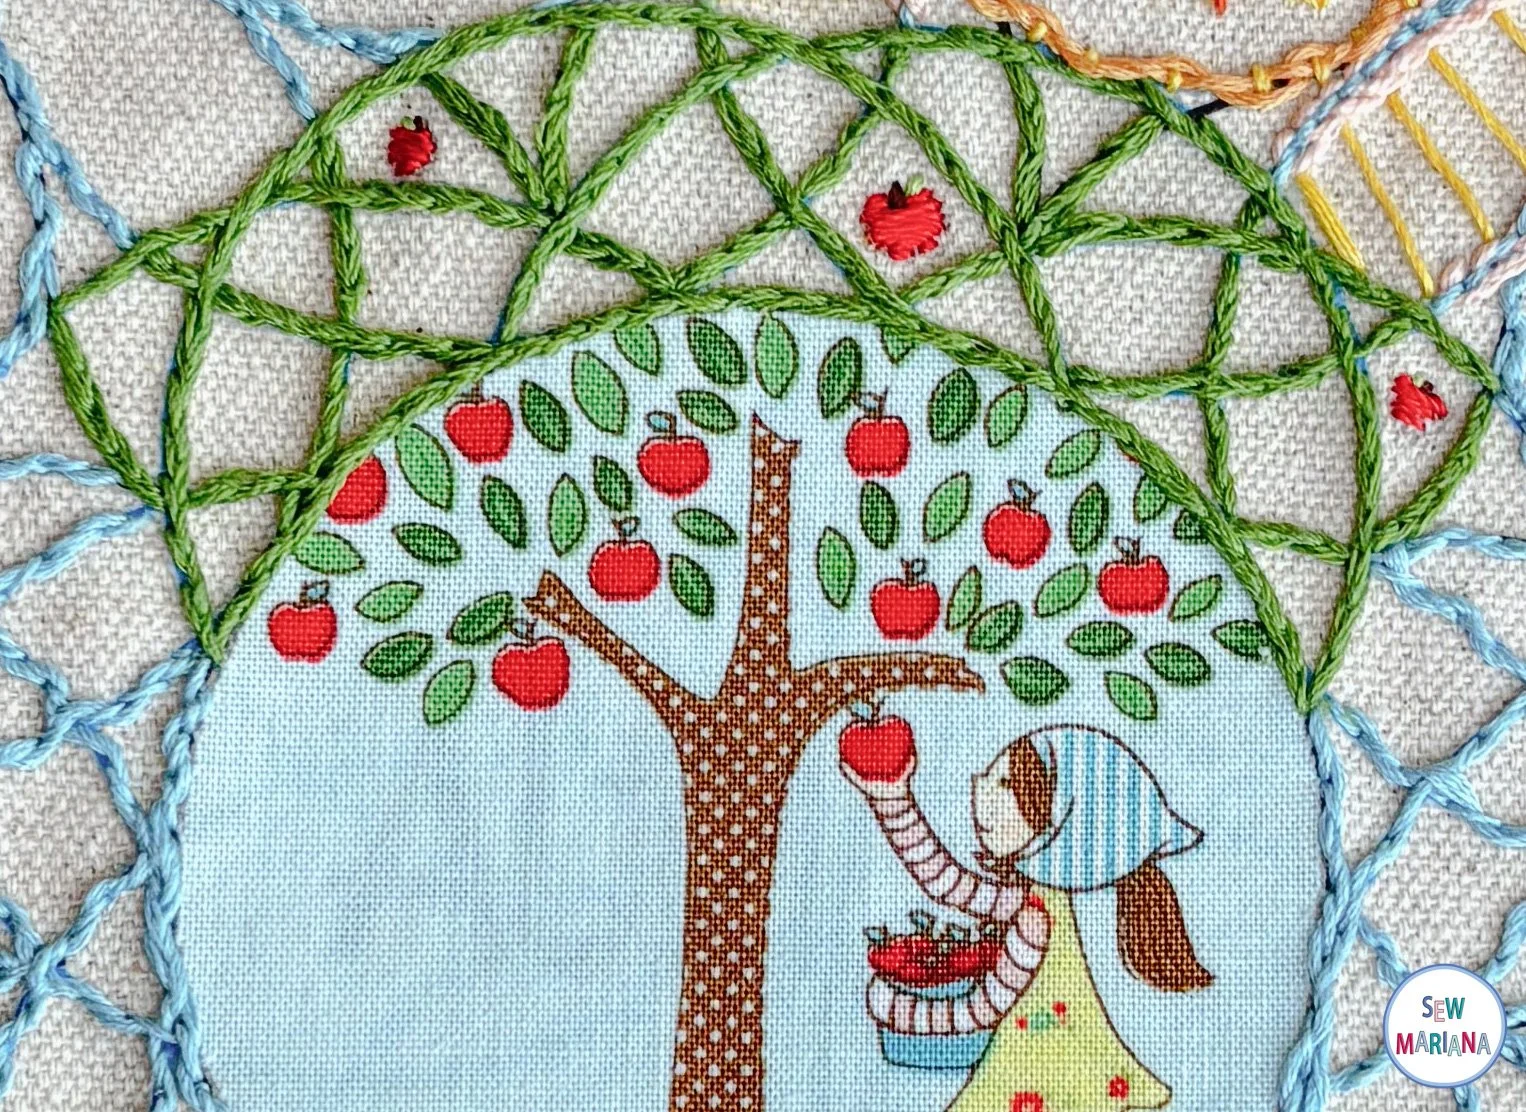
Next up, the blue skies. I started with a simple back-stitch, but it wasn’t quite enough, so I turned it into a woven back-stitch, and wow did it make it come to life! I used the same logic for the “clouds”, using an 8 weight silver thread to make them wispier but still of the same feeling. For the ground, I made rolling grassy hills with a stem stitch of three strands of floss. Then came the tricky part.
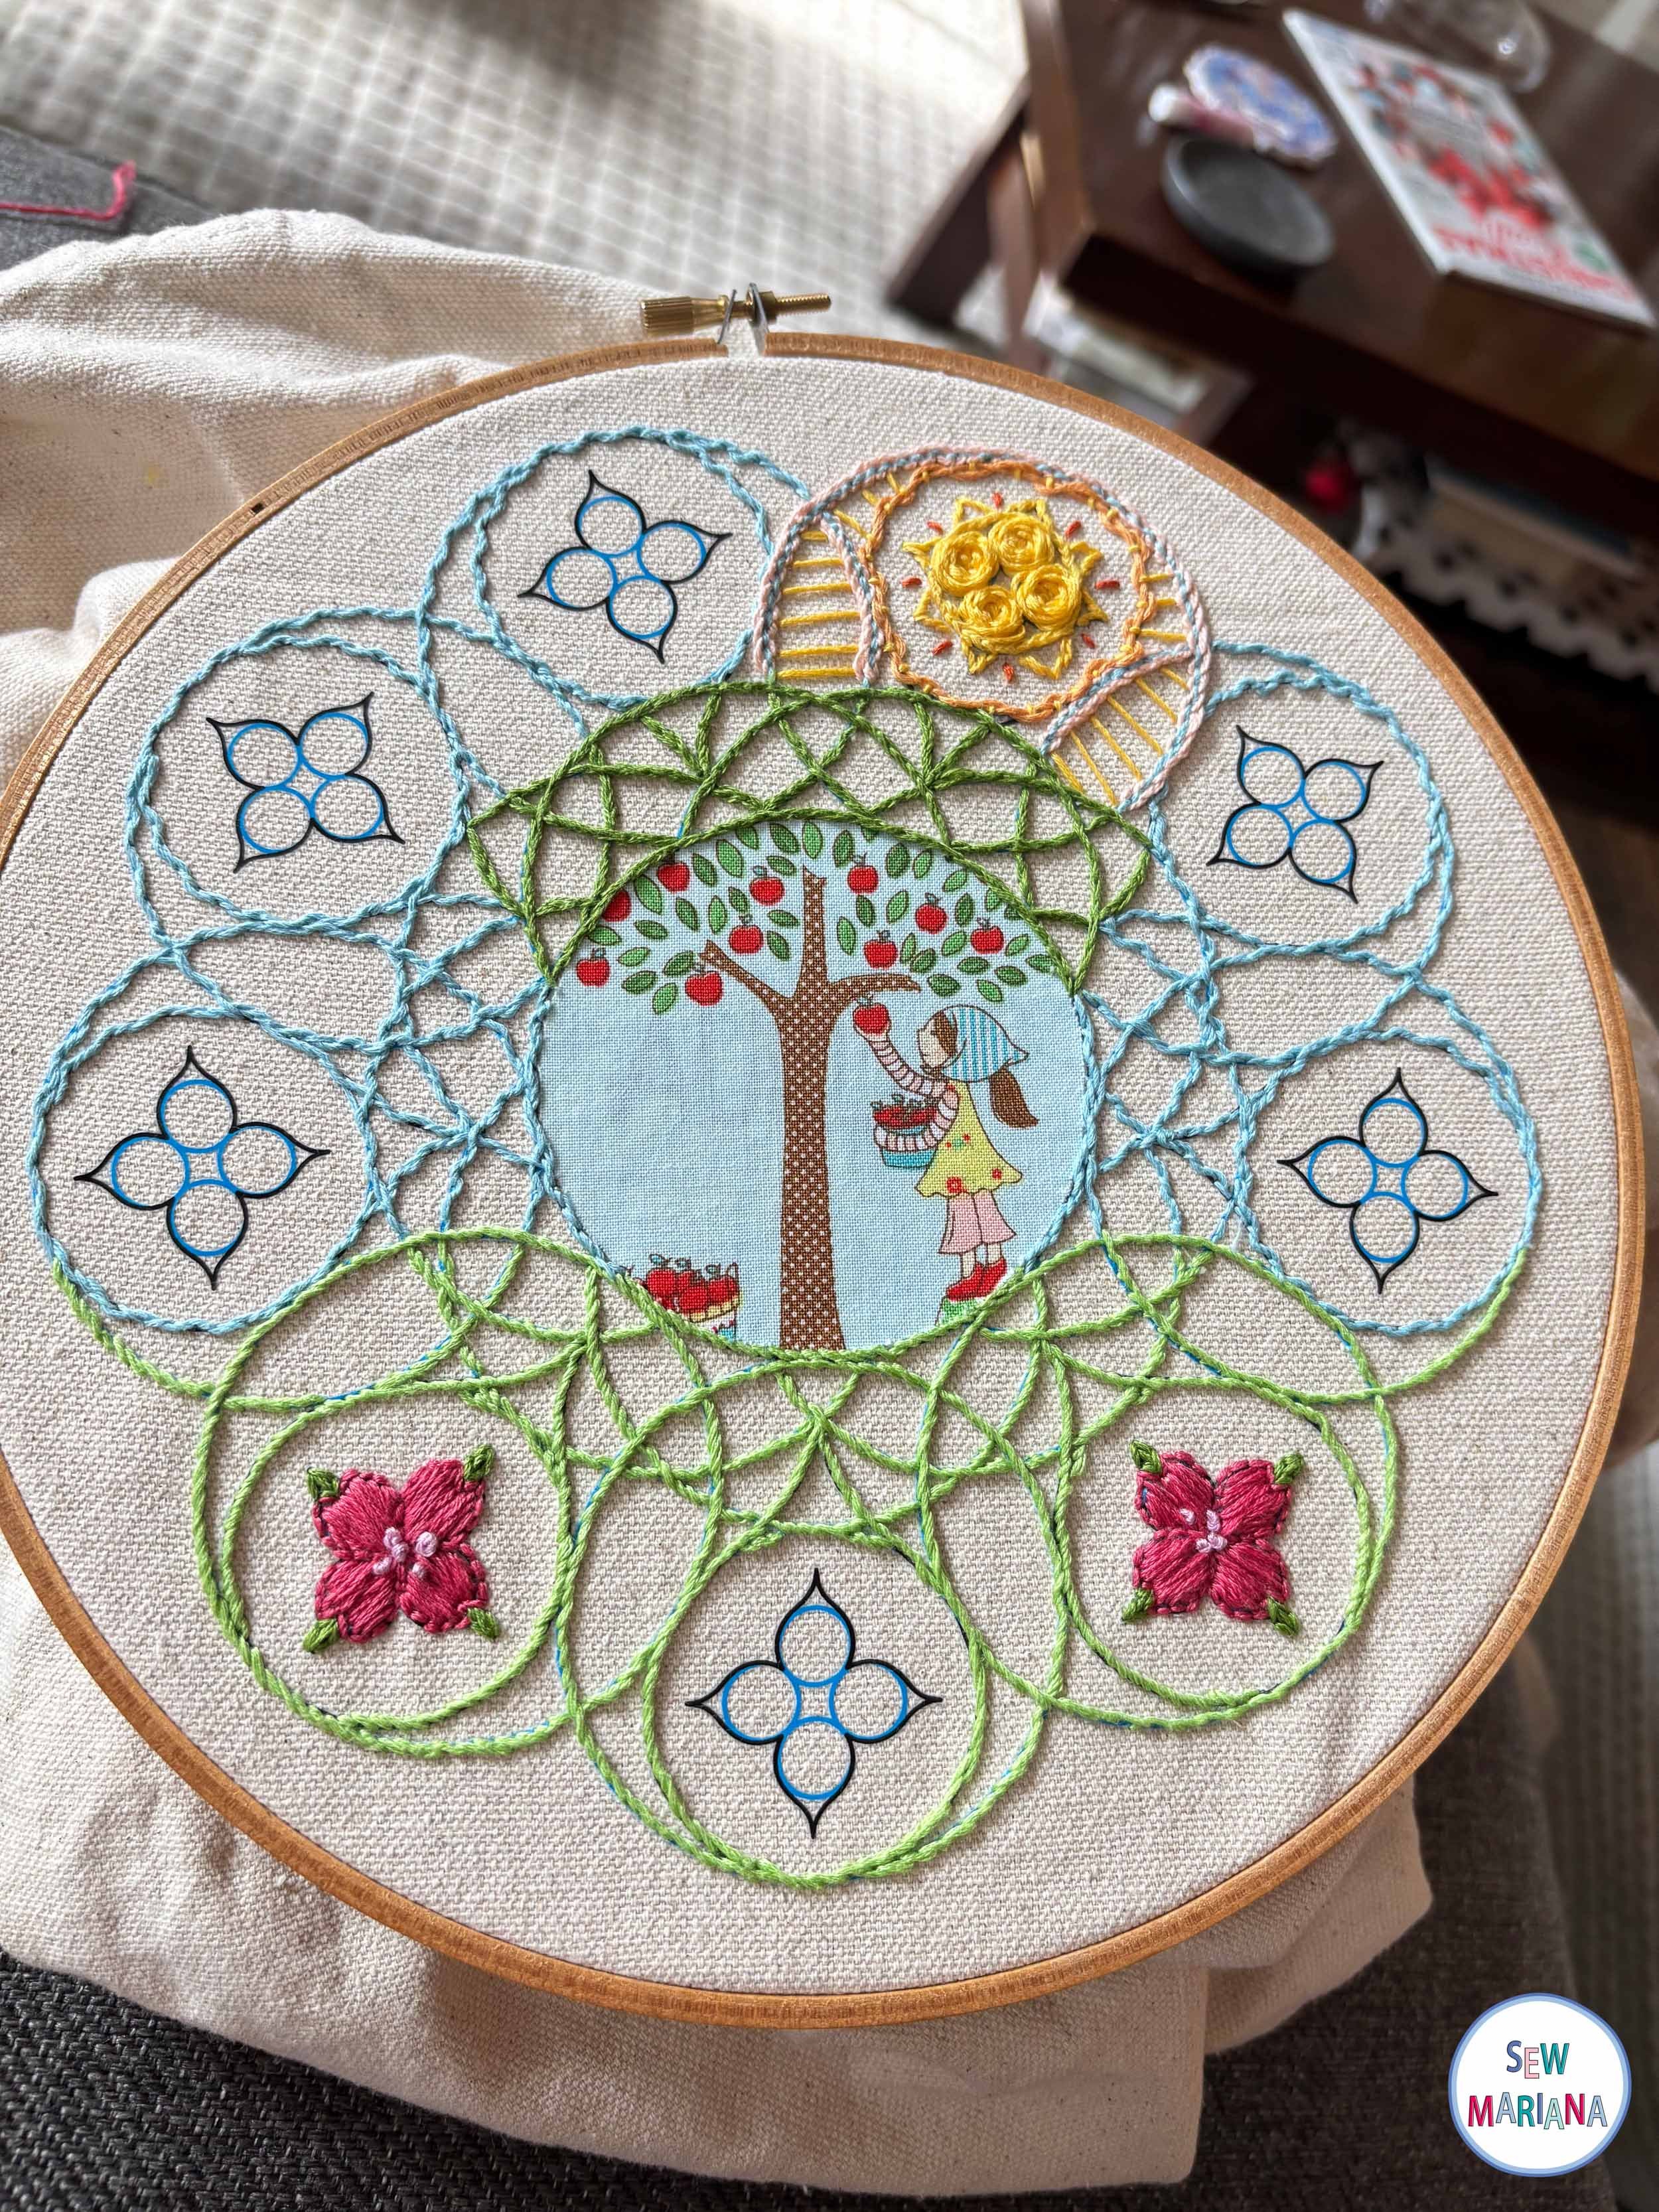
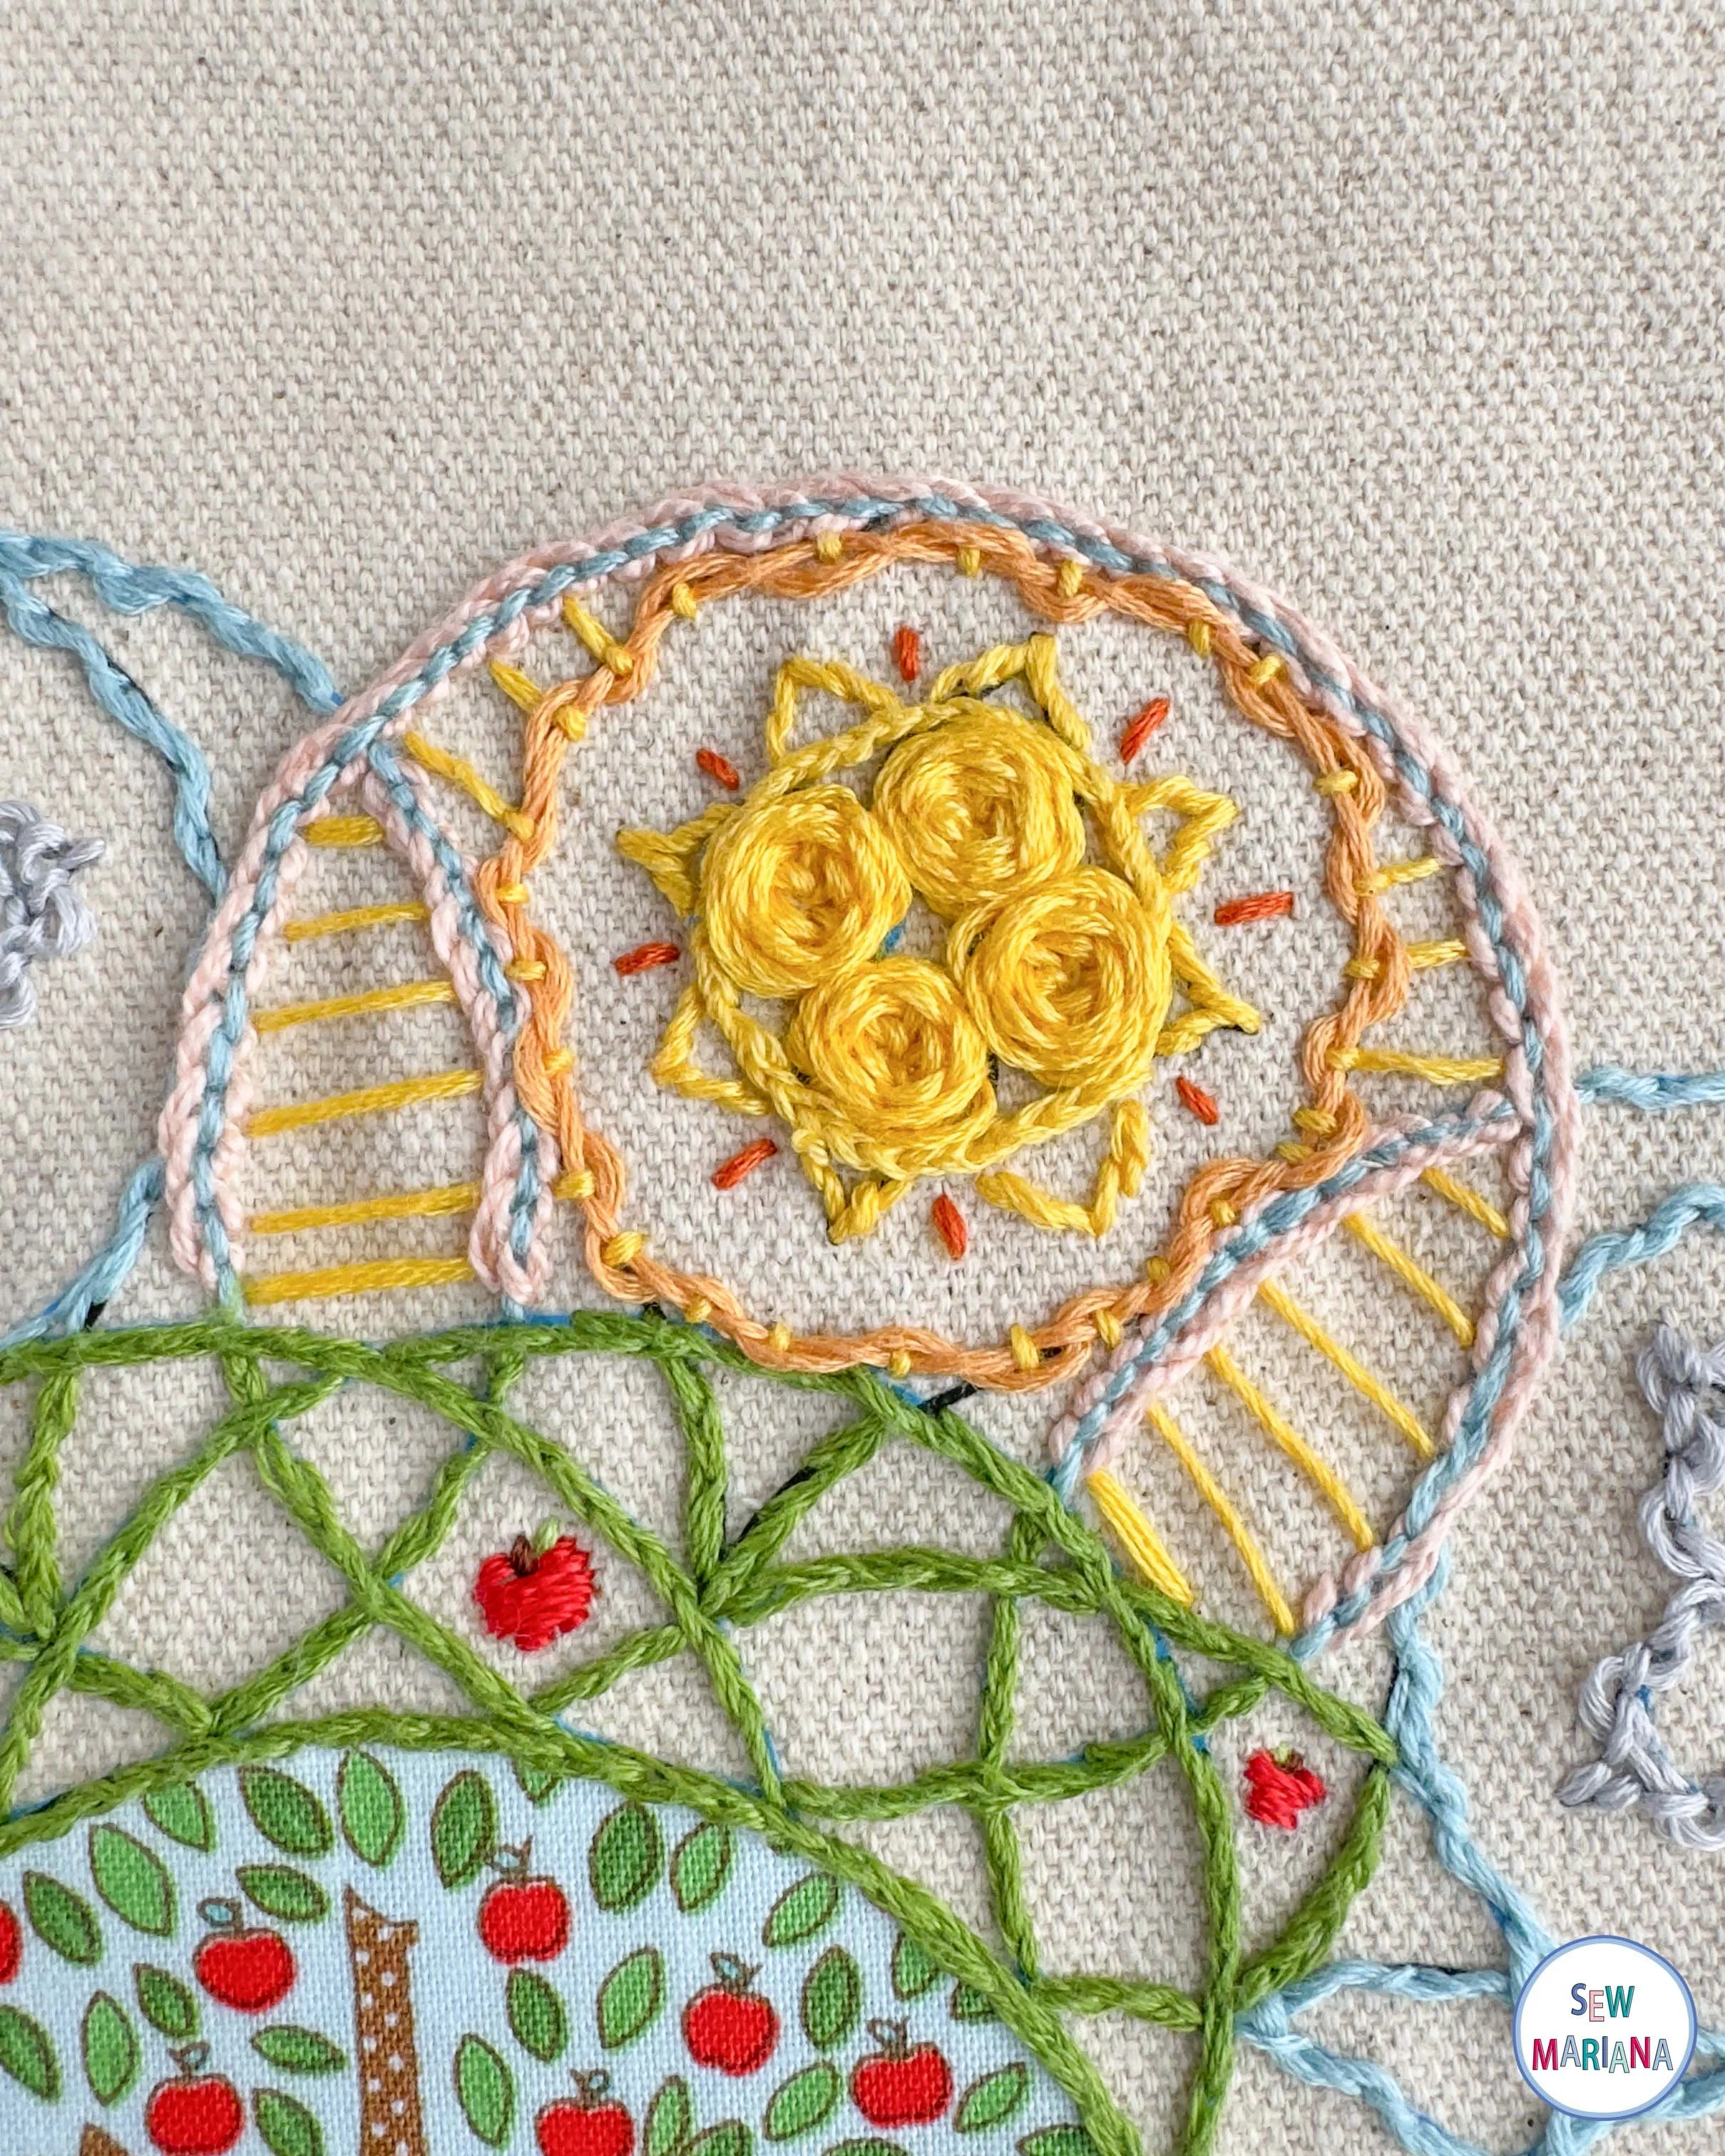
The sun is probably the most complex element. I wanted to make a bit of a glow around it, so I used a light pink to make the surrounding circle into a pekinese stitch, followed by couching with that light orange, aligning it with the yellow rays. I even experimented by weaving through the couching like I had with my woven back-stitches, and I think it came out great! For the sun itself, I used a little of everything: a split stitch for the circle, stem stitch for the points, and then a couple of woven circles to really give it volume. It was a lot of work, but I’m so happy with how it came out!
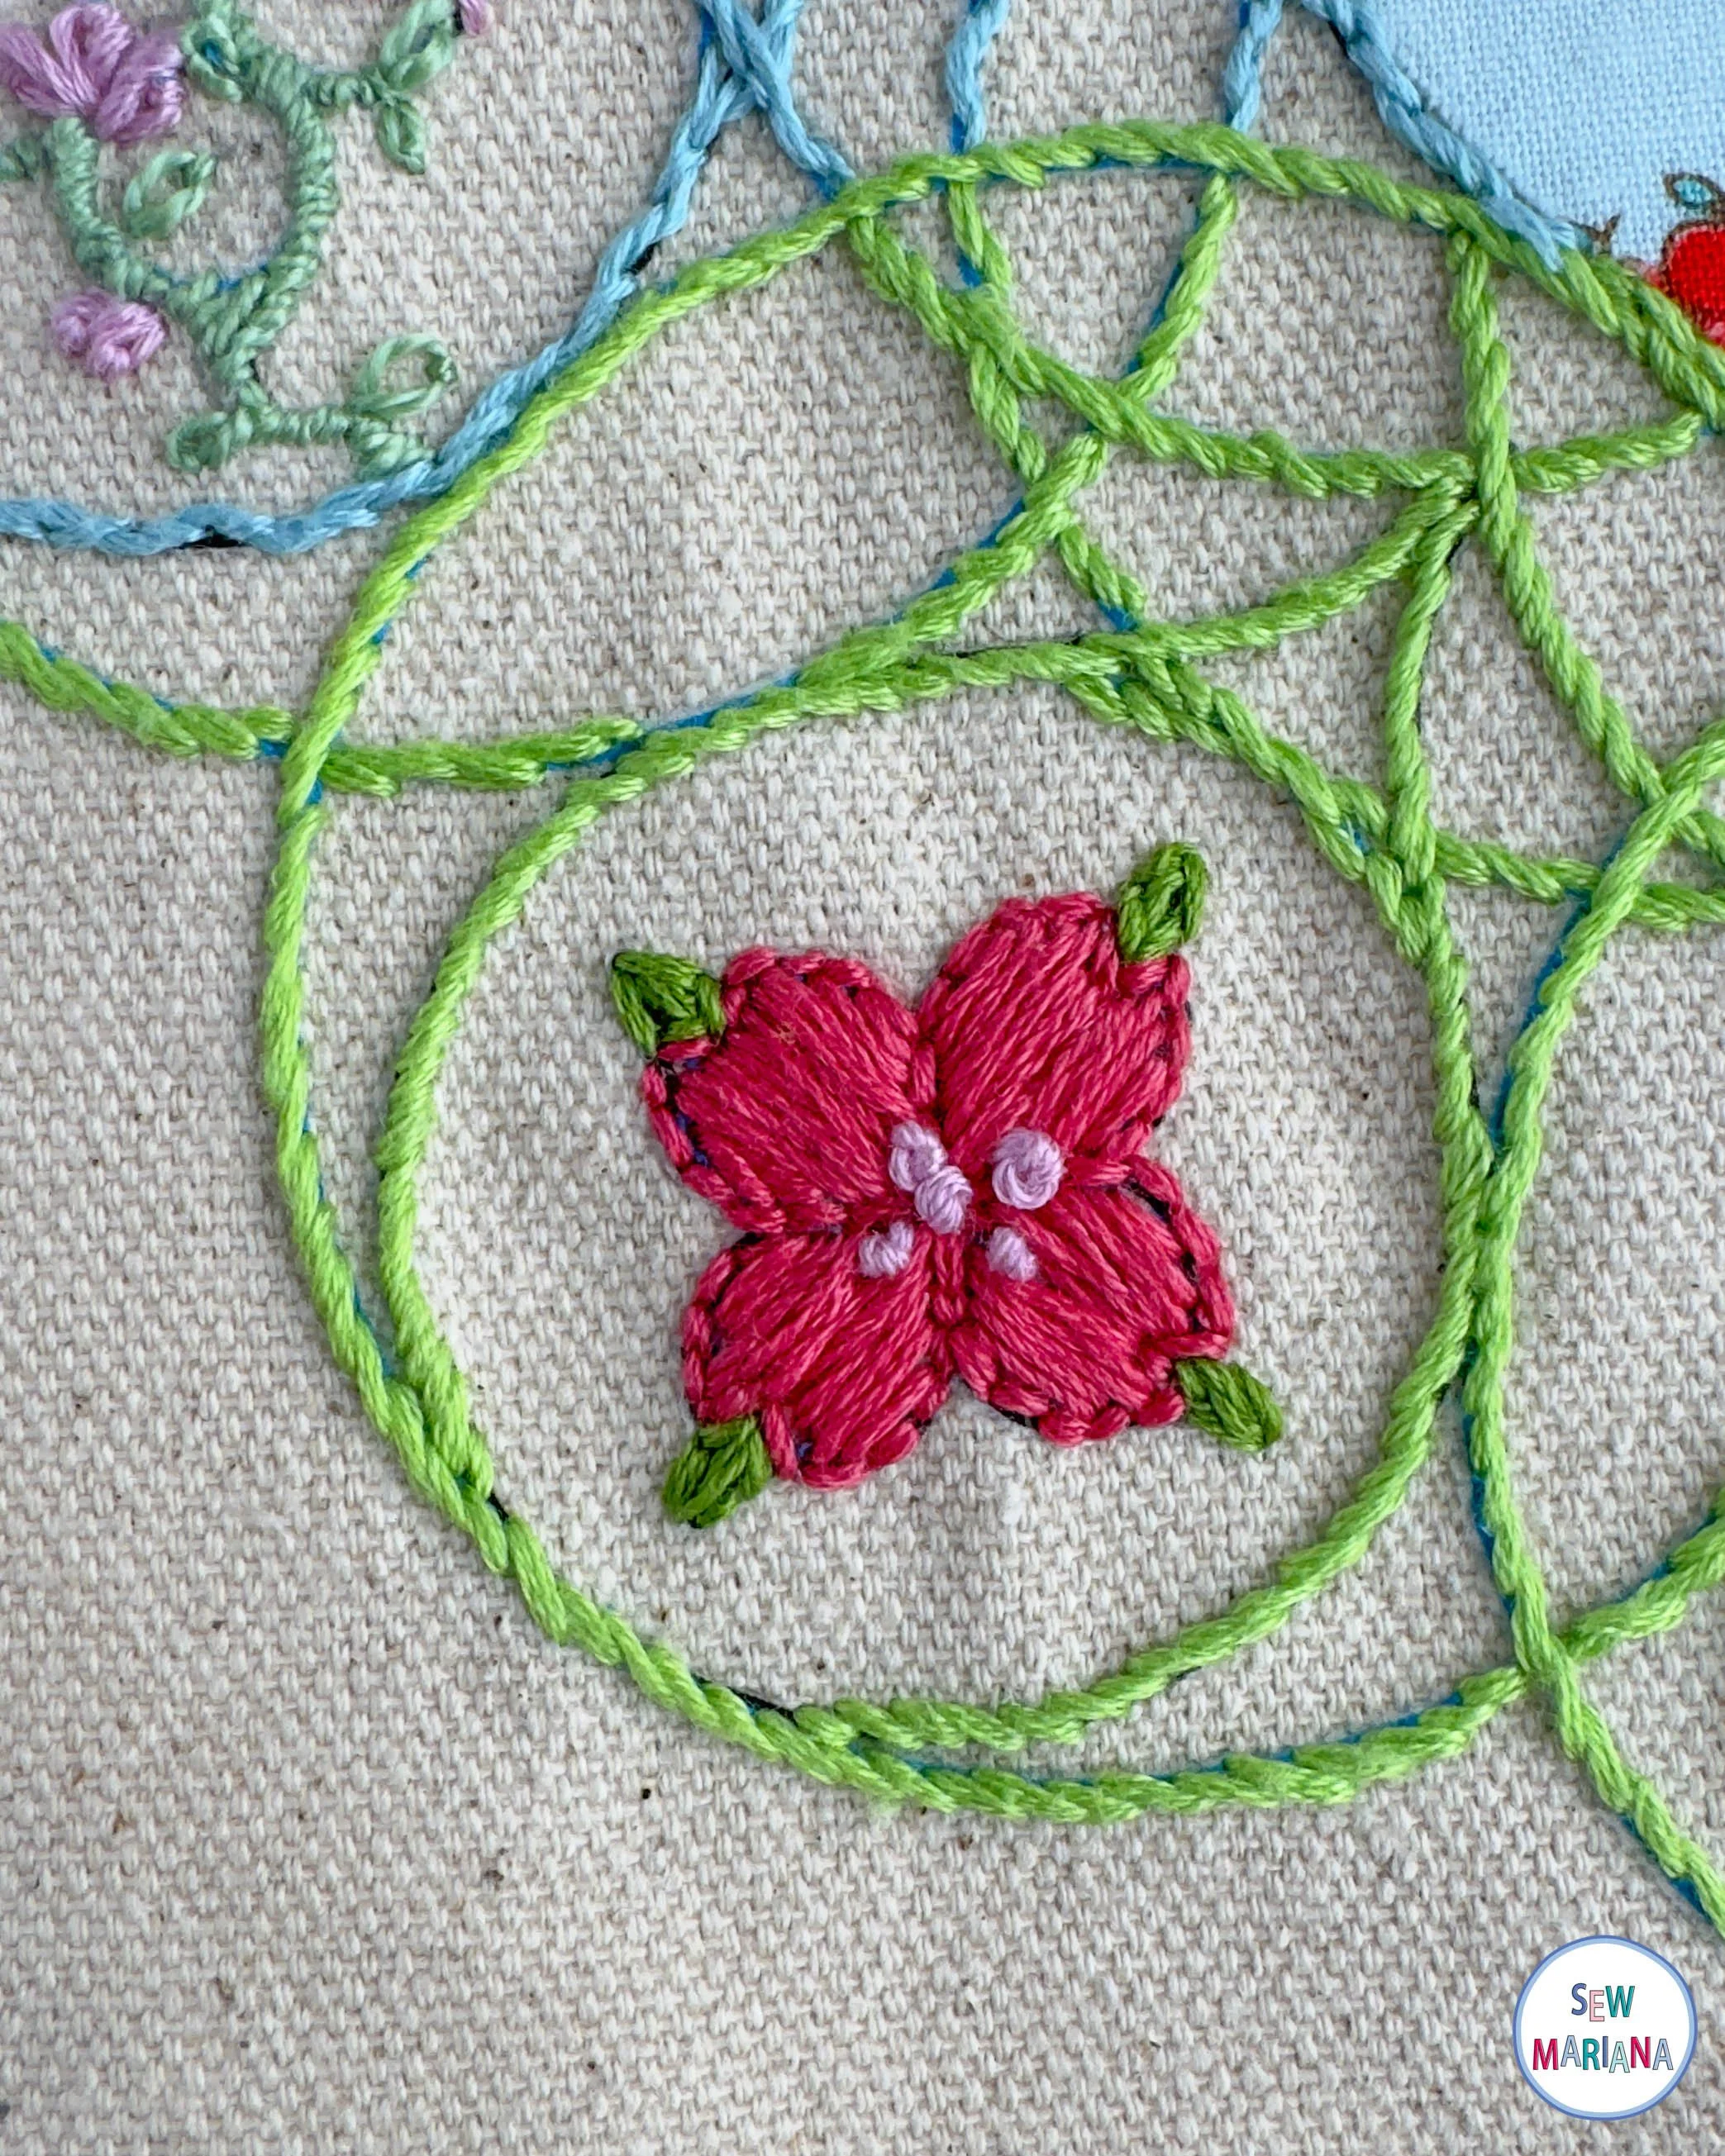
Next came the flowers. The pink ones were simplest; I followed the printed shape, just making the tips into leaves for fun, and adding some french knots in the center point of the petals. In the bottom, to help keep things from getting too overwhelming, I toned it down with these leaves, using a classic fishbone stitch.
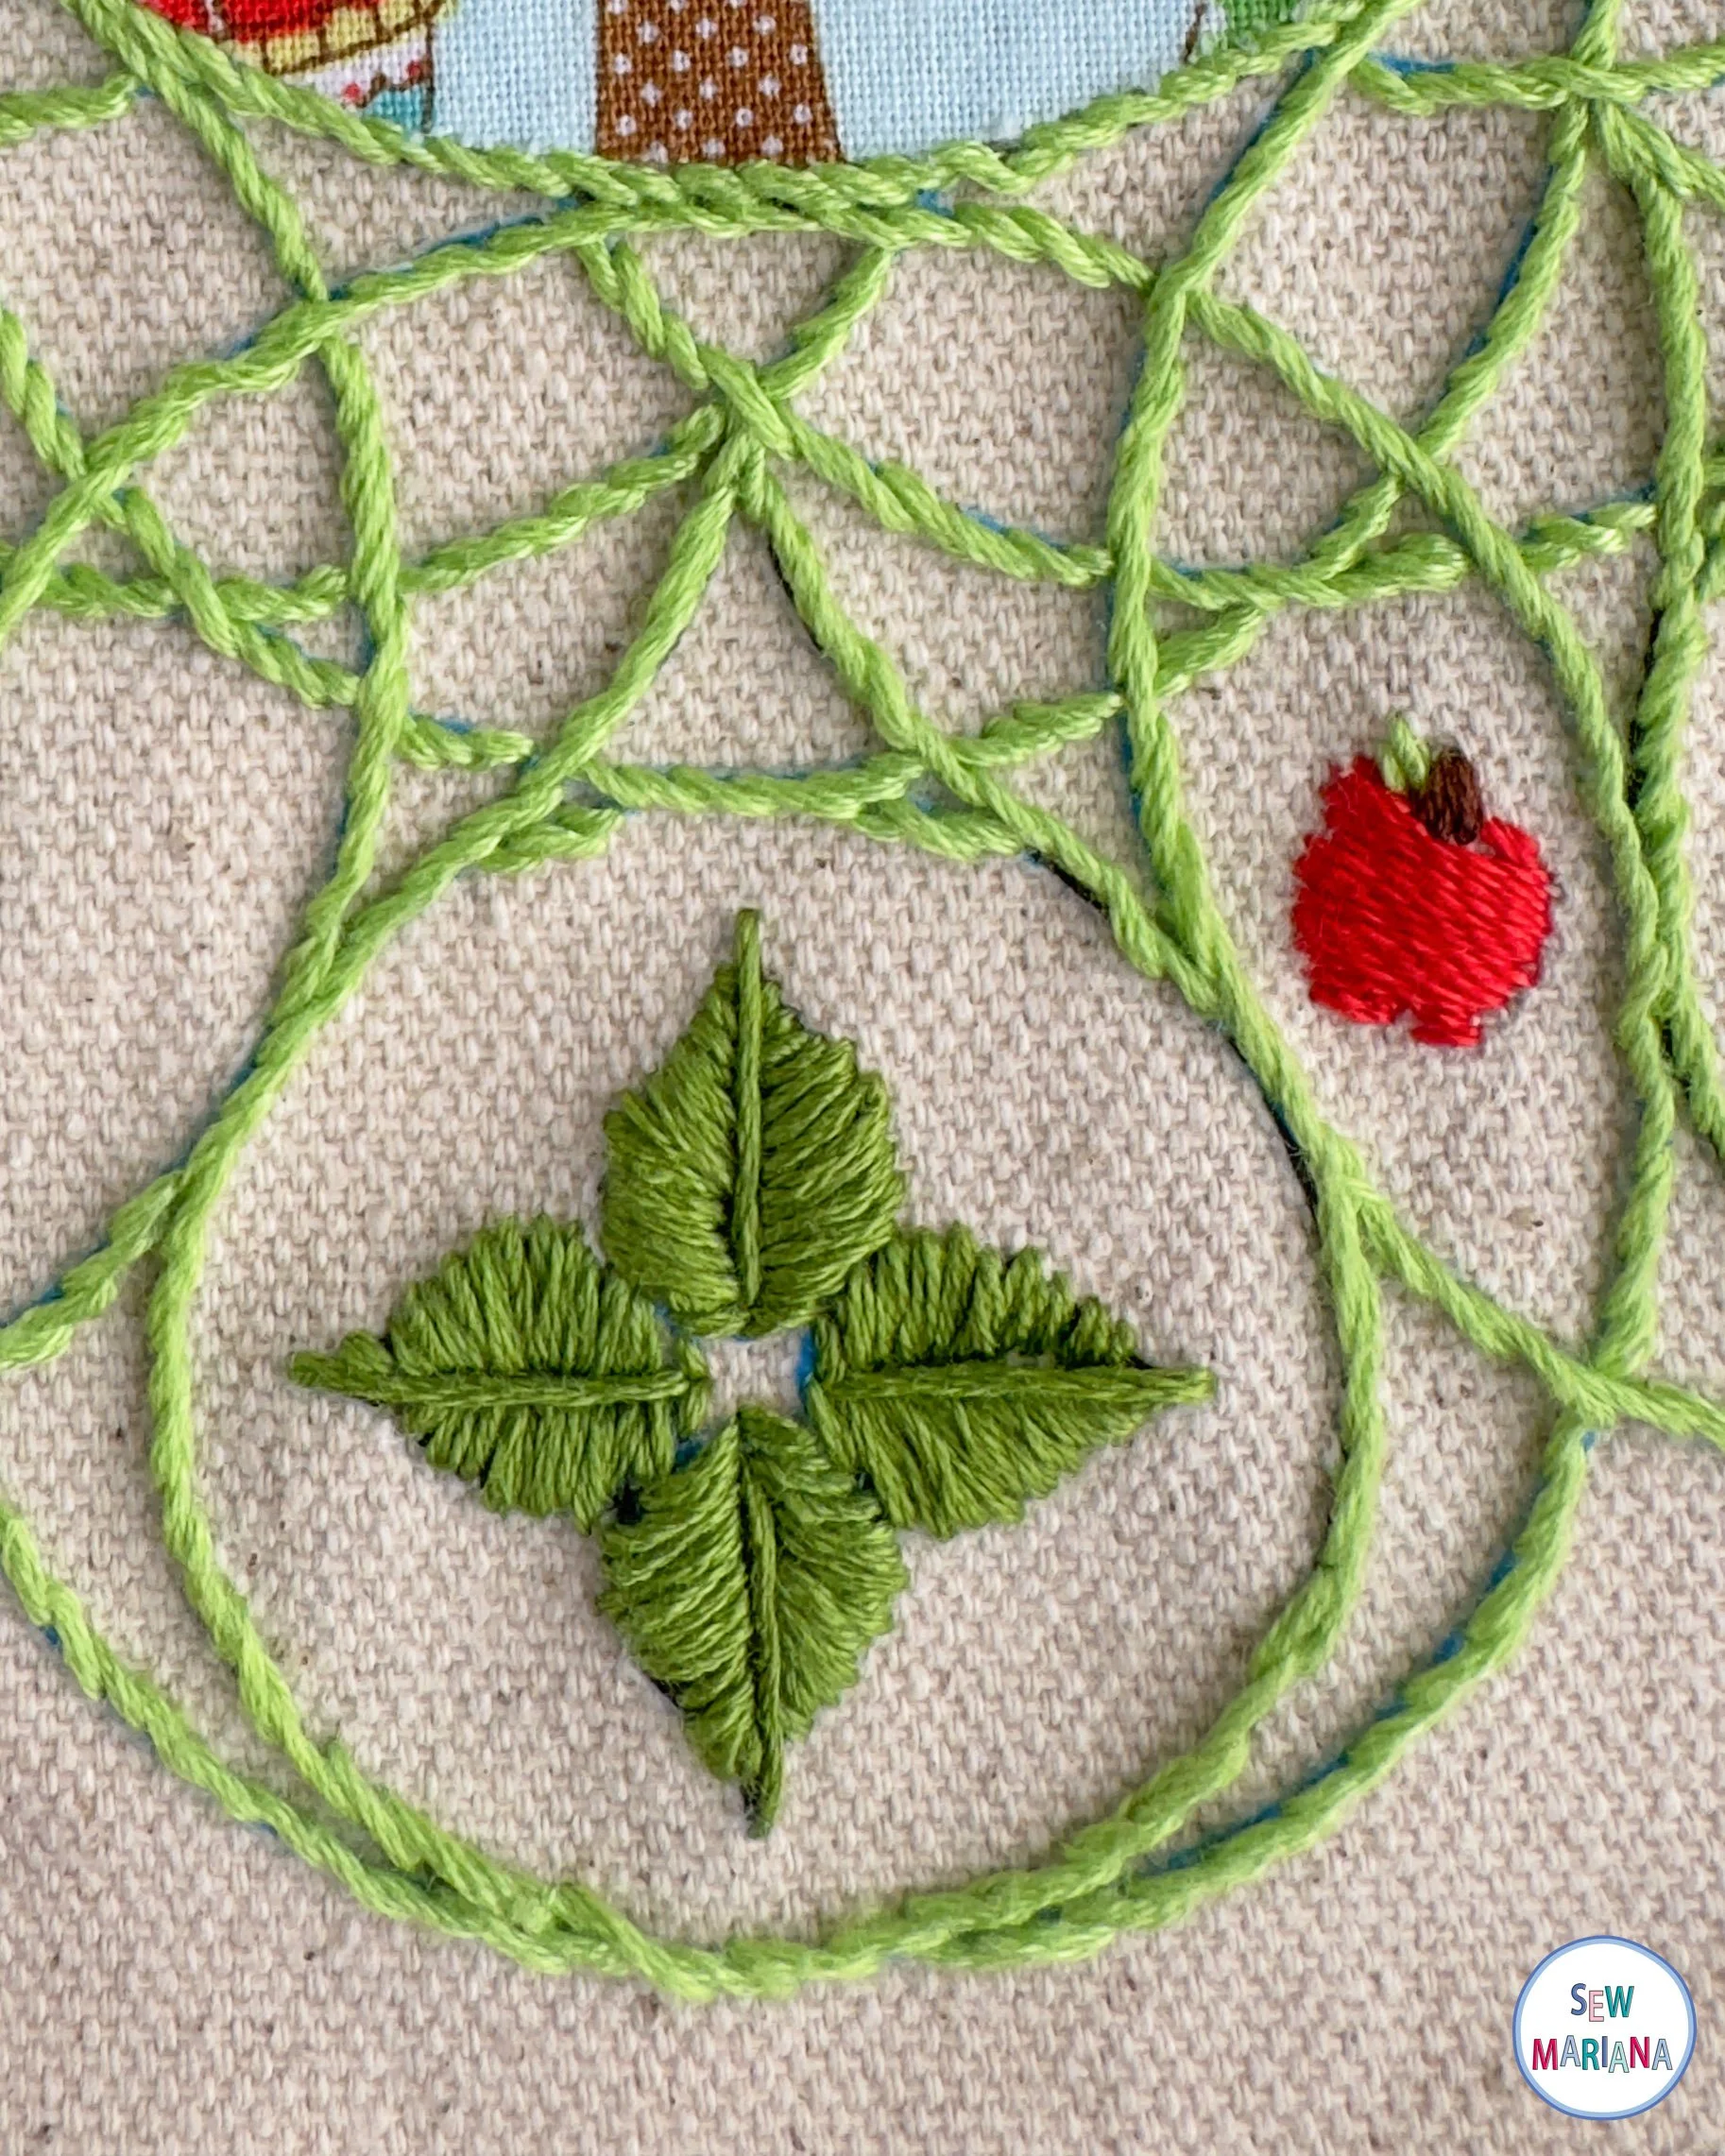
For the two flowers over the hills, I wanted them to look vertical. On the left, I made a winding stem and lazy daisy purple flowers. I like the vine/tangled look it has. On the right, I went with a royal blue and bright yellow for the flower centers. To make it look nice and different, I made the stems straight, using conveniently placed leaves and petals to cover that underlying print.
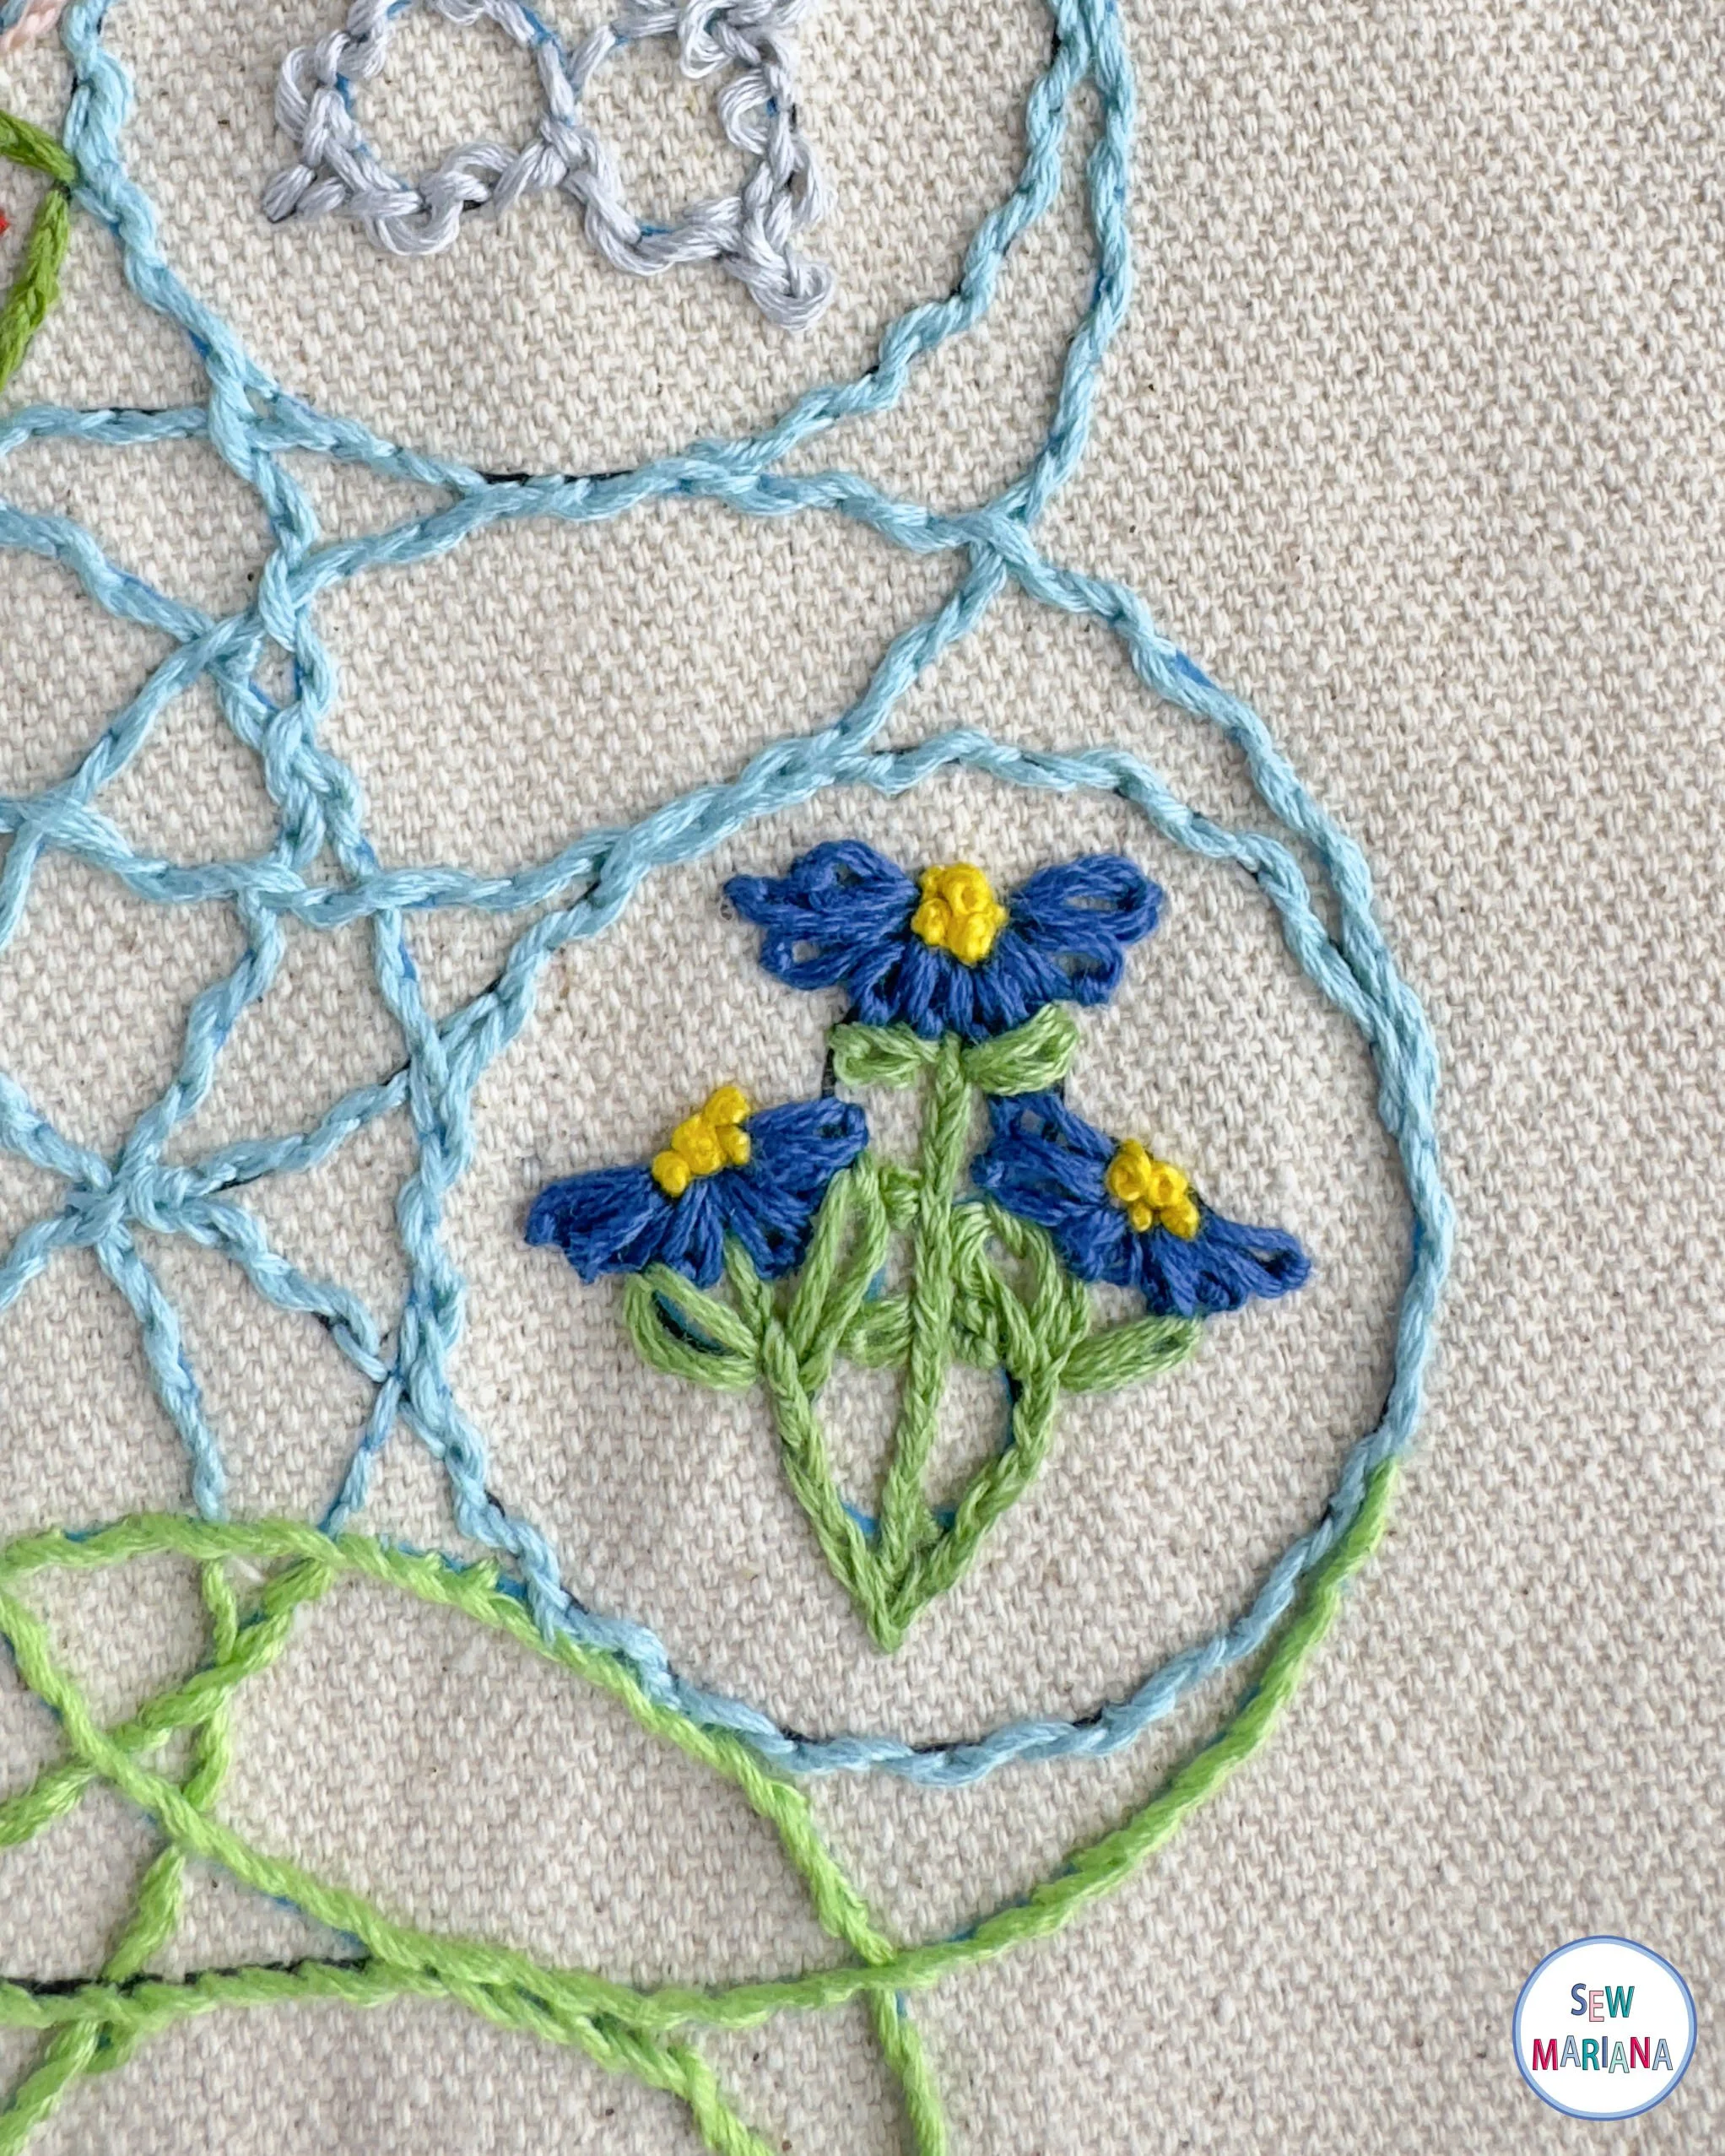
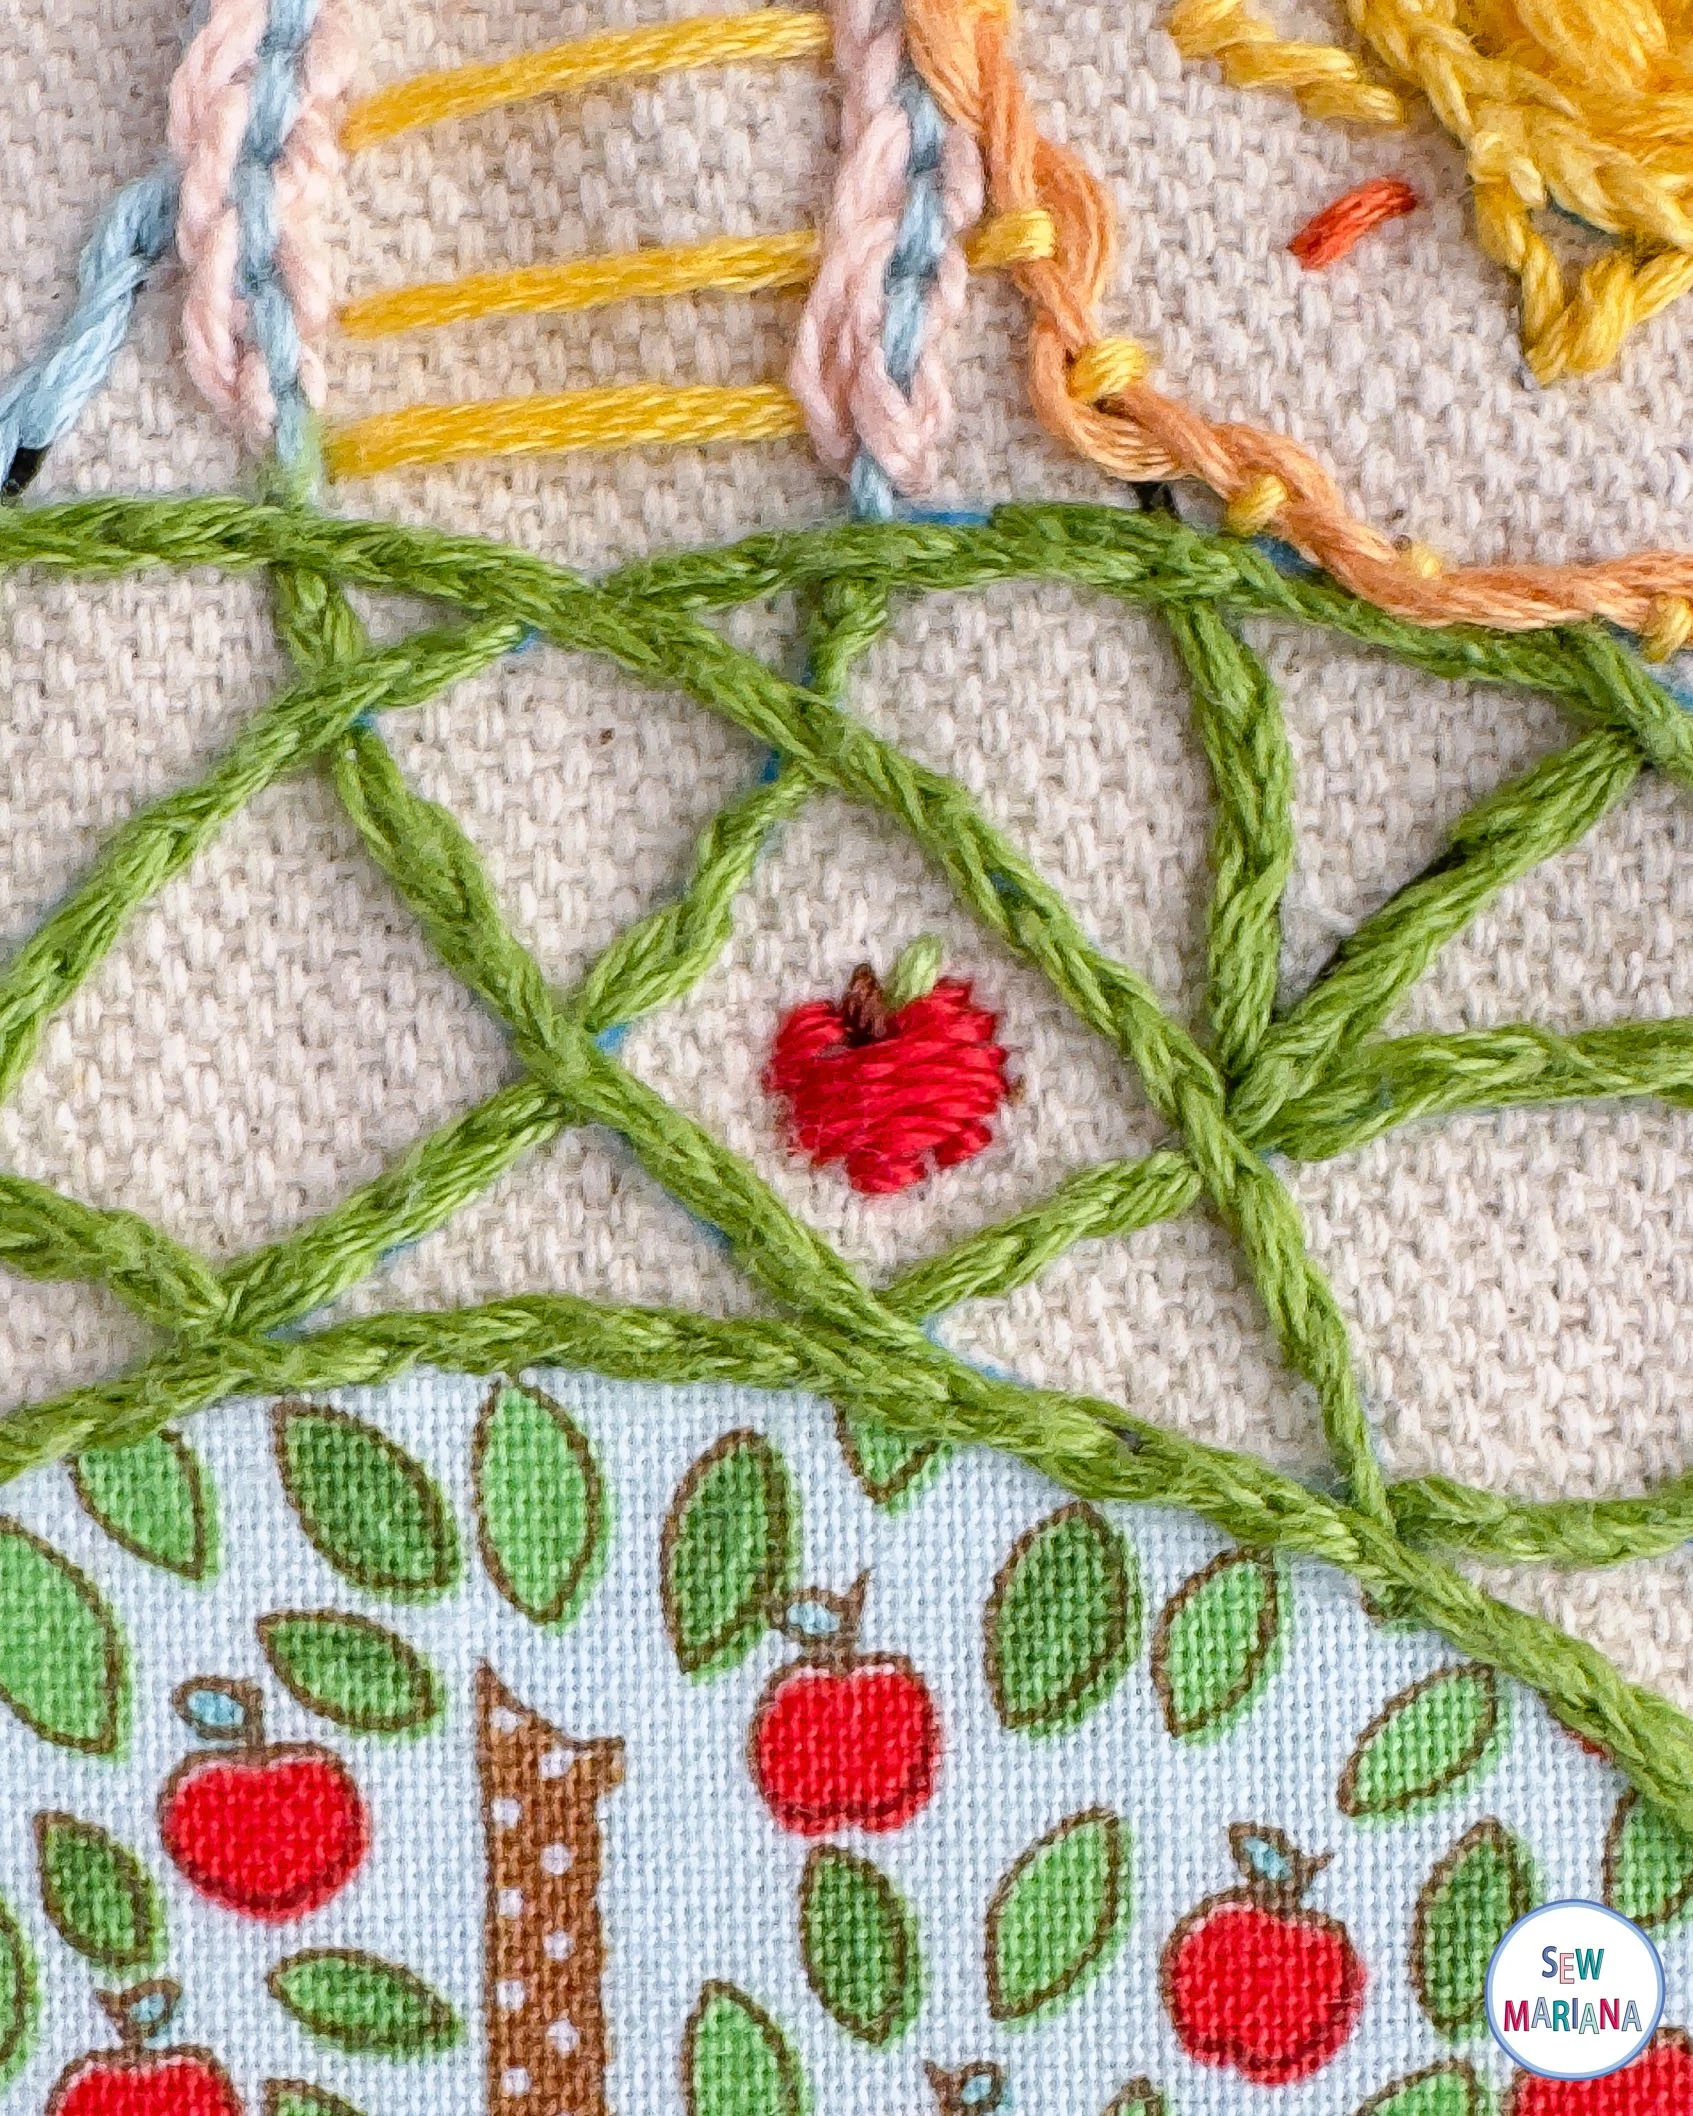
Finally, finishing touches! It’s an apple-picking scene, so I needed apples! I wanted them to look smooth and shiny though, so I actually used a 12 weight thread to make that satin stitch look like true satin! Don’t they look scrumptious? It was especially handy for such small little elements.
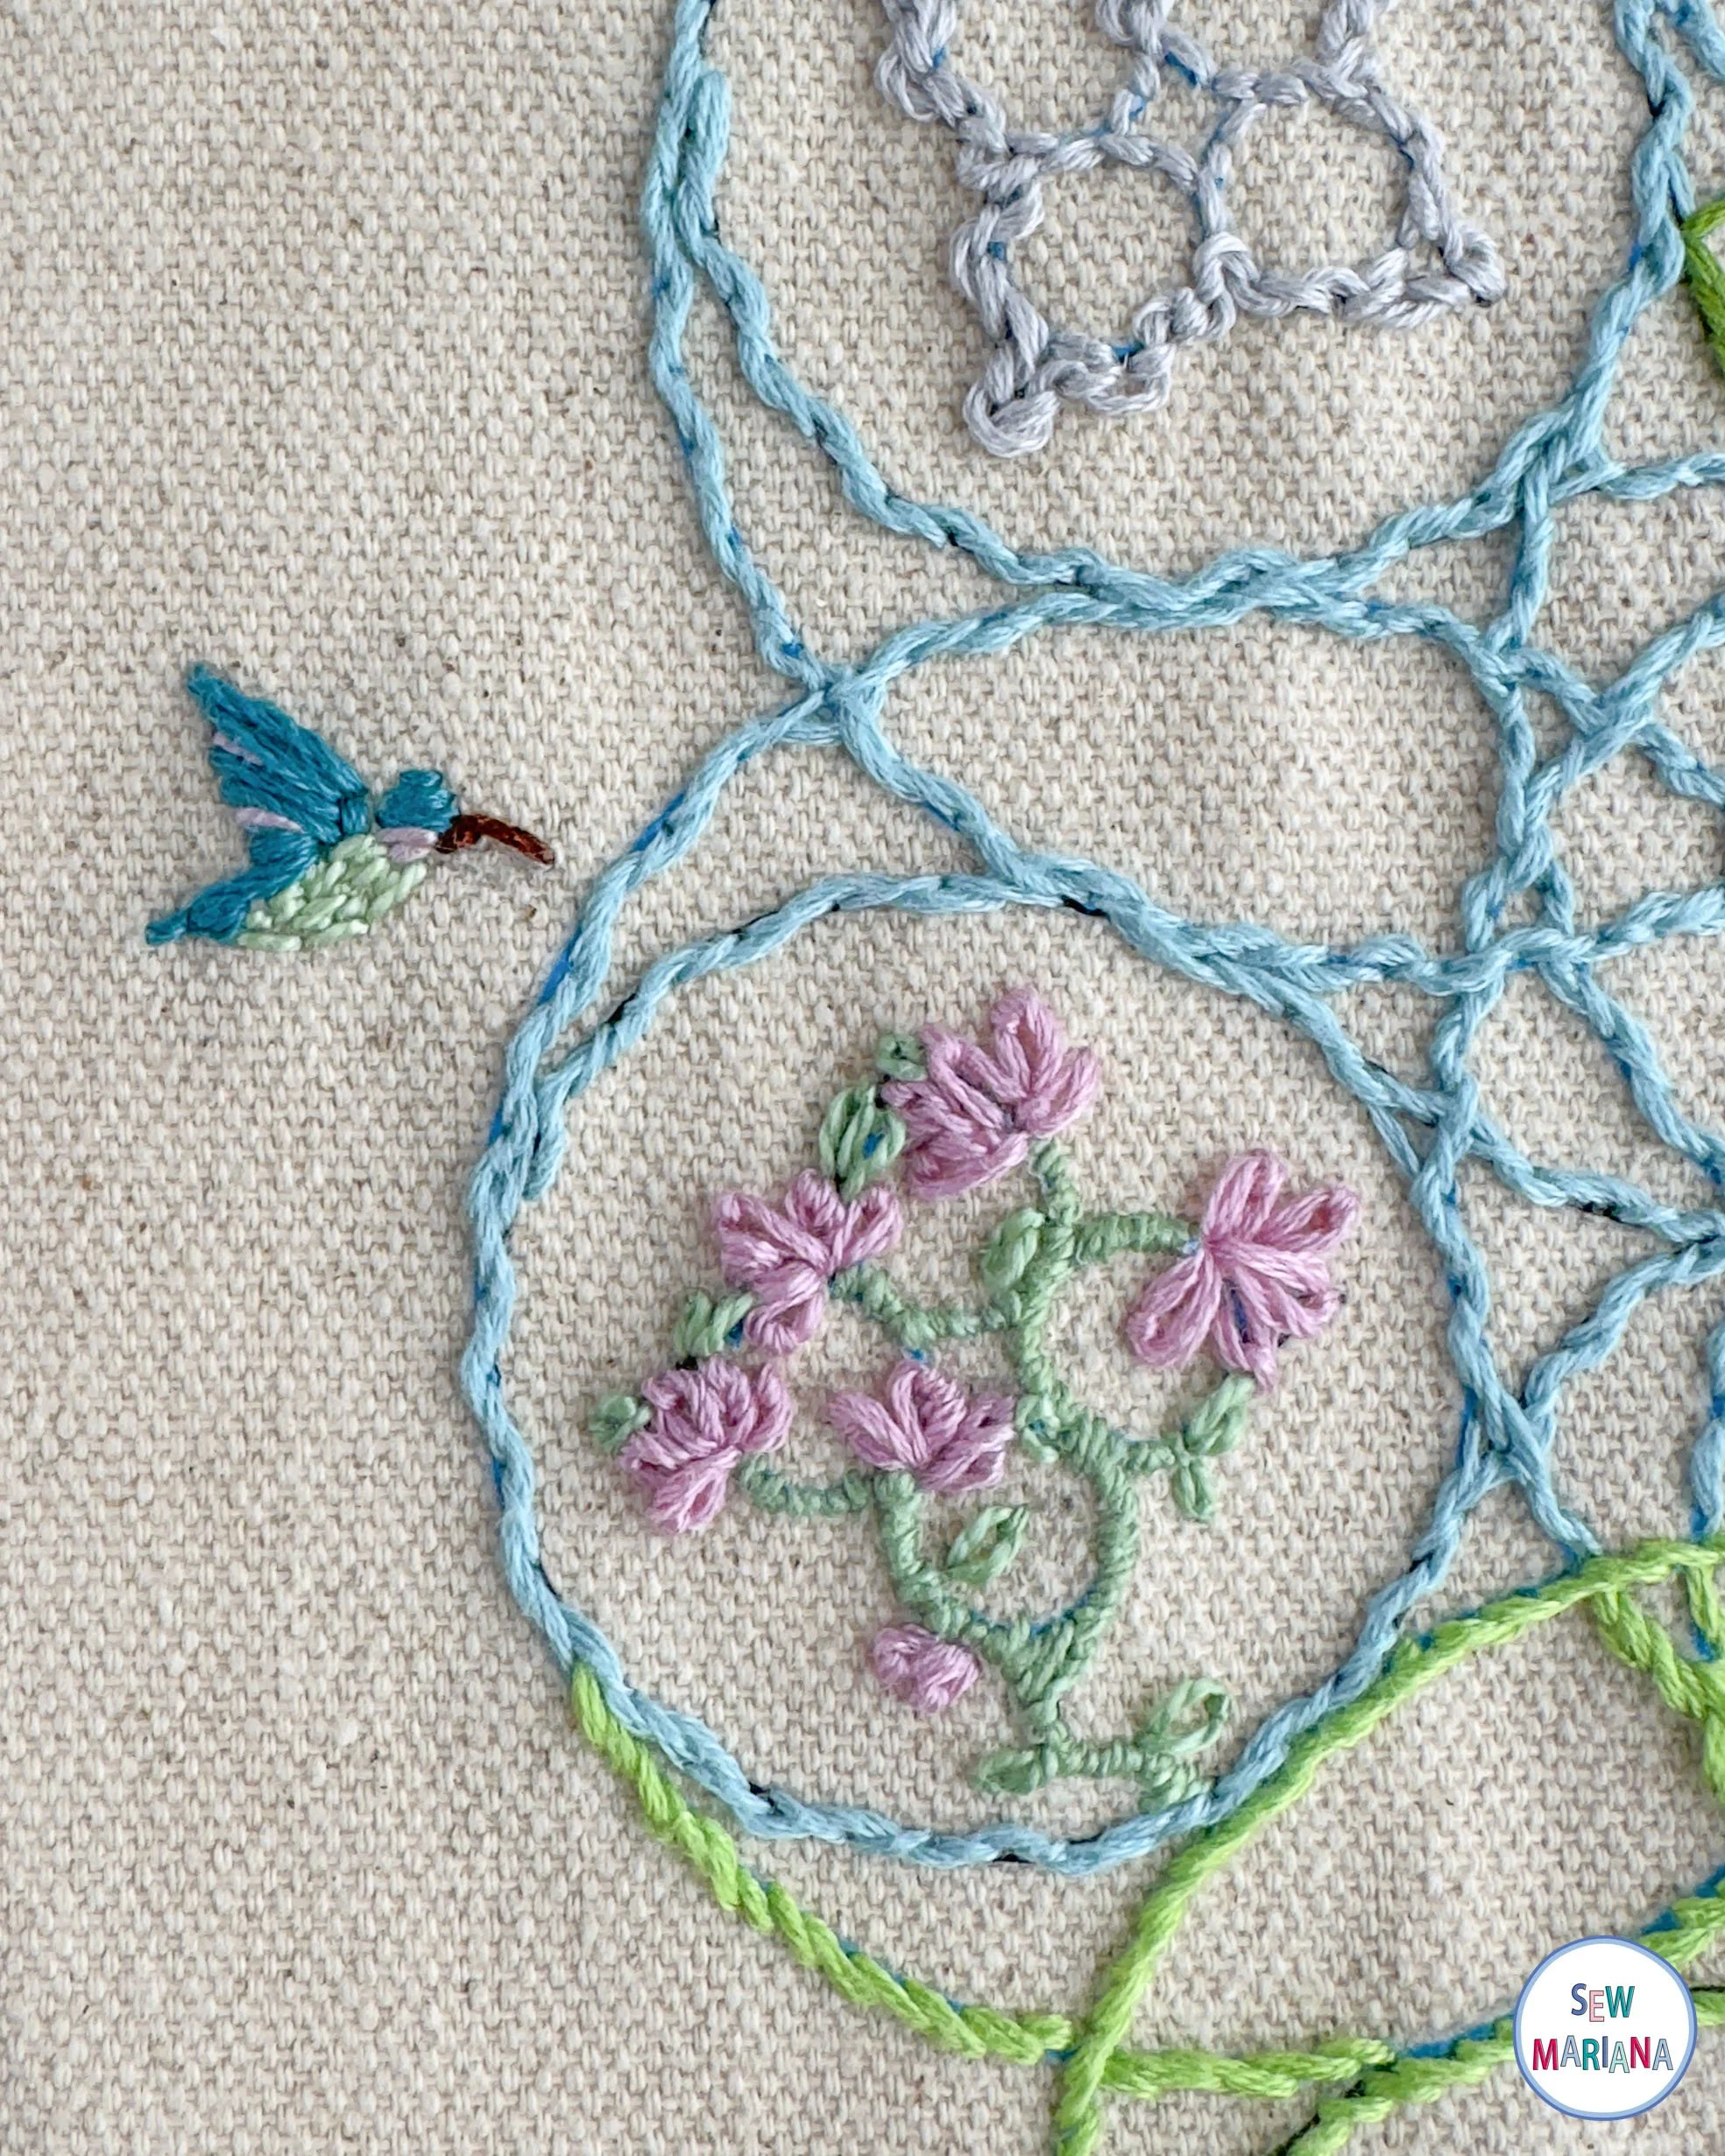
I knew something was missing, though. I wanted to break out of the boundaries, so I sewed a little hummingbird approaching the flowers, and I knew the piece was complete.
What a journey! I feel like a pro embroiderer now. It was so much fun to experiment with different weights for different stitches and effects. Do you have a favorite stitch or element to this panel? Let me know!
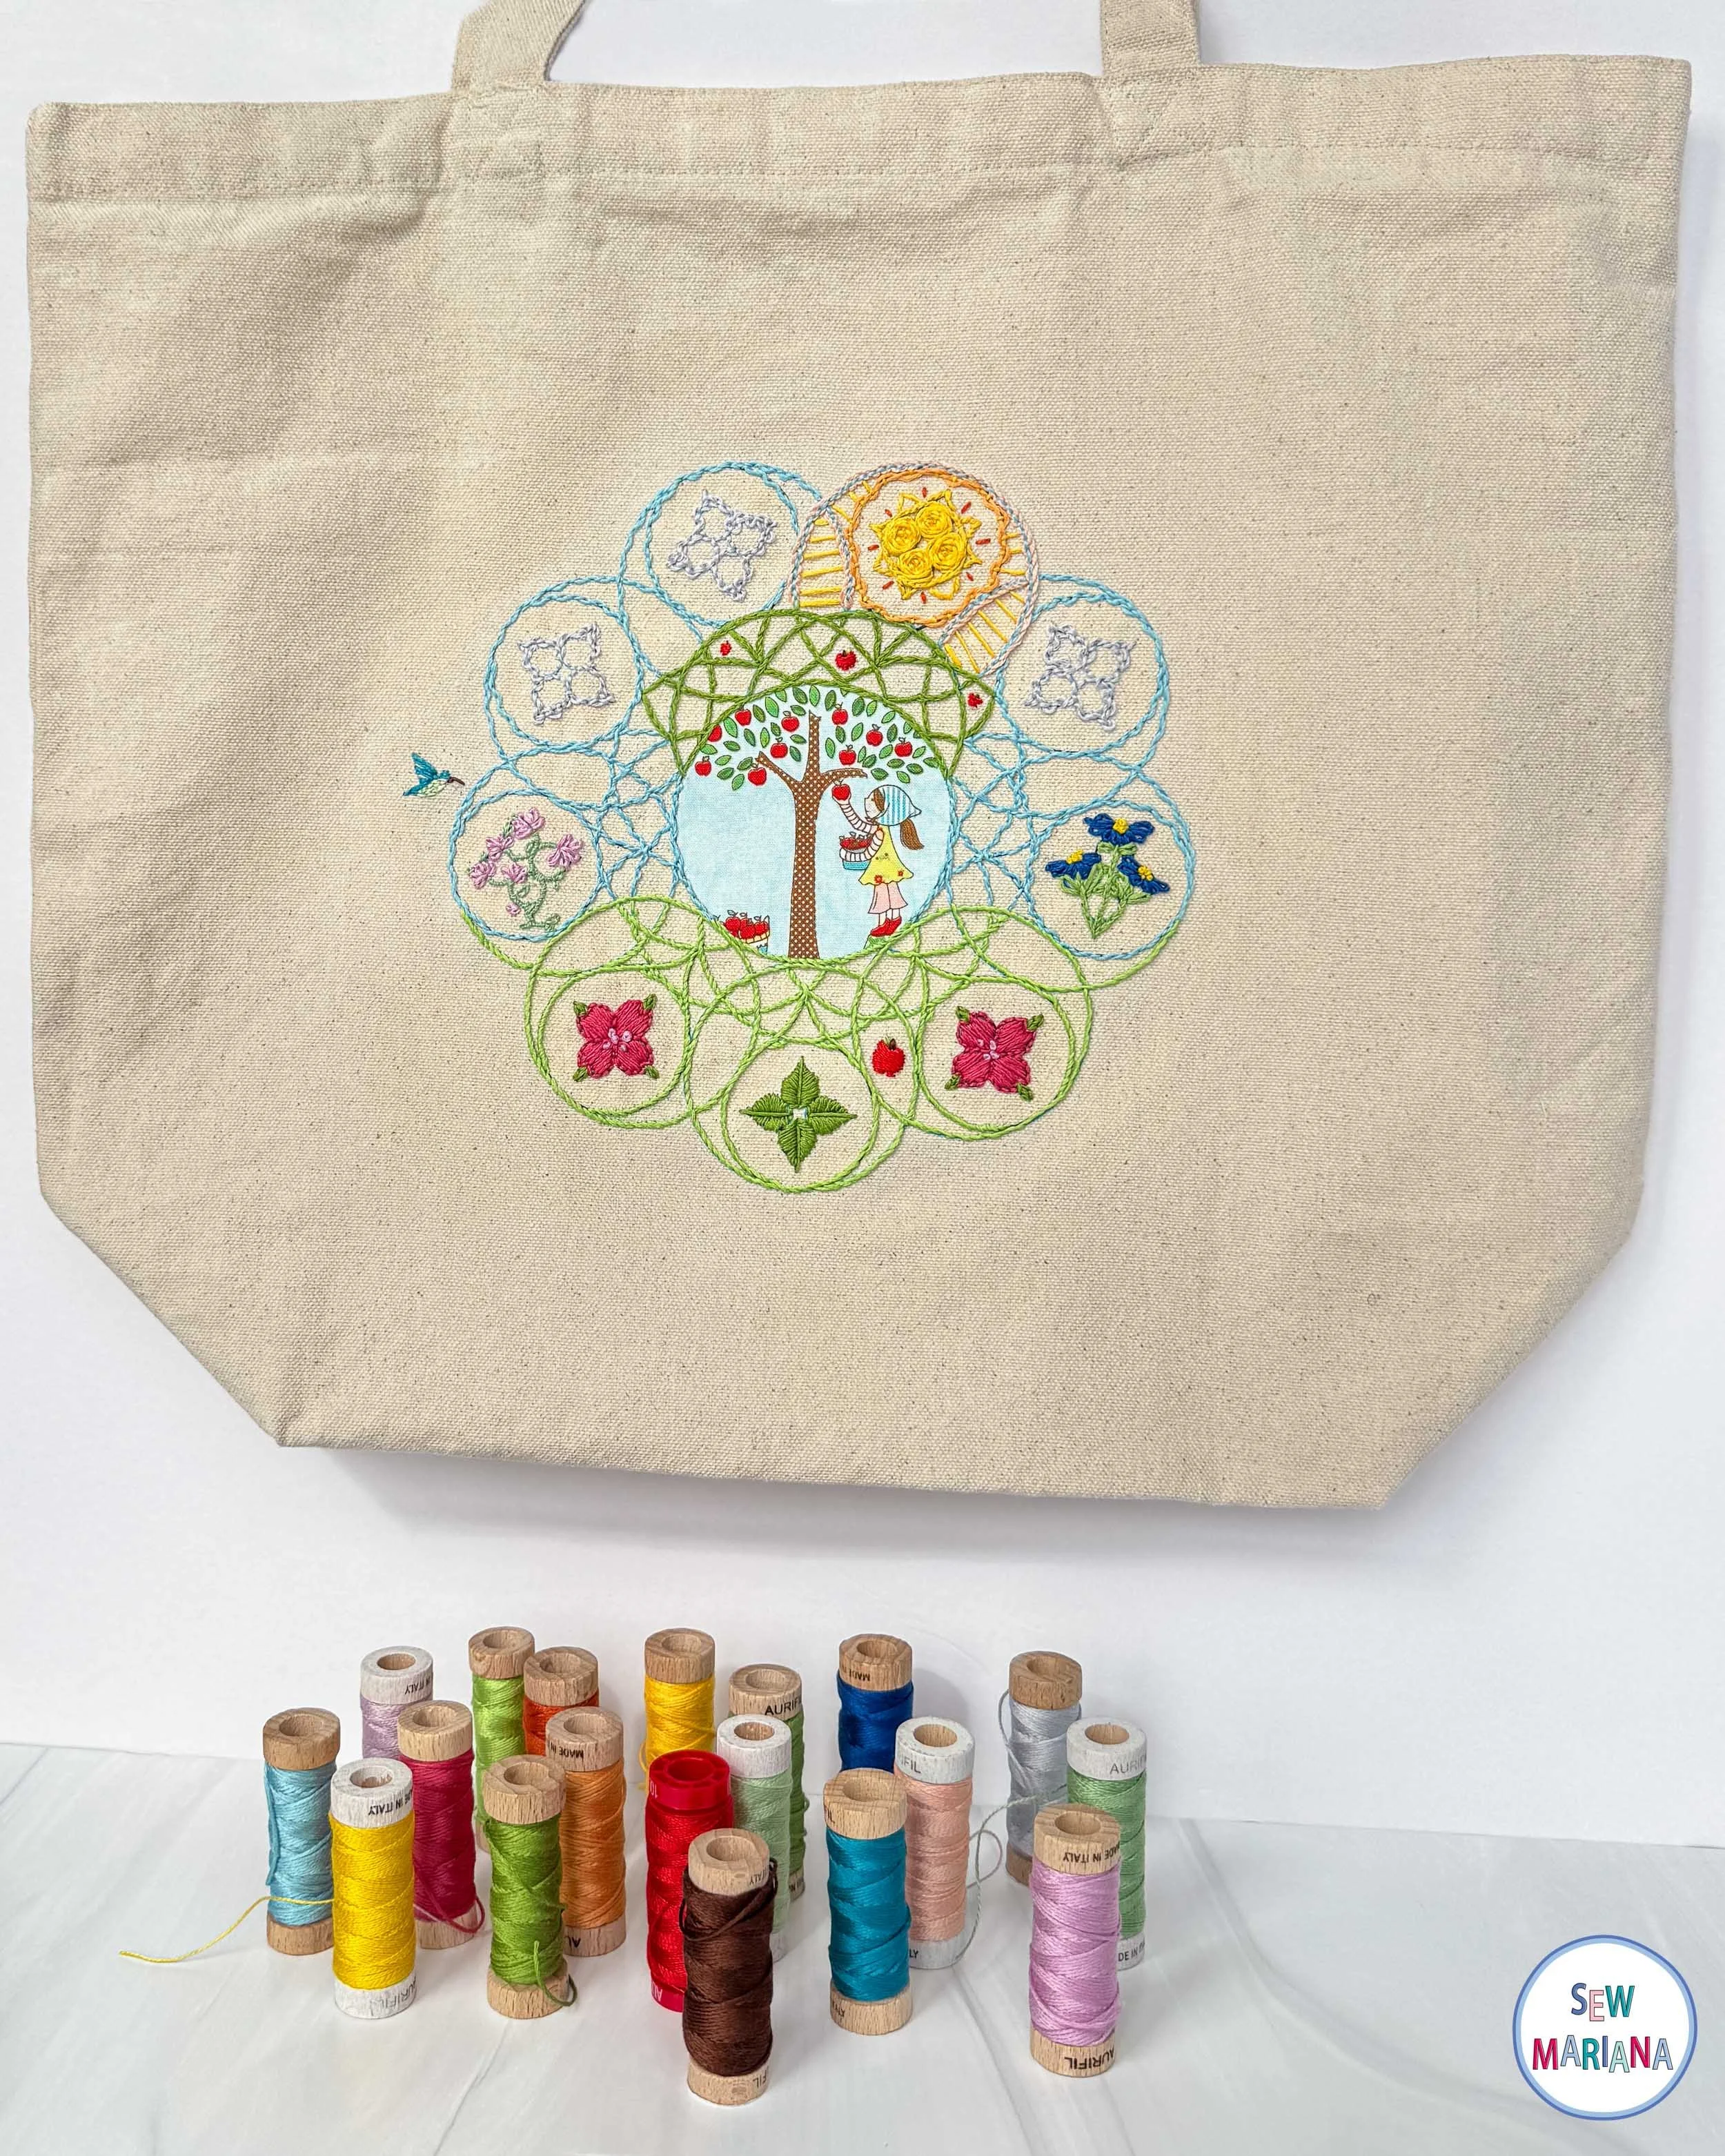
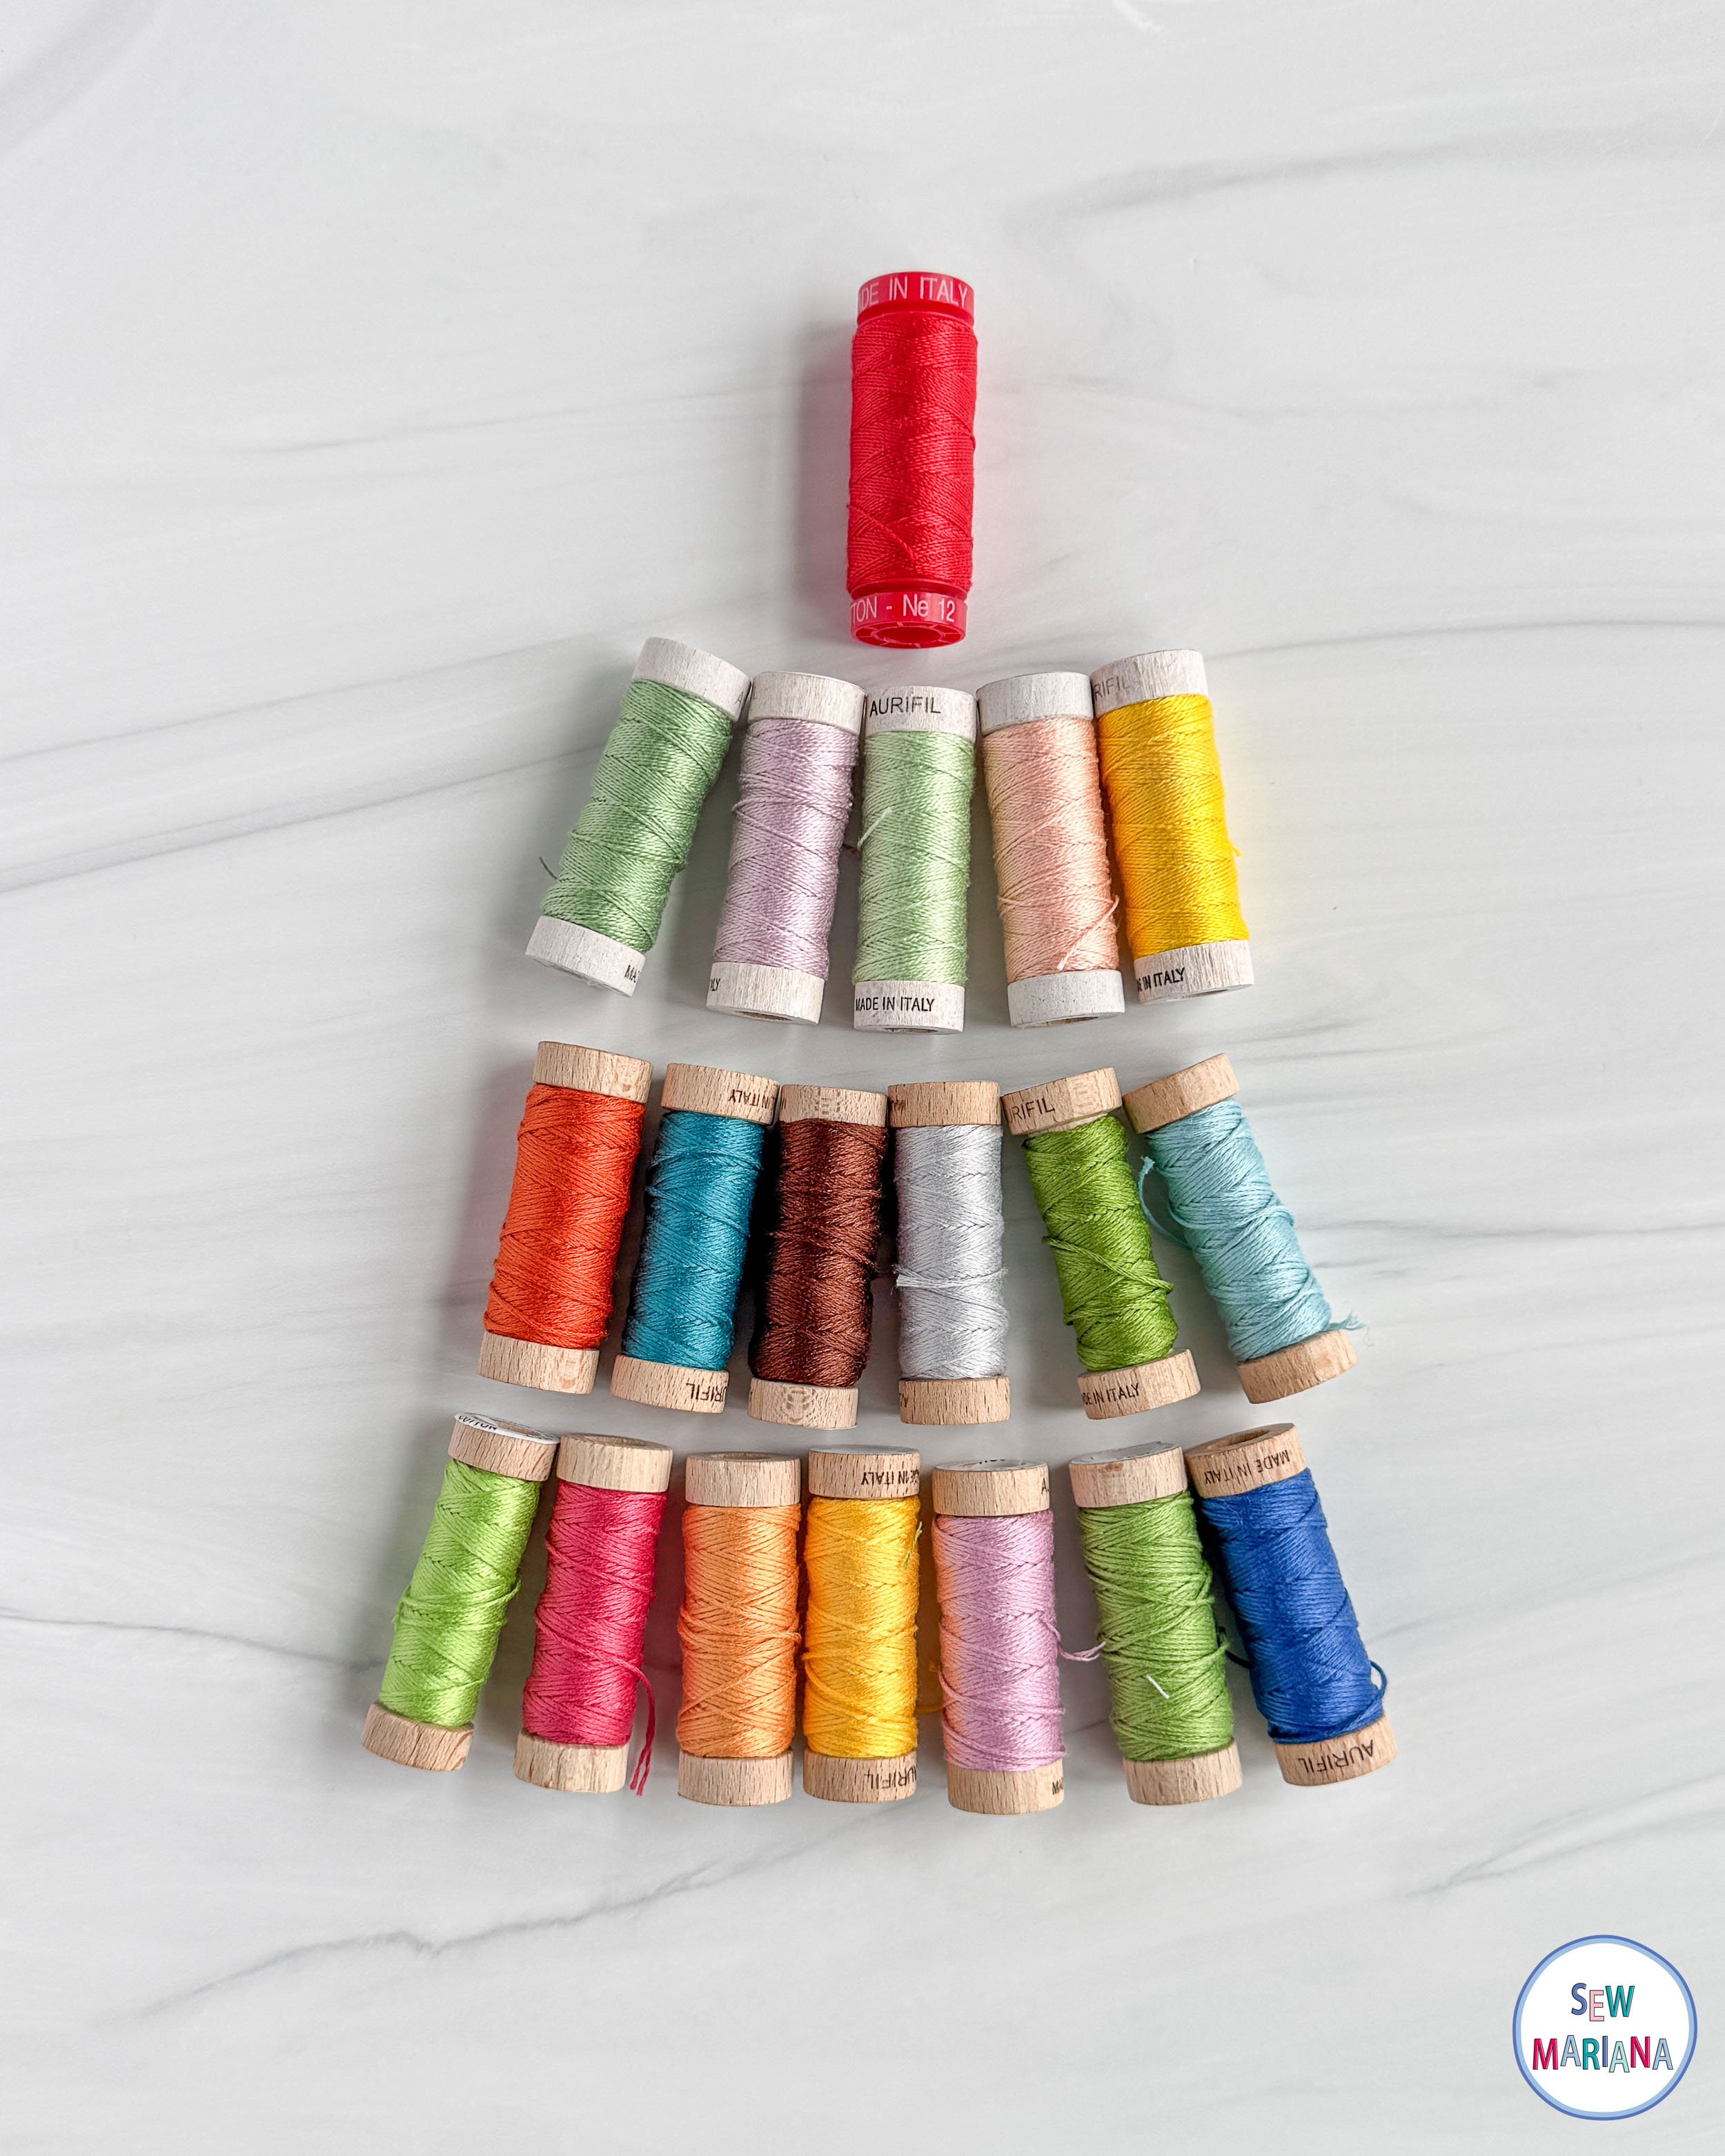
Here are all the threads I used:
Aurifloss: 2888 (tree & leaves), 5017 (hills and apple leaves), 2882 (right flower stems), 2805 (sky), 2600 (clouds), 4182 (hummingbird wing and head), 2730 (flower petals), 1135 (sun & rays), 2240 (small orange rays), 2214 (woven couching), Aurifloss 2440 (lower flower petals), Aurifloss 2515 (left flower petals),Aurifloss 2360 (hummingbird beak & apple stems).
8 WT: 2840 (left flower stems), 2880 (hummingbird body), 2120 (blue flower centers), 2420 (pekinese stitch sun glow), 2510 (hummingbird throat),
12 WT: 2270 (apples)