
Christmas Apron Tutorial
Okay, folks, the time has come. Time for holiday music blasting, red and green everywhere, going to the mall to find that gift for your brother in law and becoming increasingly frustrated because some people are SO hard to gift, untangling lights only to find they don’t turn on anymore, and also, for some reason, ugly Christmas sweaters. Someone is going to have to explain that one to me.
The point is, as much as I love the cold and my family and how pretty everything looks during Christmastime, it’s impossible to deny the inevitable chaos that surges simultaneously. So, when I sit to work on a quilting project this time of year, I like to keep it simple and fun.
This tutorial is for those of you who want something cheerful without losing what sanity you have left.
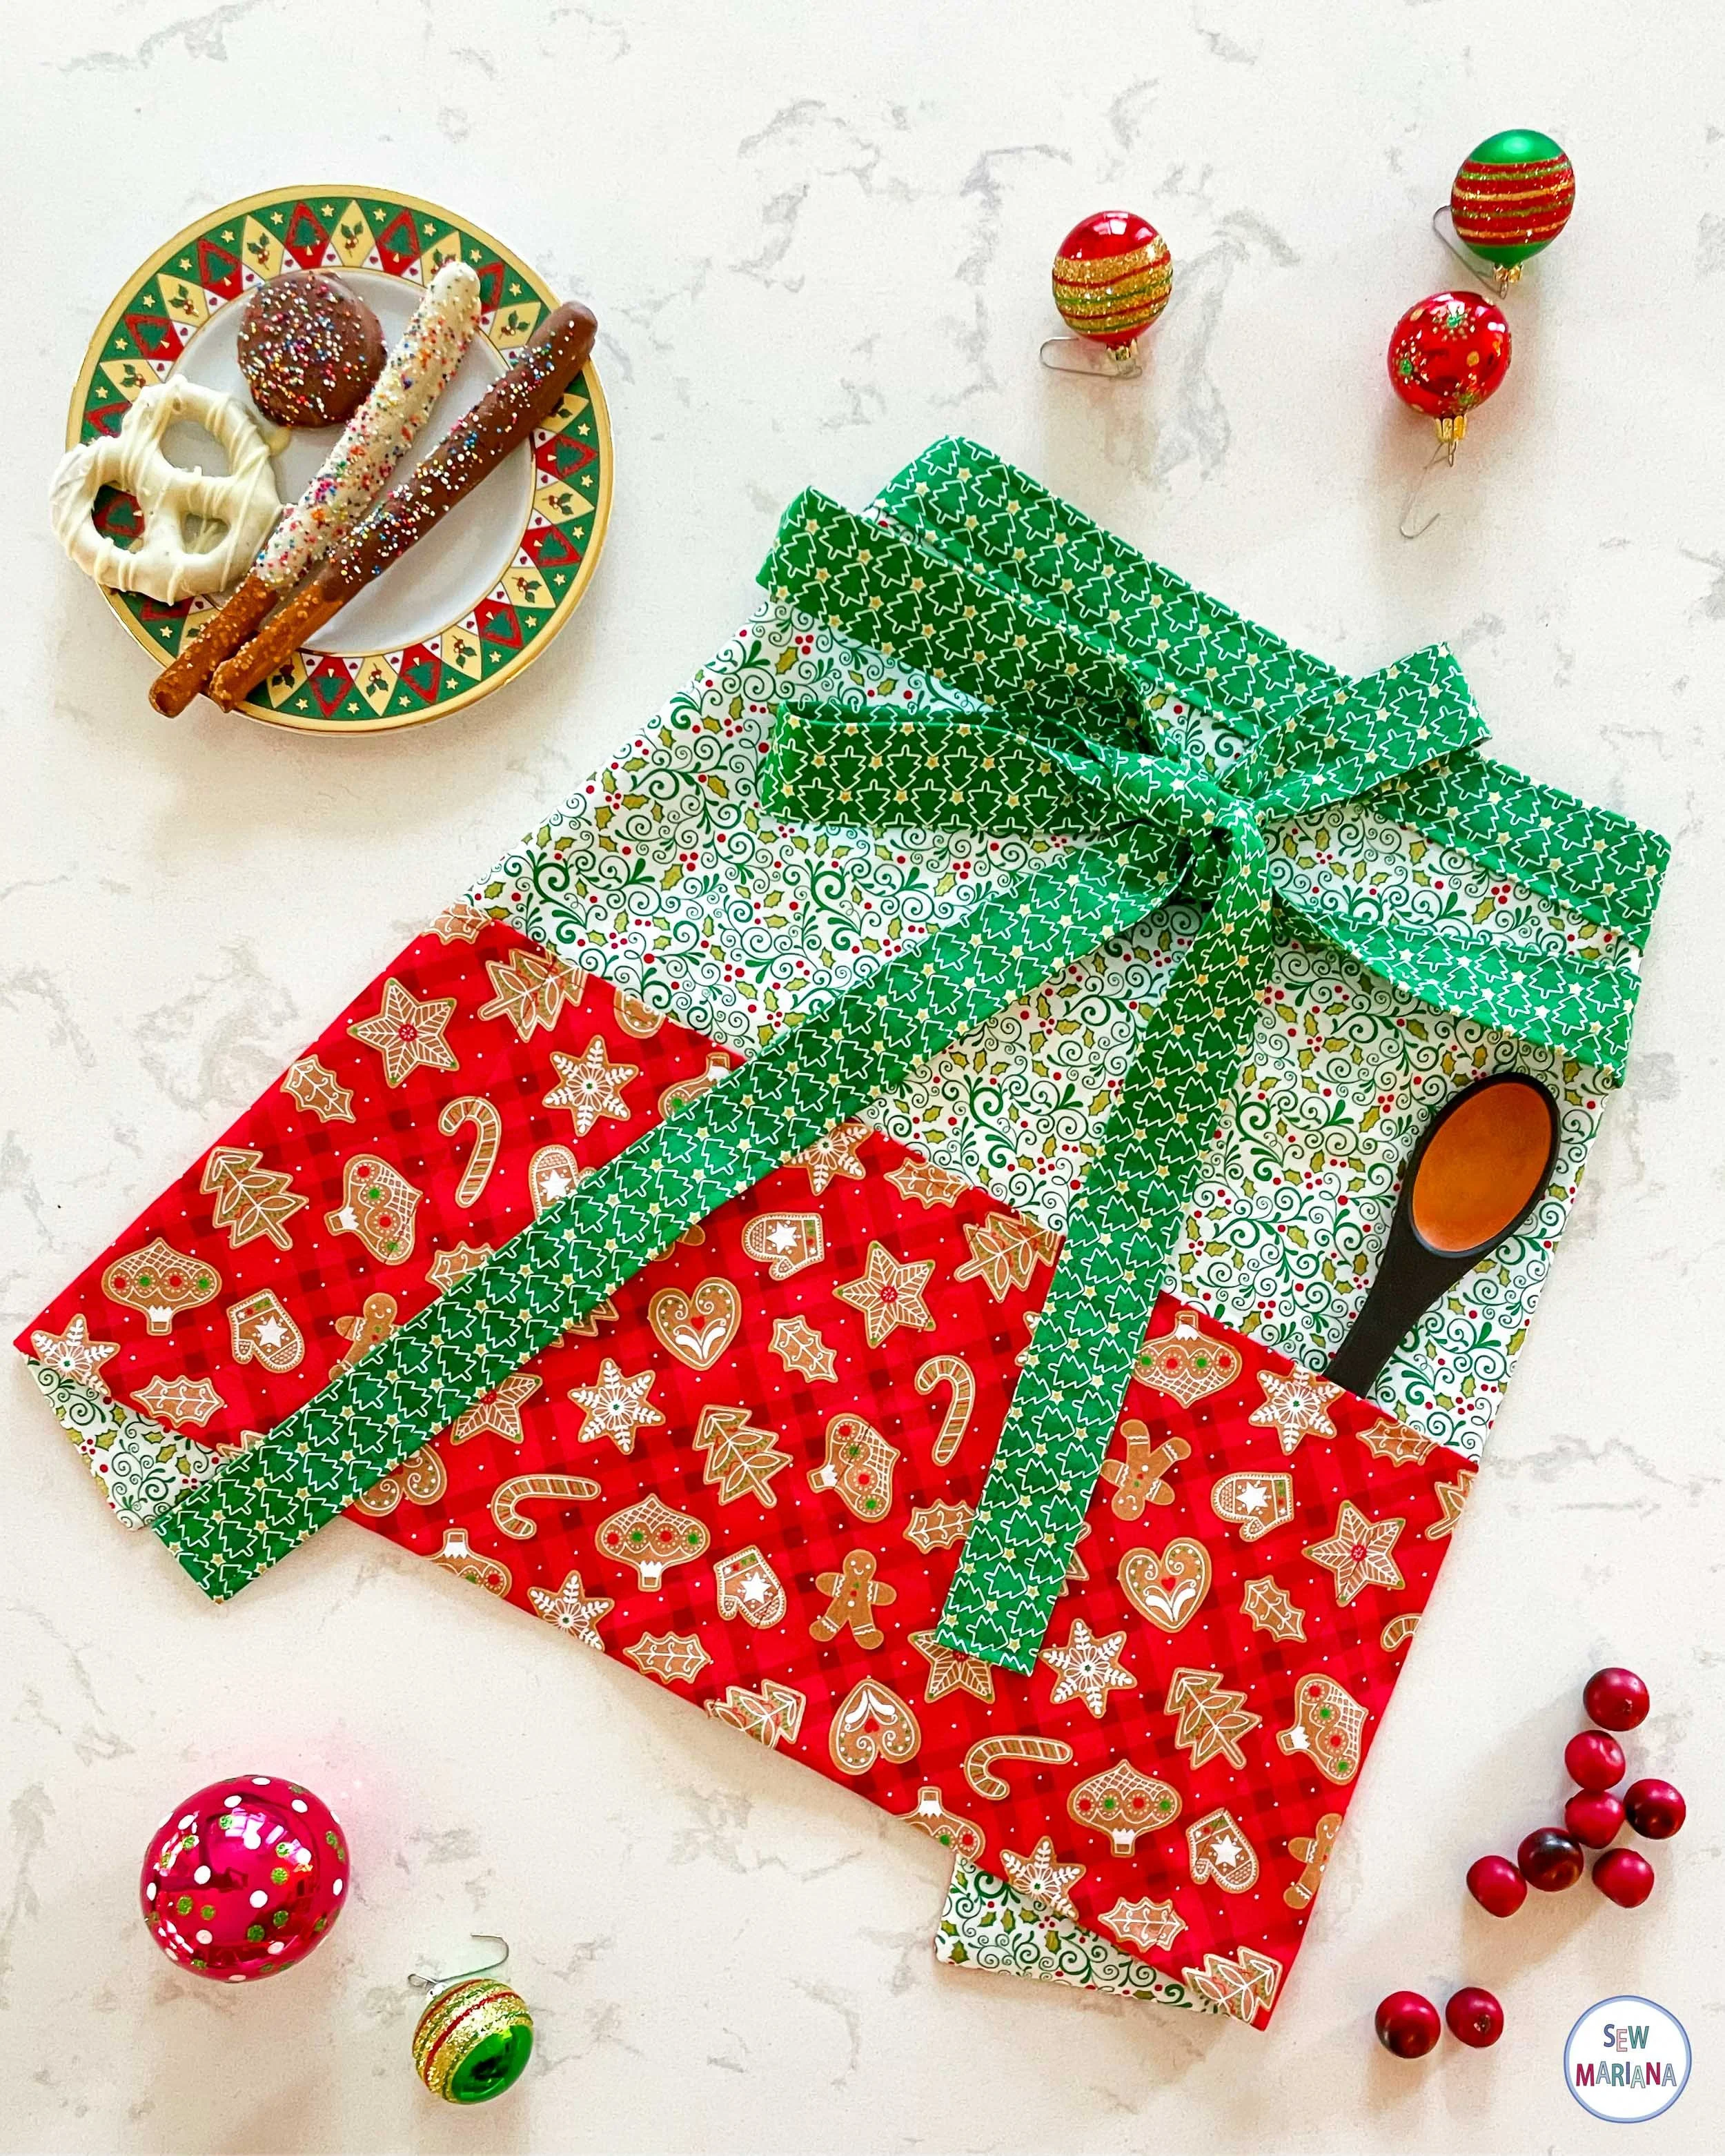
Anyone who sees me wearing the apron I’m about to teach you how to make may even believe I use it to bake. And, by all means, I encourage the misconception. I’ll happily take credit for my daughter’s gingerbread while I hide in my studio, just trying to keep the infinite threads from my sewing off my clothes. But that’s our secret.
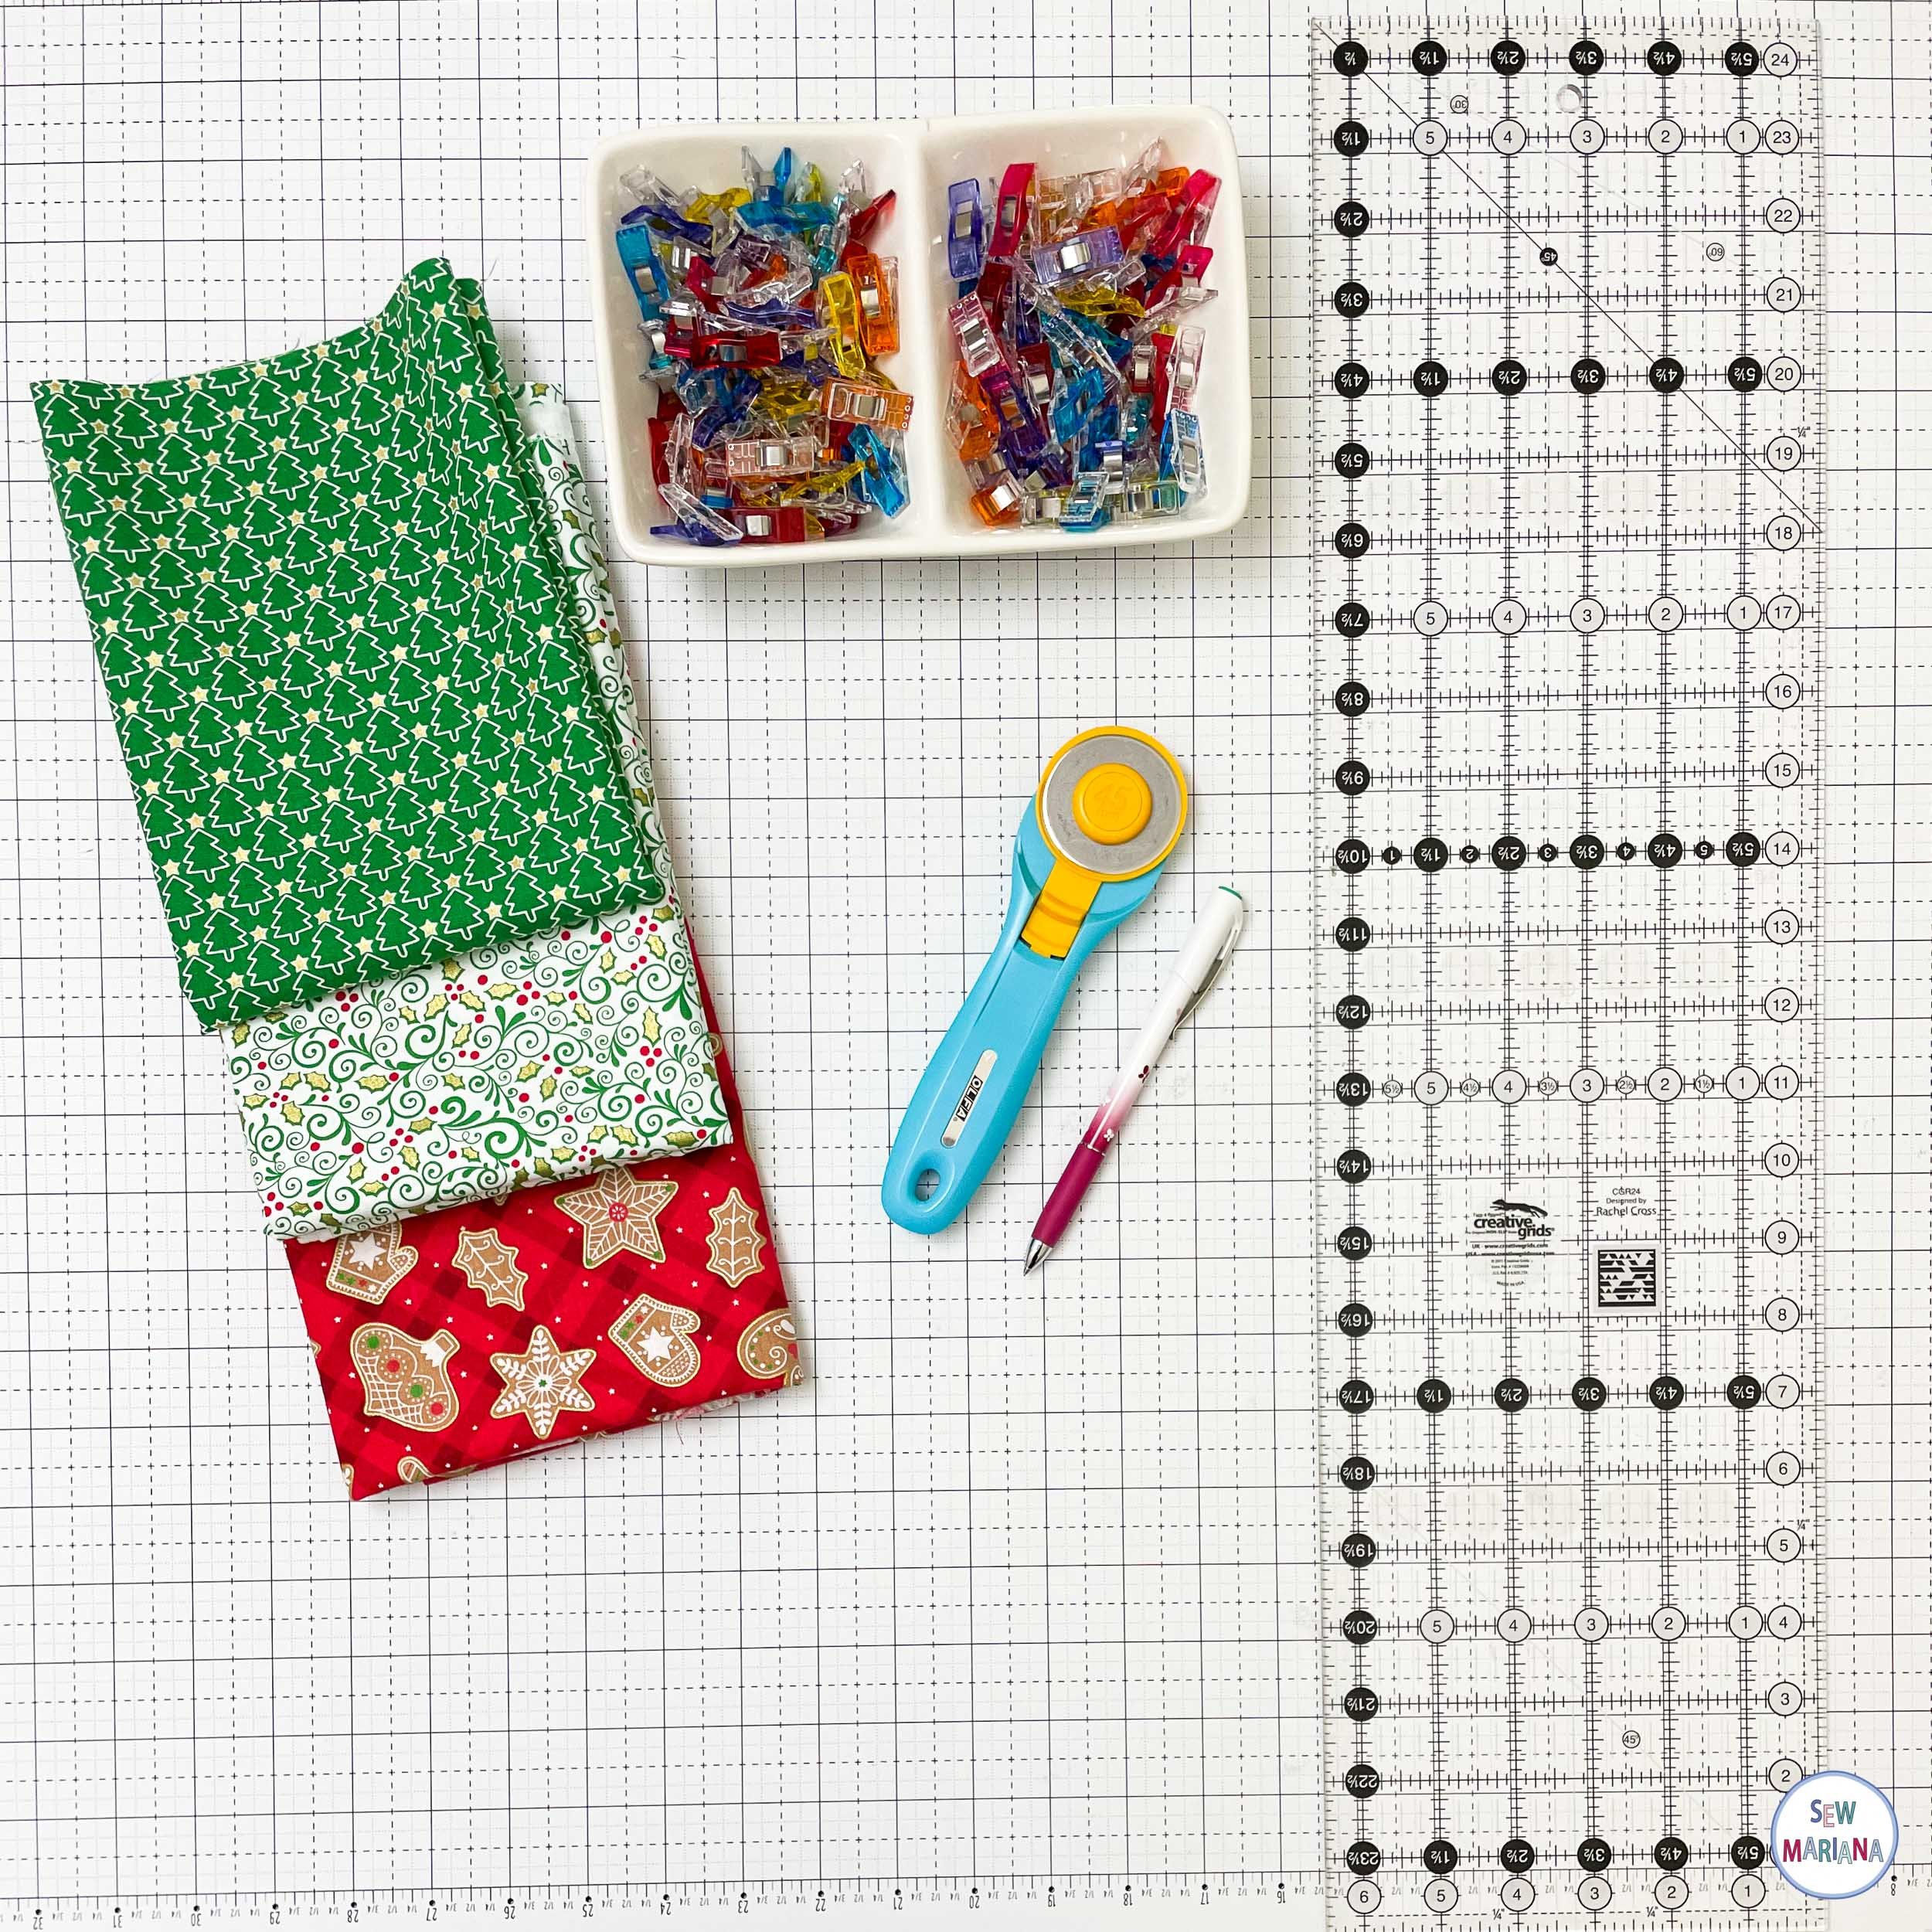
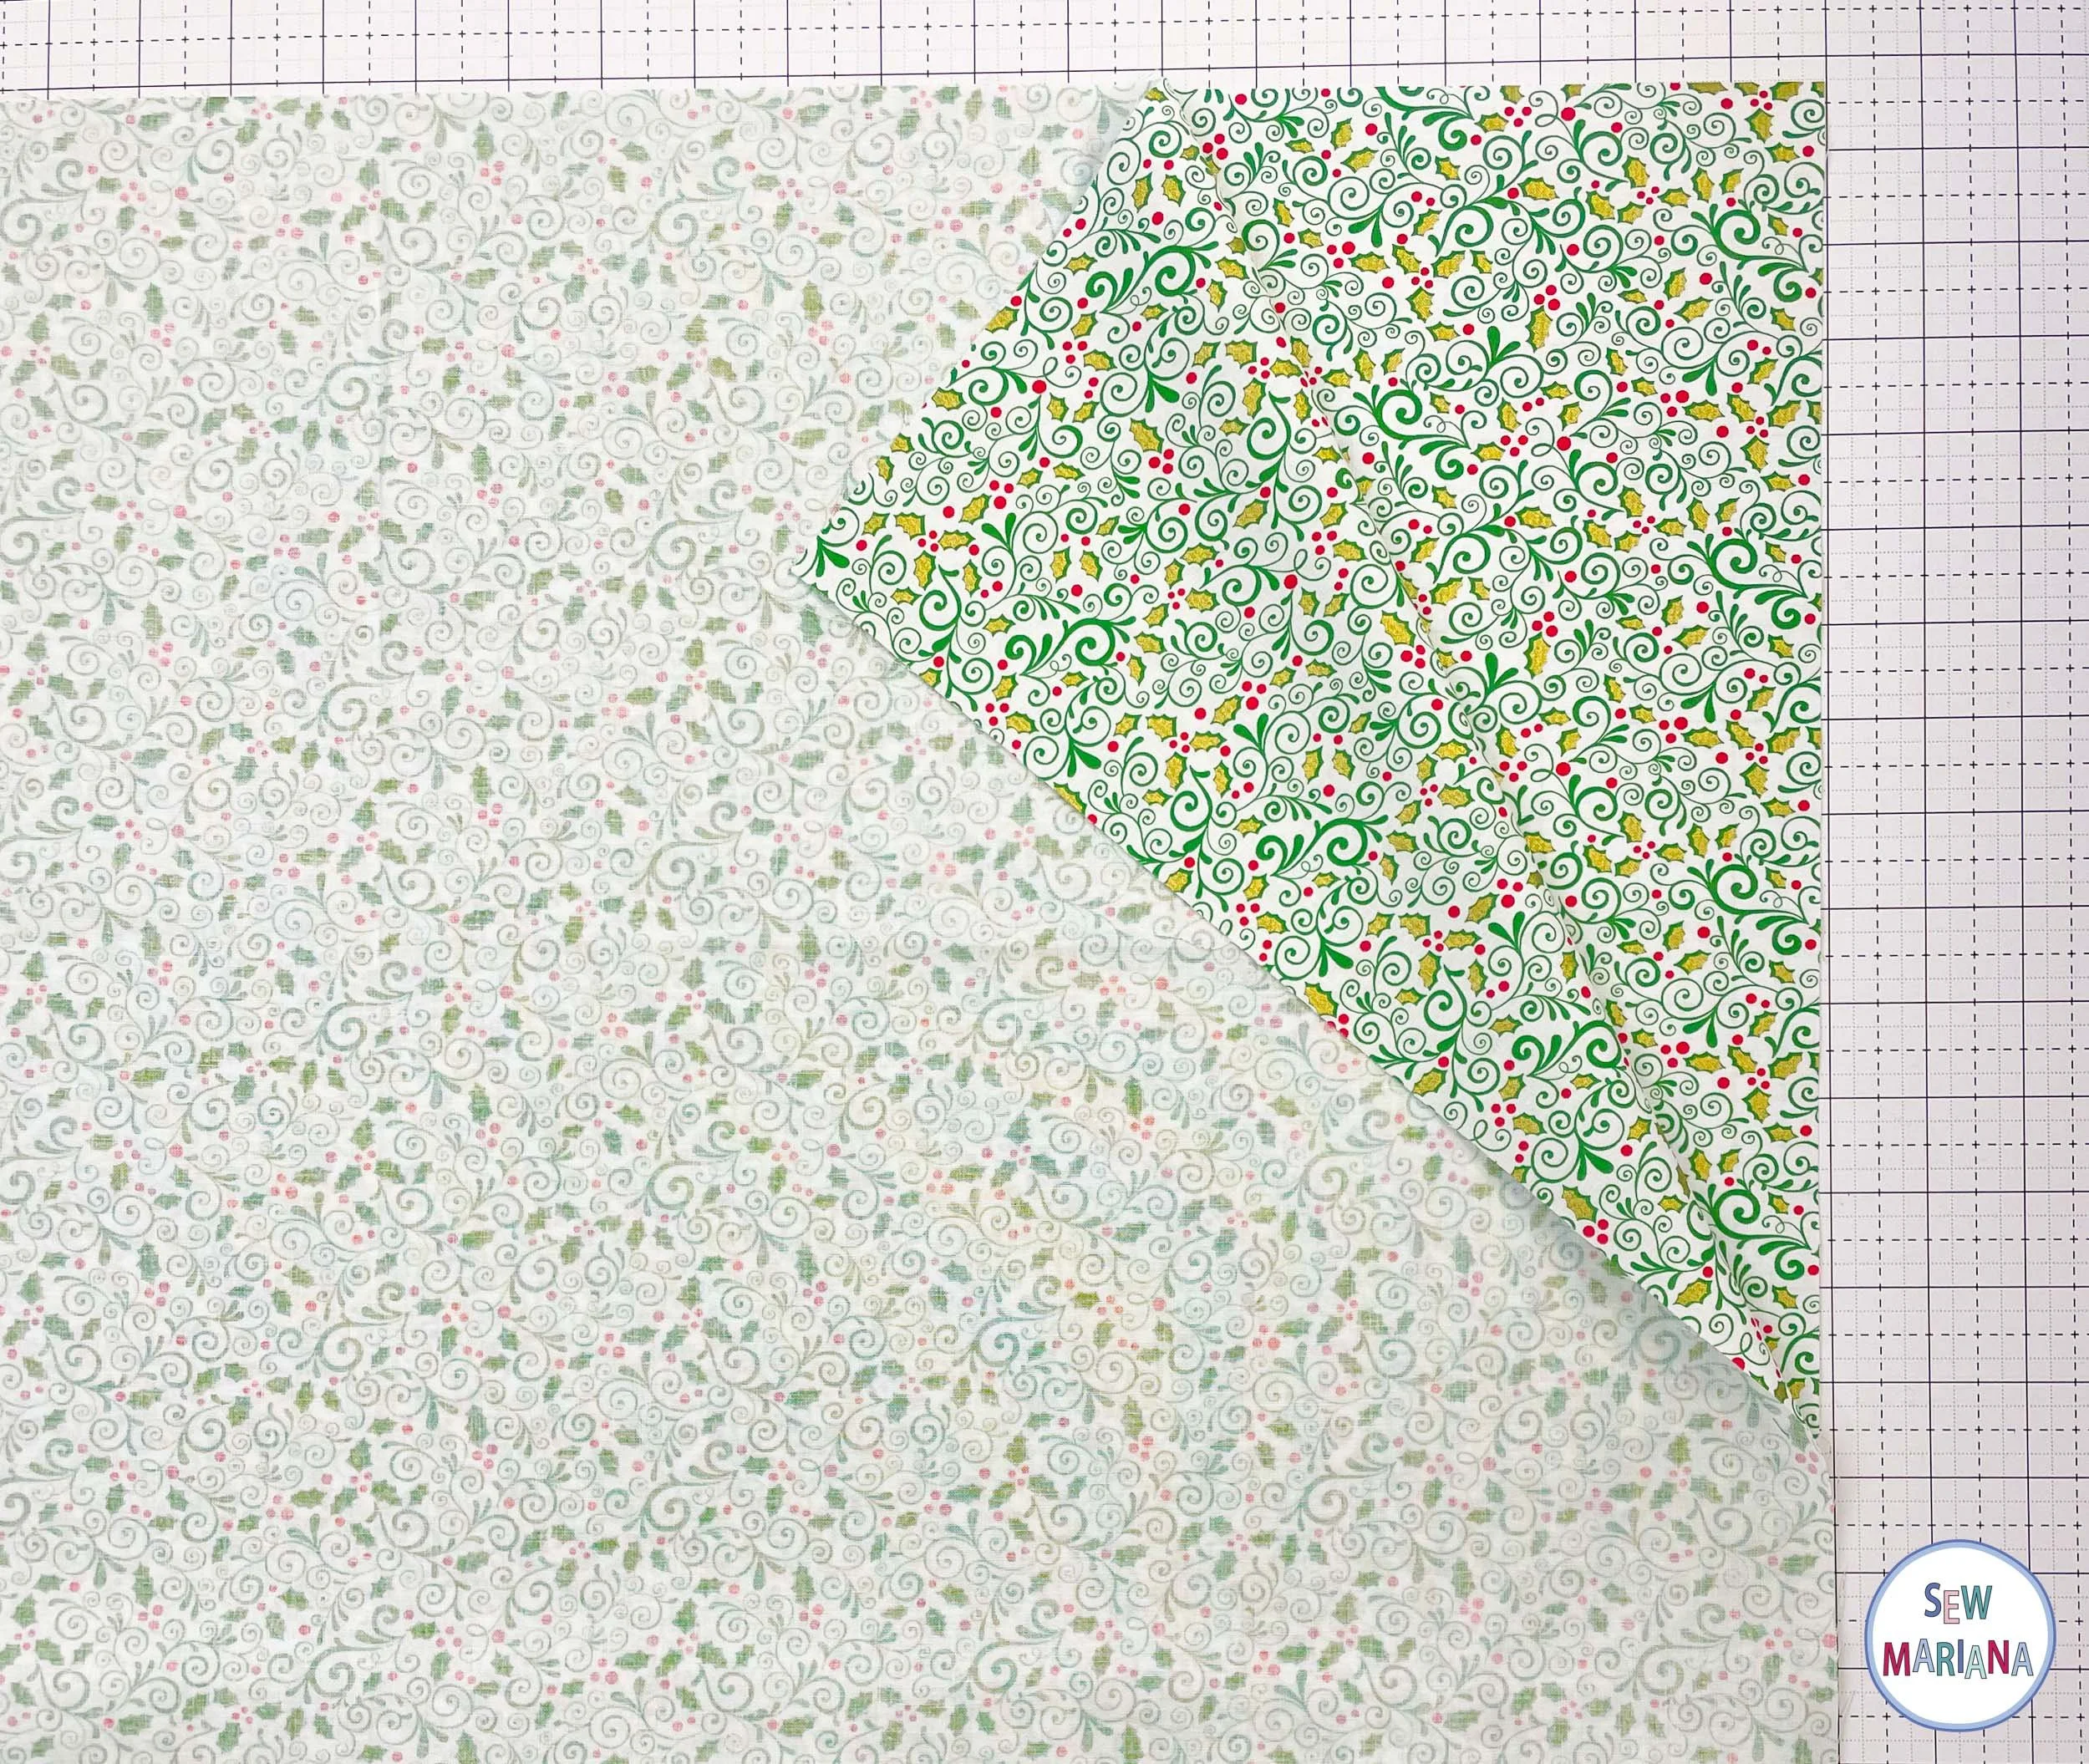
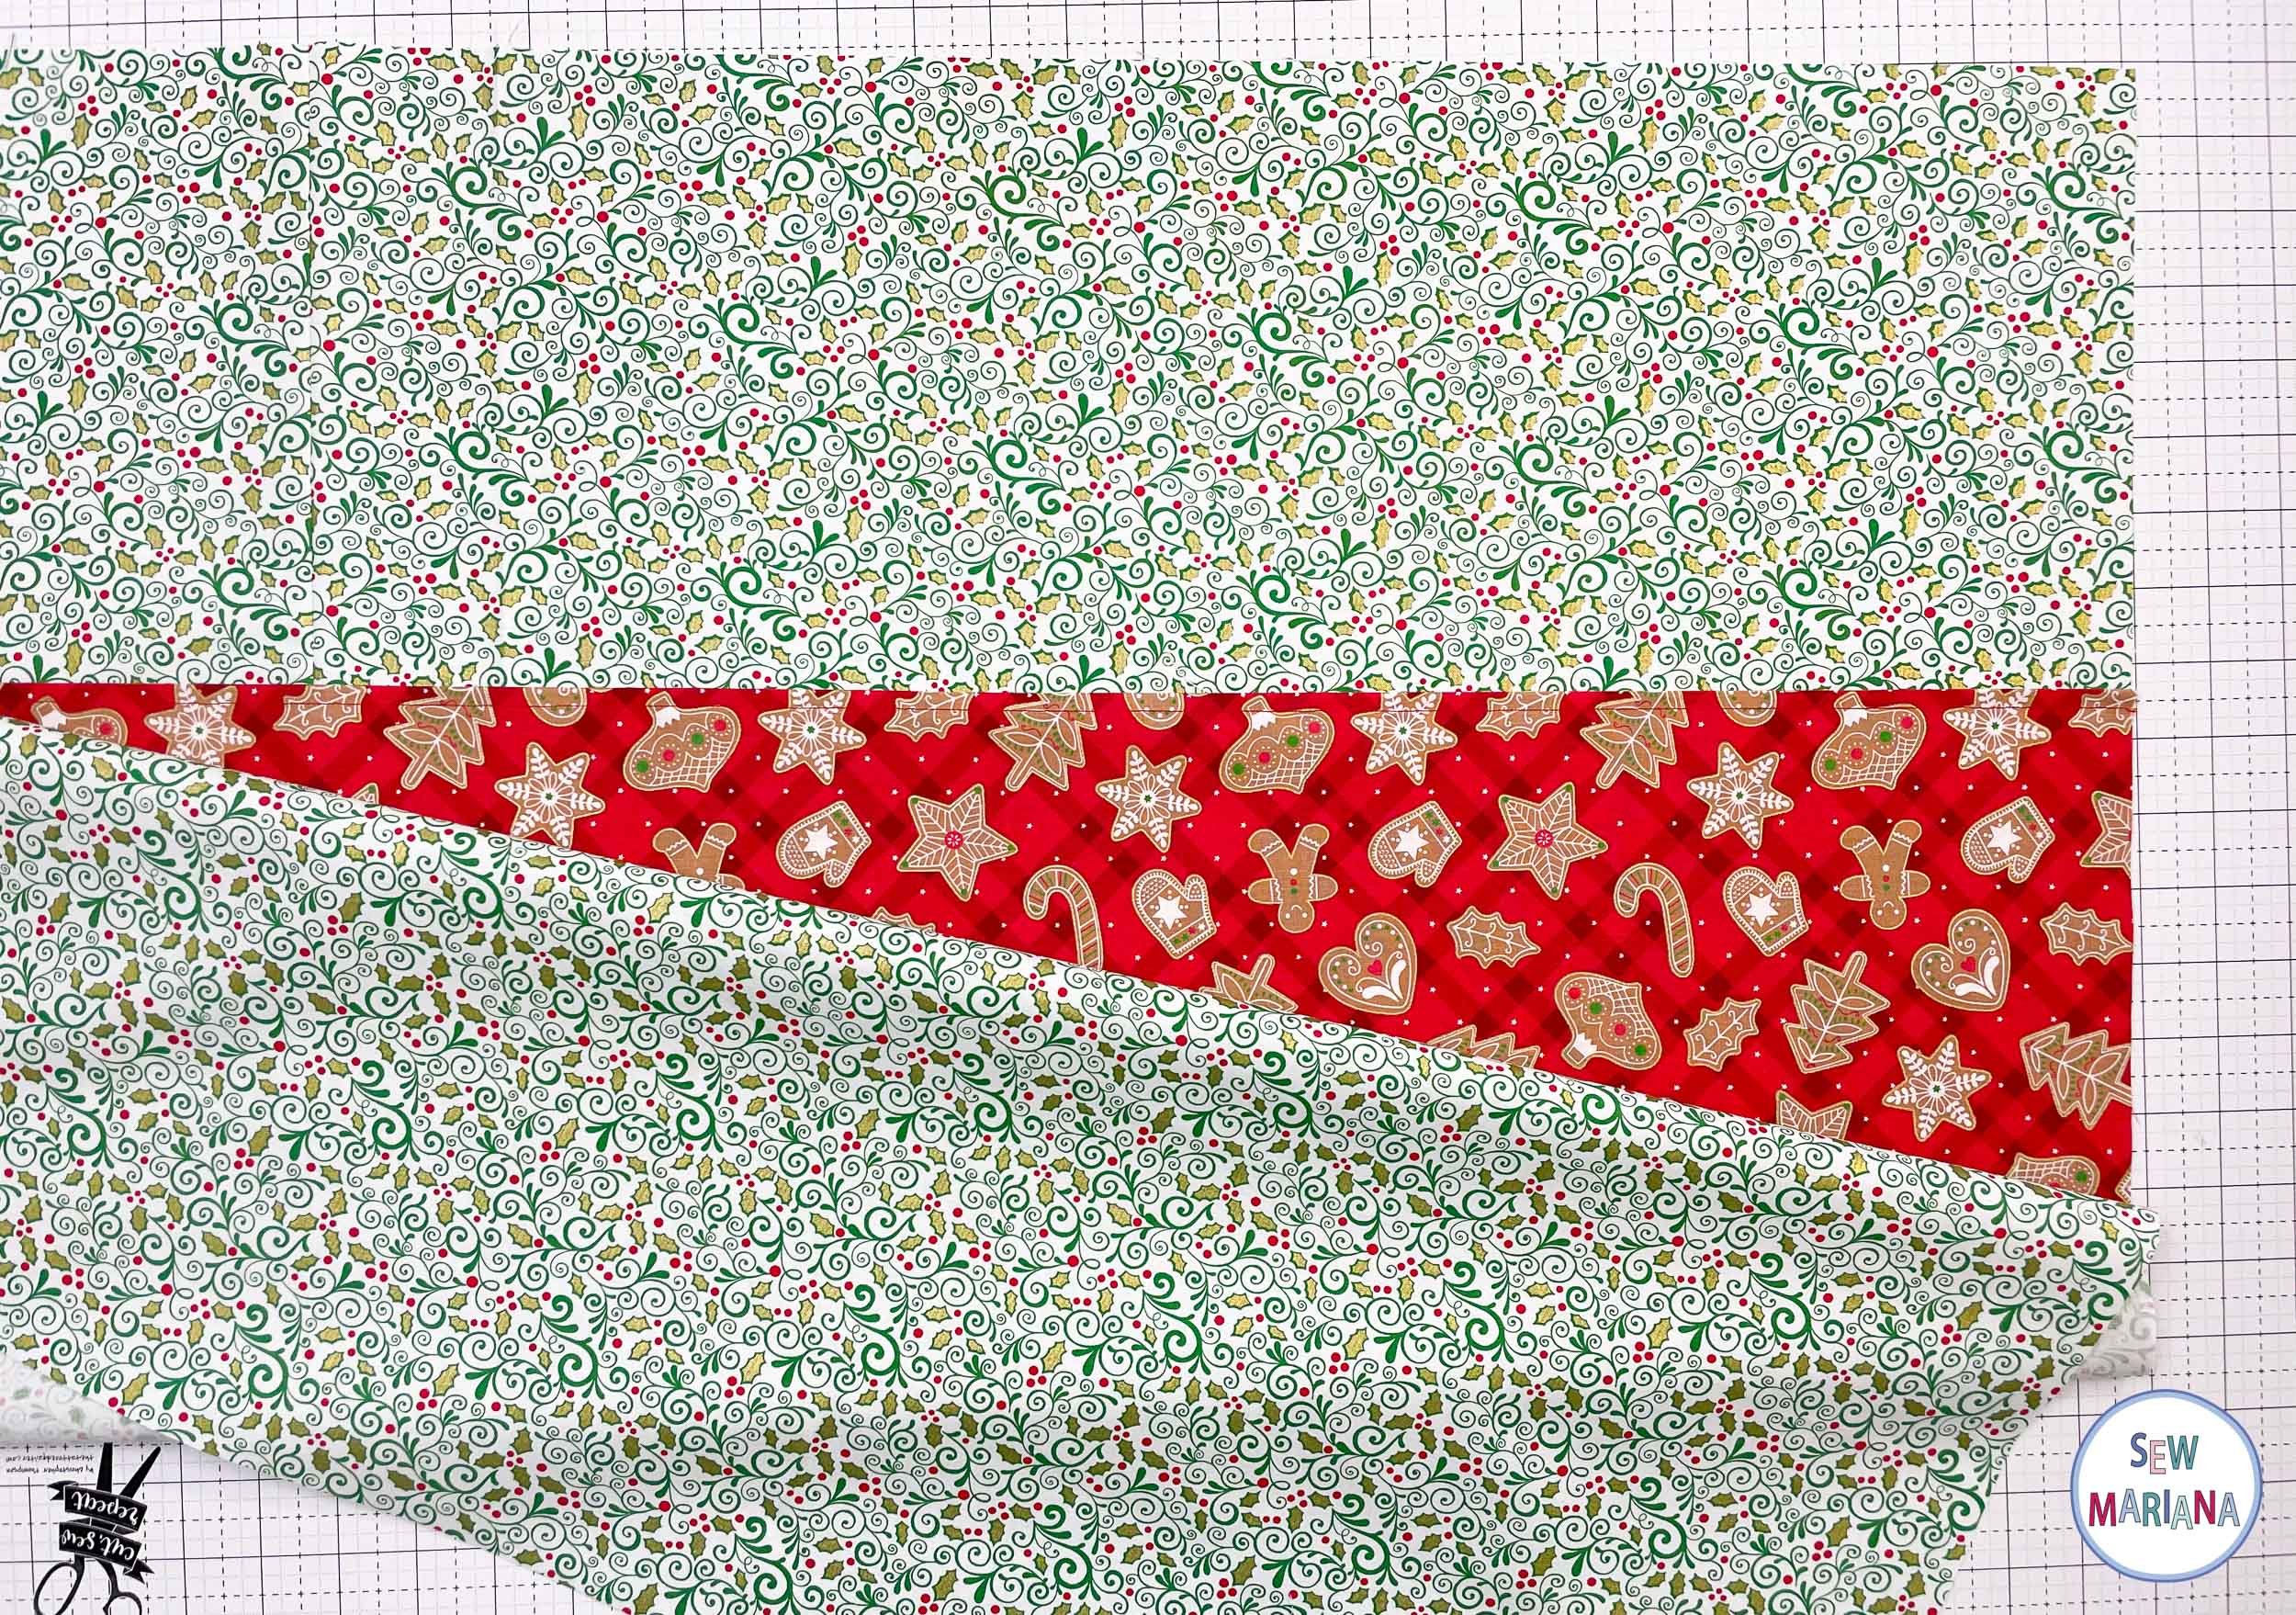
Without further ado, grab three of your favorite christmasy prints and be ready to look cute as heck!
MATERIALS
1 yard for the main fabric
½ yard for the pocket
½ yard for the straps
Also, basic sewing tools: sewing machine, thread, rotary cutter or scissors, pins or sewing clips, quilting ruler, iron, ironing board, etc.
NOTE: Michael Miller Fabrics provided the fabrics for this project. I chose from their basic Christmas line.
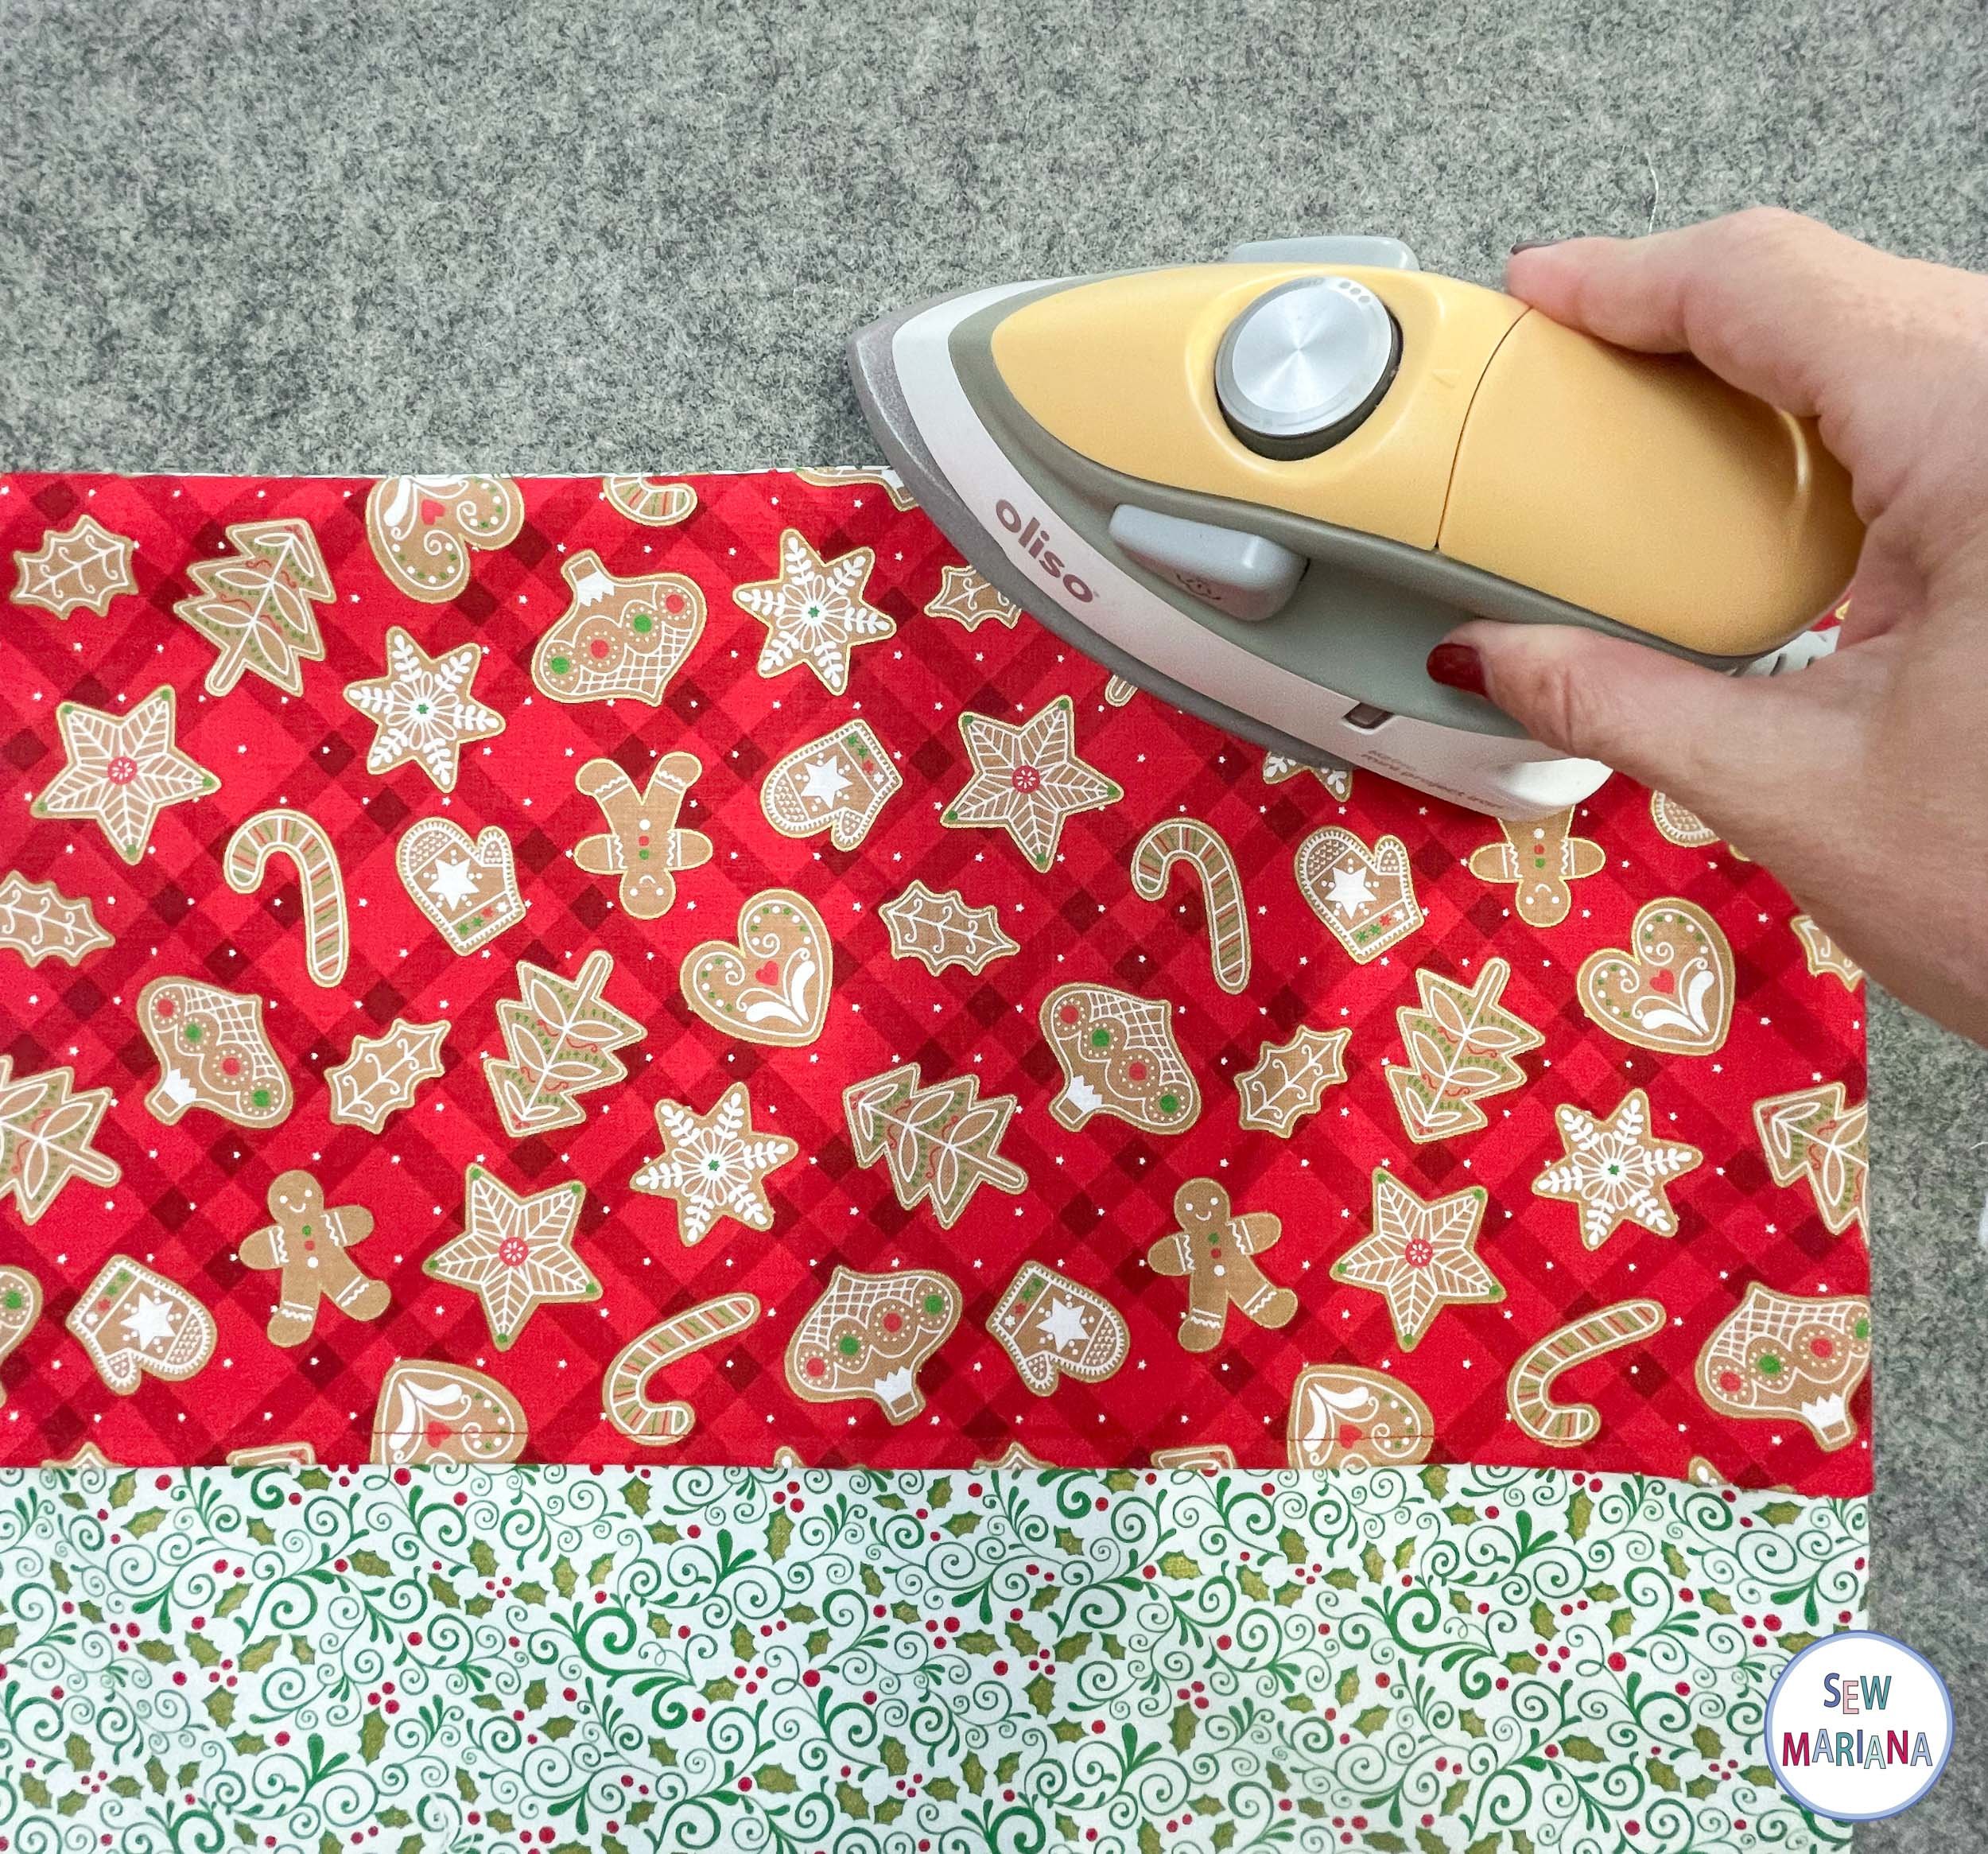
STEP 1
From the main fabric, cut 1 piece 30” x 36”. Fold in half lengthwise with right sides together, so it measures 30” x 18” folded.
STEP 2
From the pocket fabric, cut 1 piece 30” x 18”. Fold in half with wrong sides together, so it measures 30” x 9” folded.

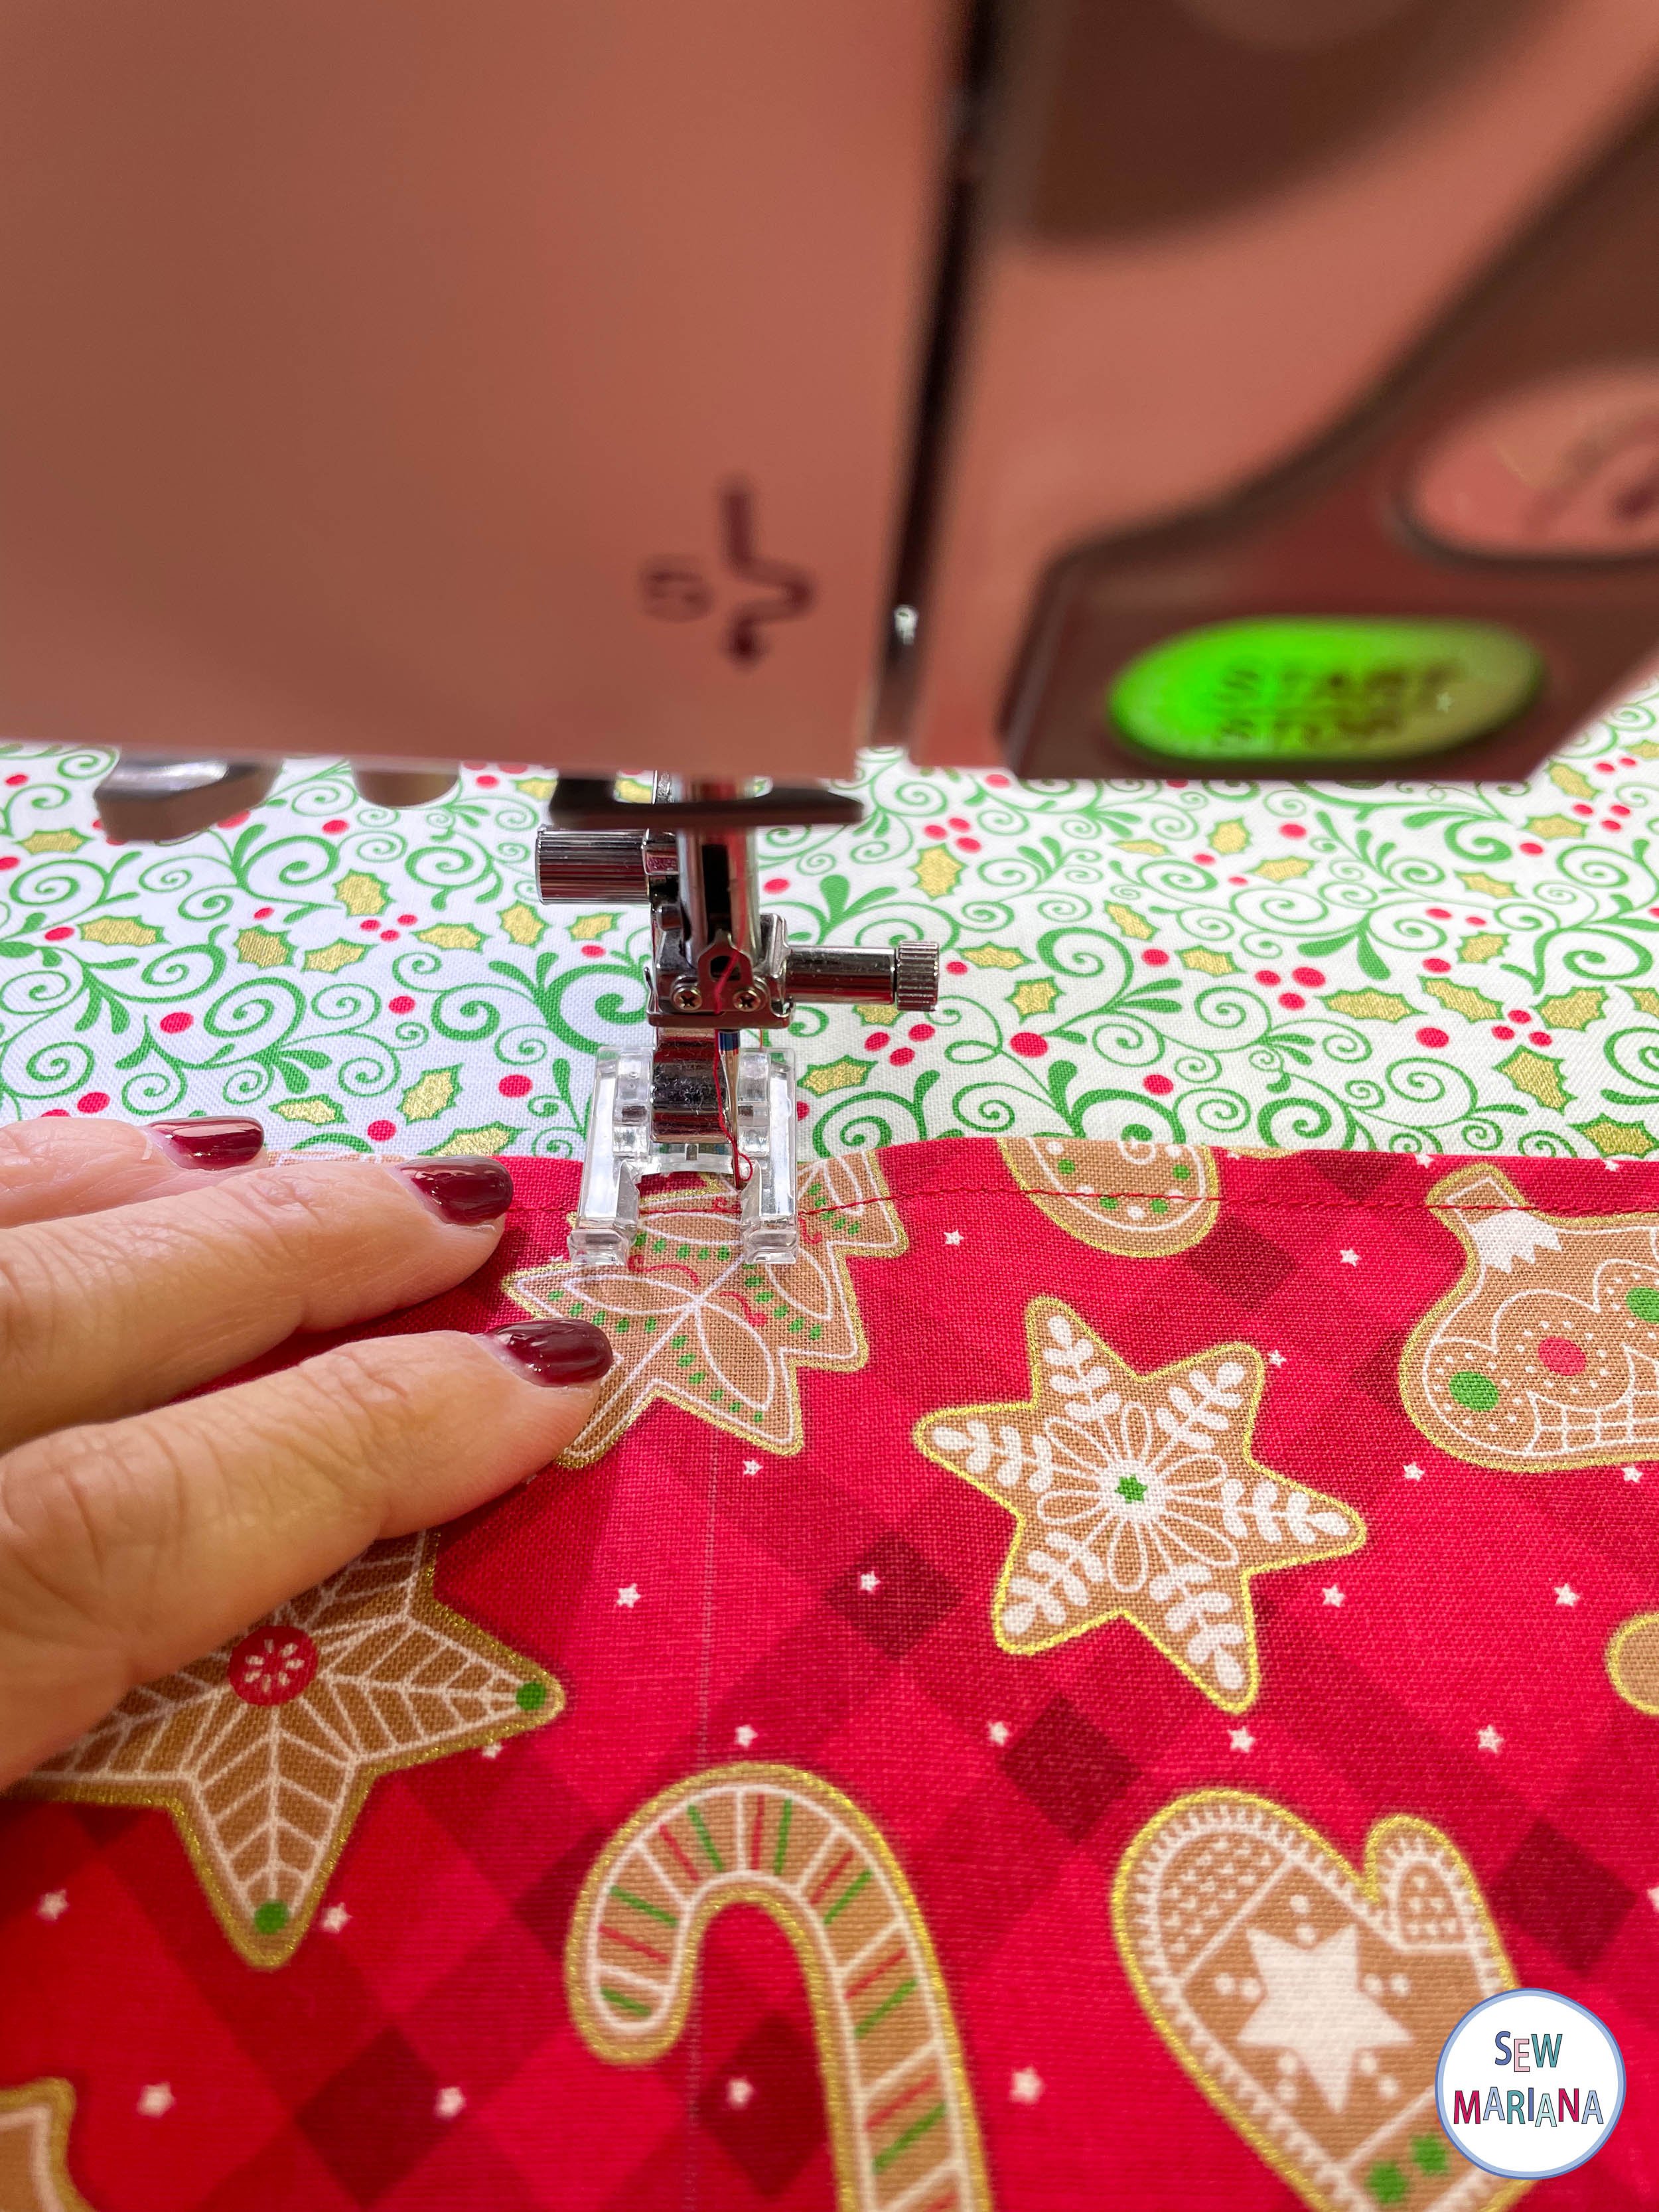
STEP 3
Sew a 1/4” top stitch along the fold.


STEP 4
From the straps fabric, cut 3 pieces 5” x width of fabric.

STEP 5
Place the folded pocket fabric inside the main folded fabric as shown. Pin or clip in place.
STEP 6
Sew a ¼” seam along the bottom and the two sides leaving the top open. Back stitch at the beginning and at the end.

STEP 7
Clip the corners and turn the body of the apron inside out. Push the corners out and give it a good press.
STEP 8
Find the center of the pocket and mark with a pin. Then measure 7 ¼” in from each side and mark with a pin. Draw a line with a soluble marker or chalk marker from each pin down.


STEP 9
Sew over the three lines of the pocket.
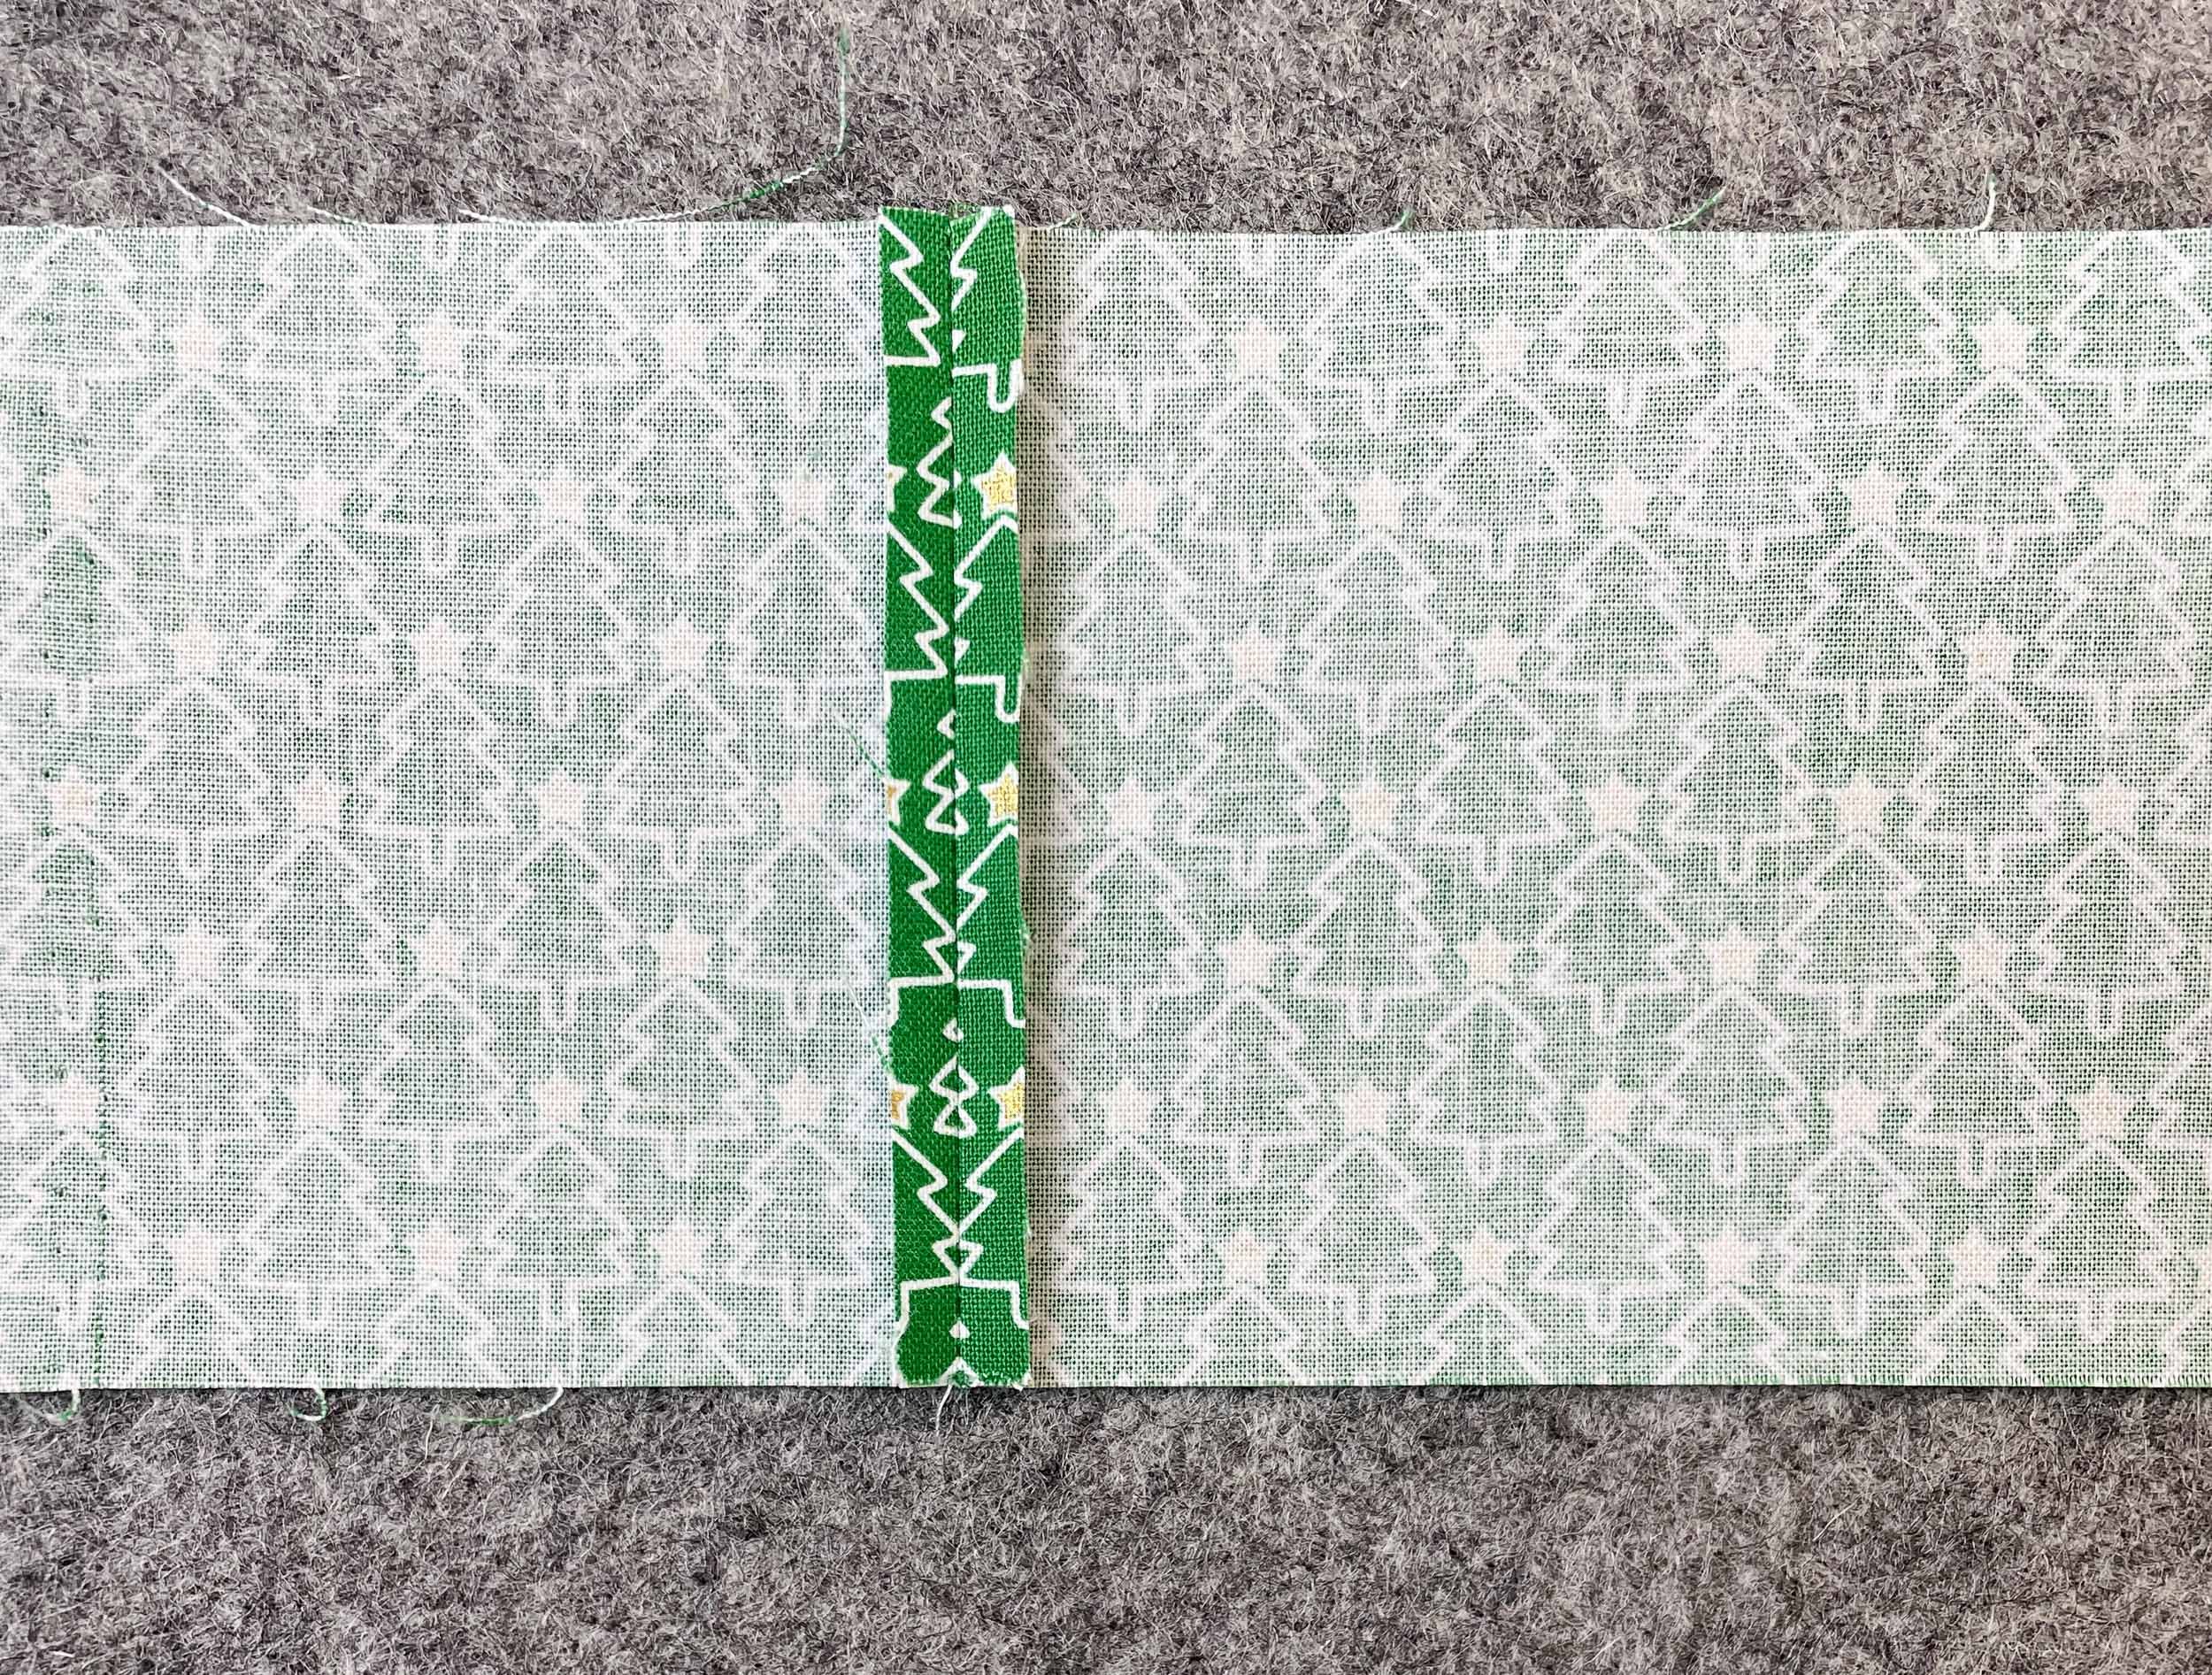
STEP 10
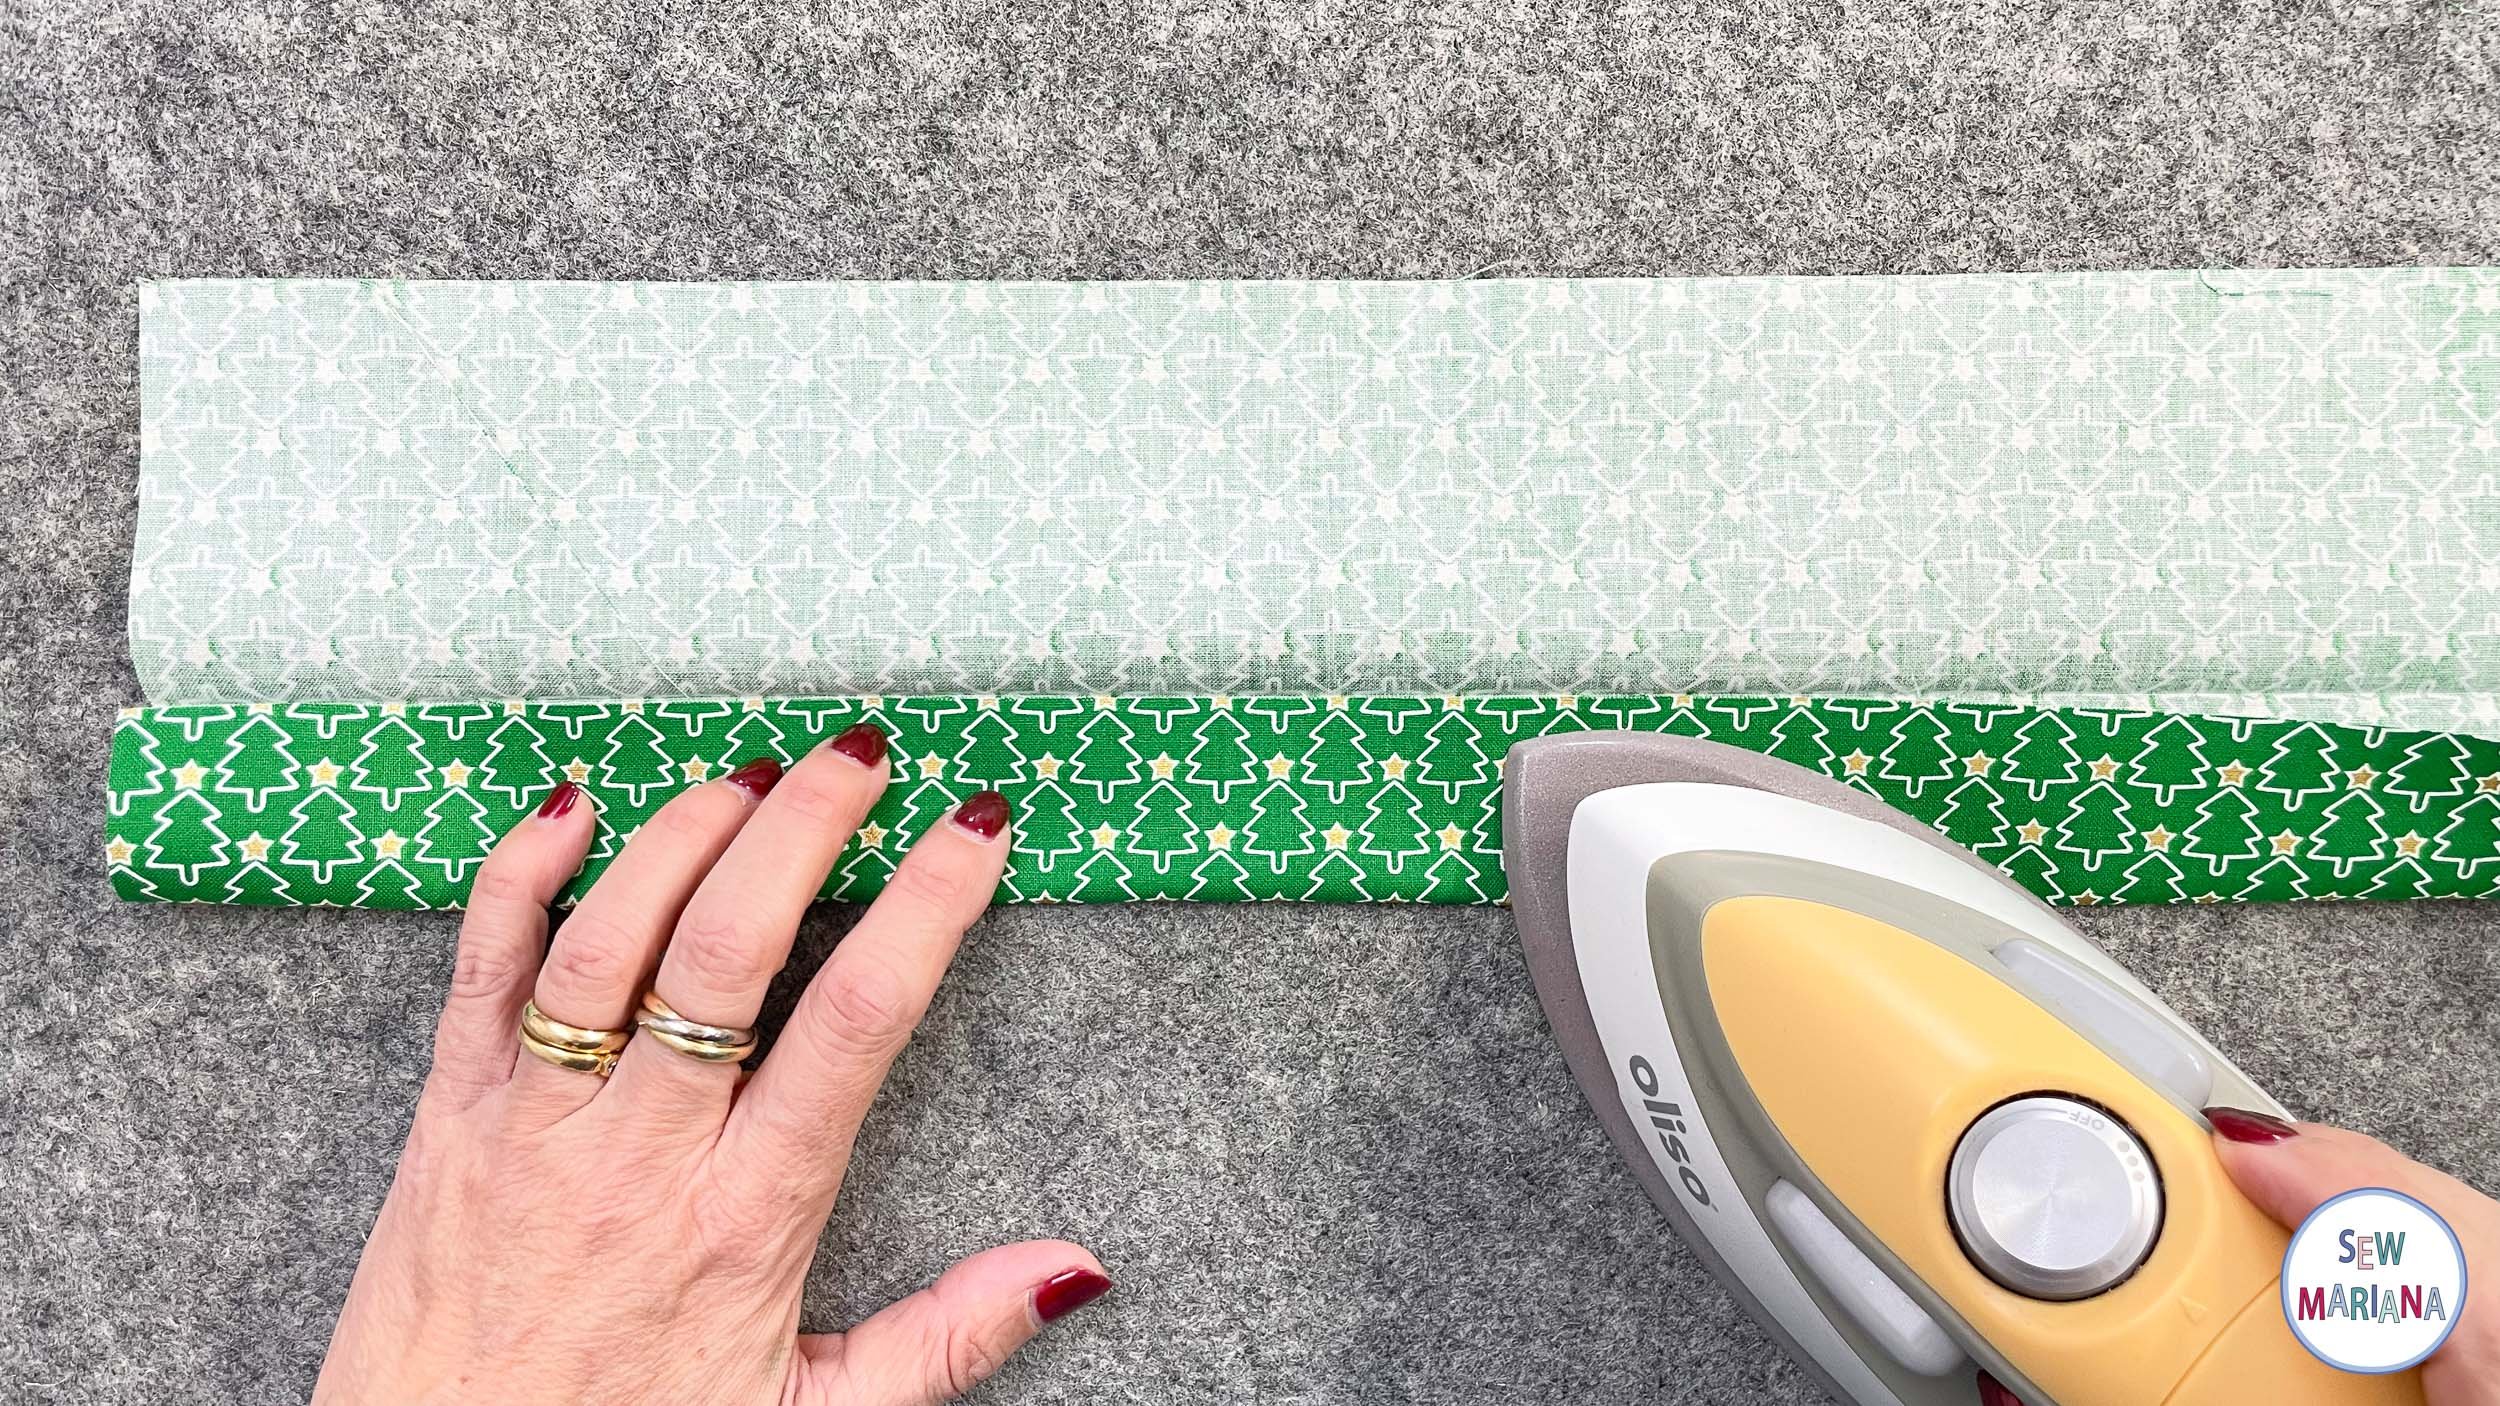
Sew the straps end to end into one long strap. Press seams open.

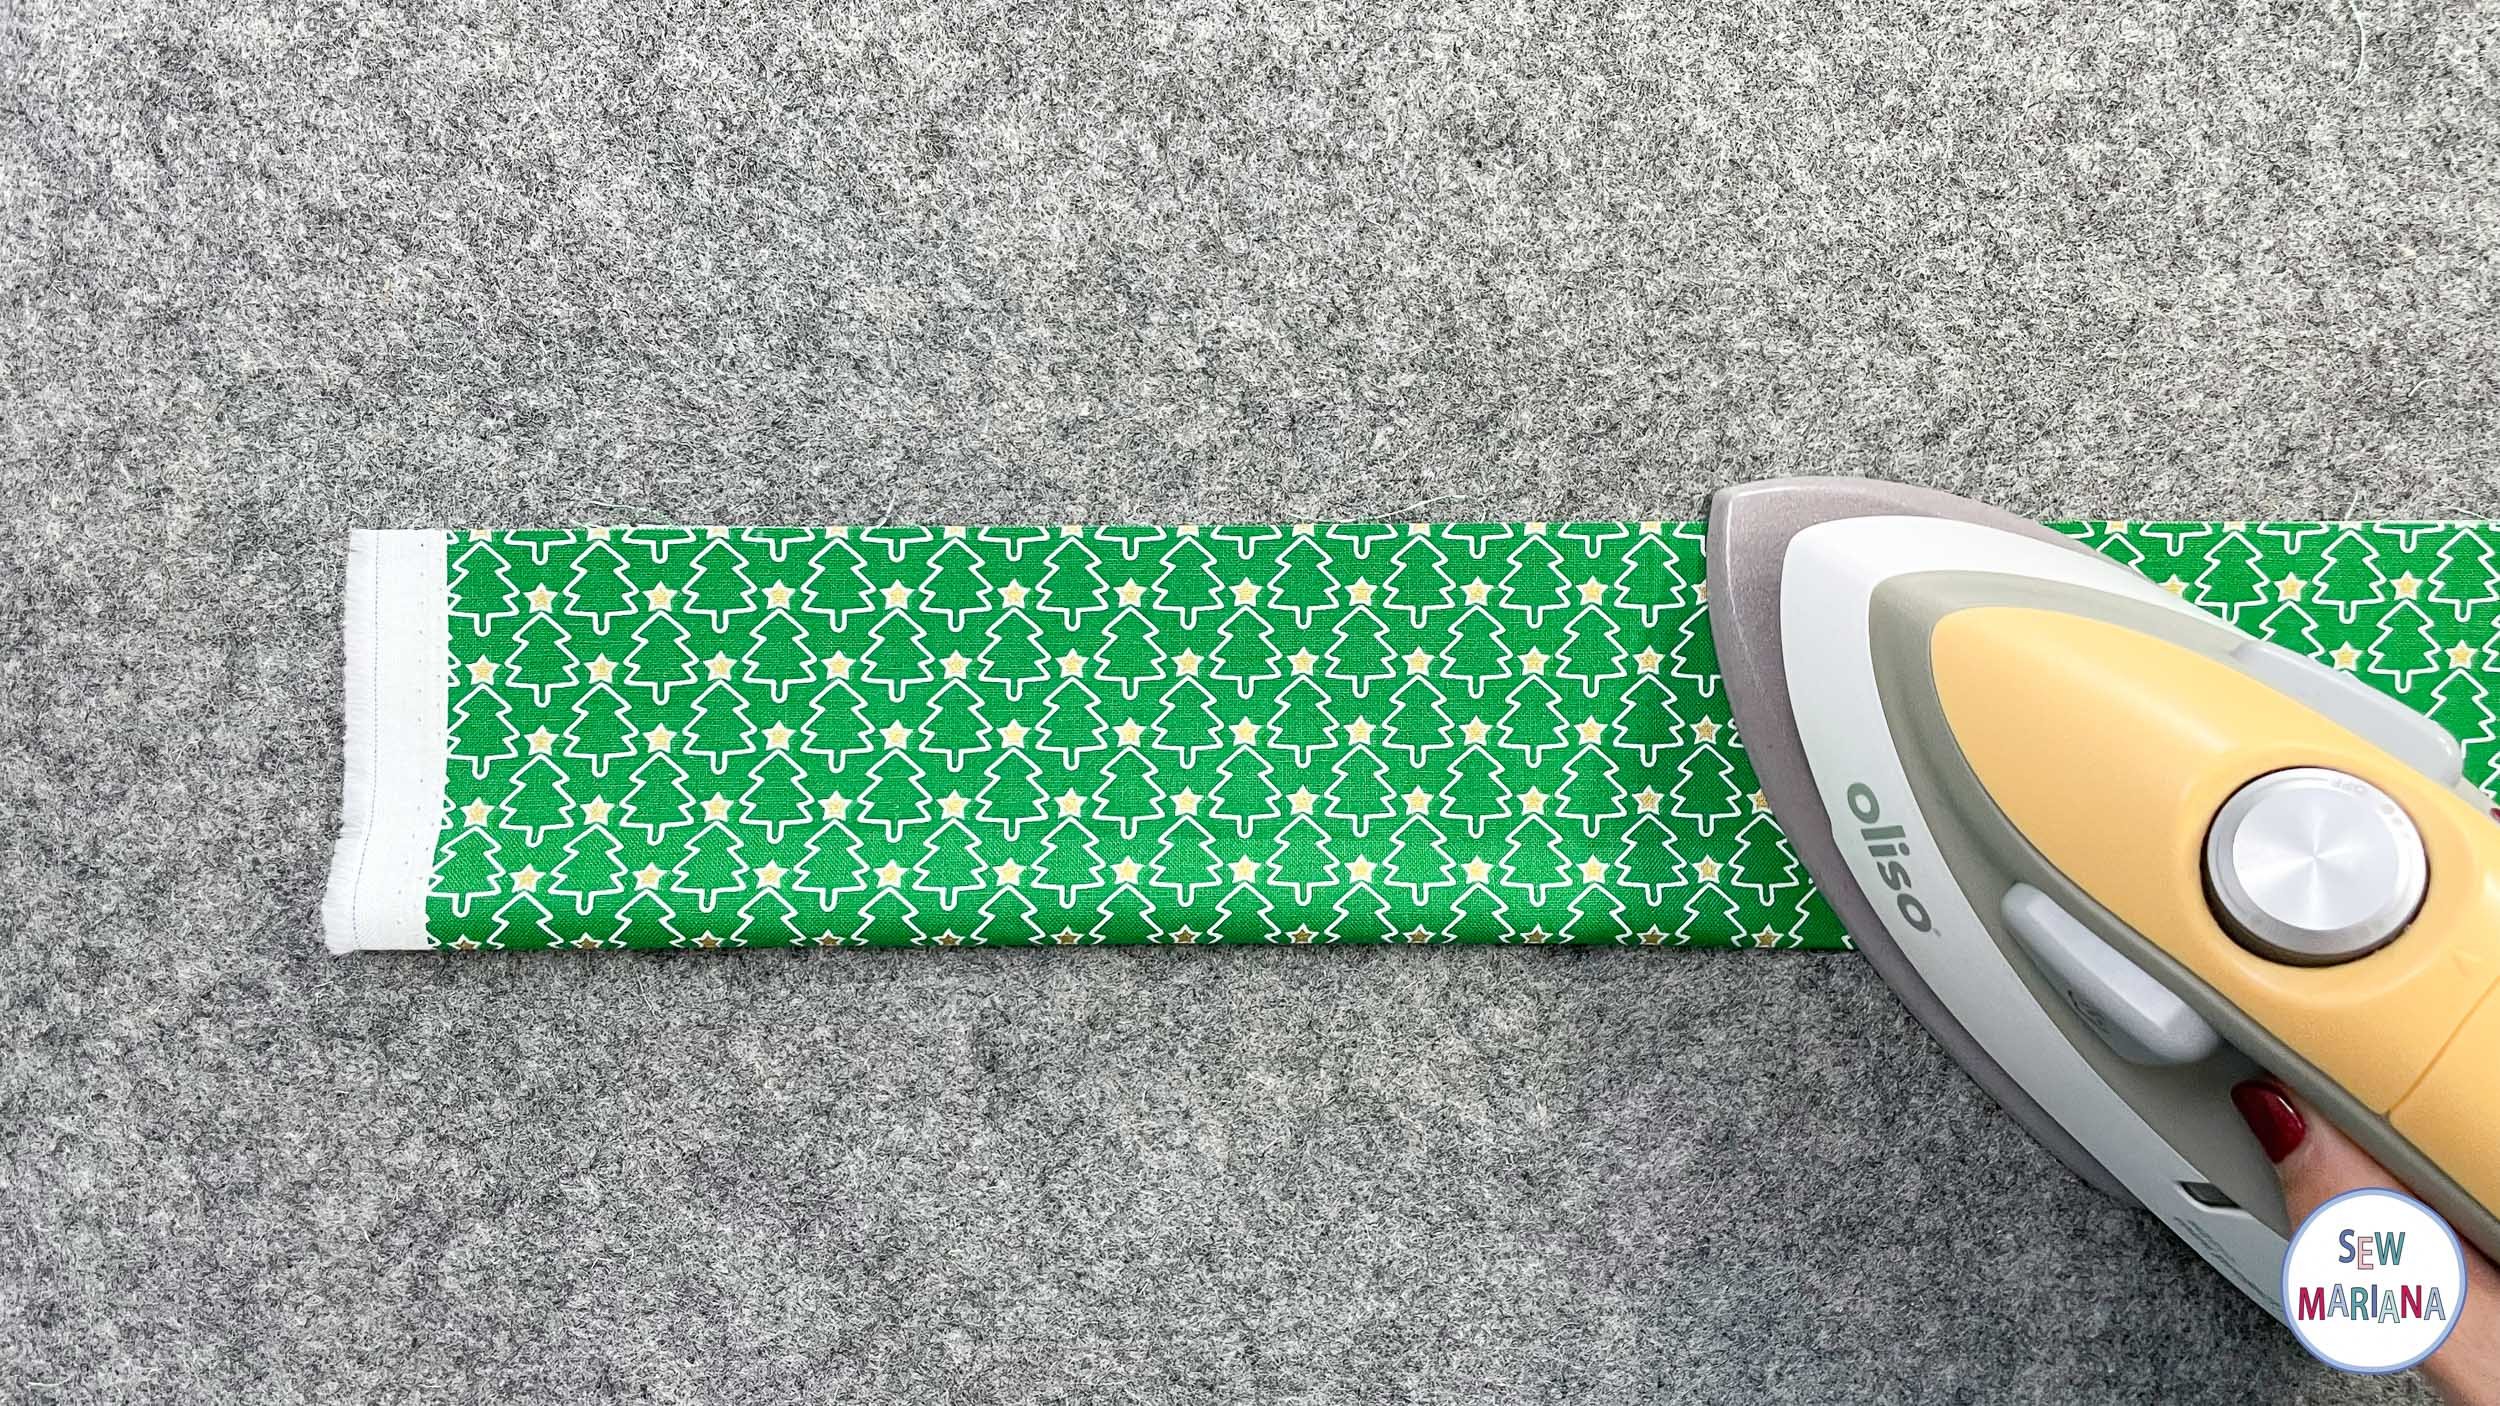
STEP 11
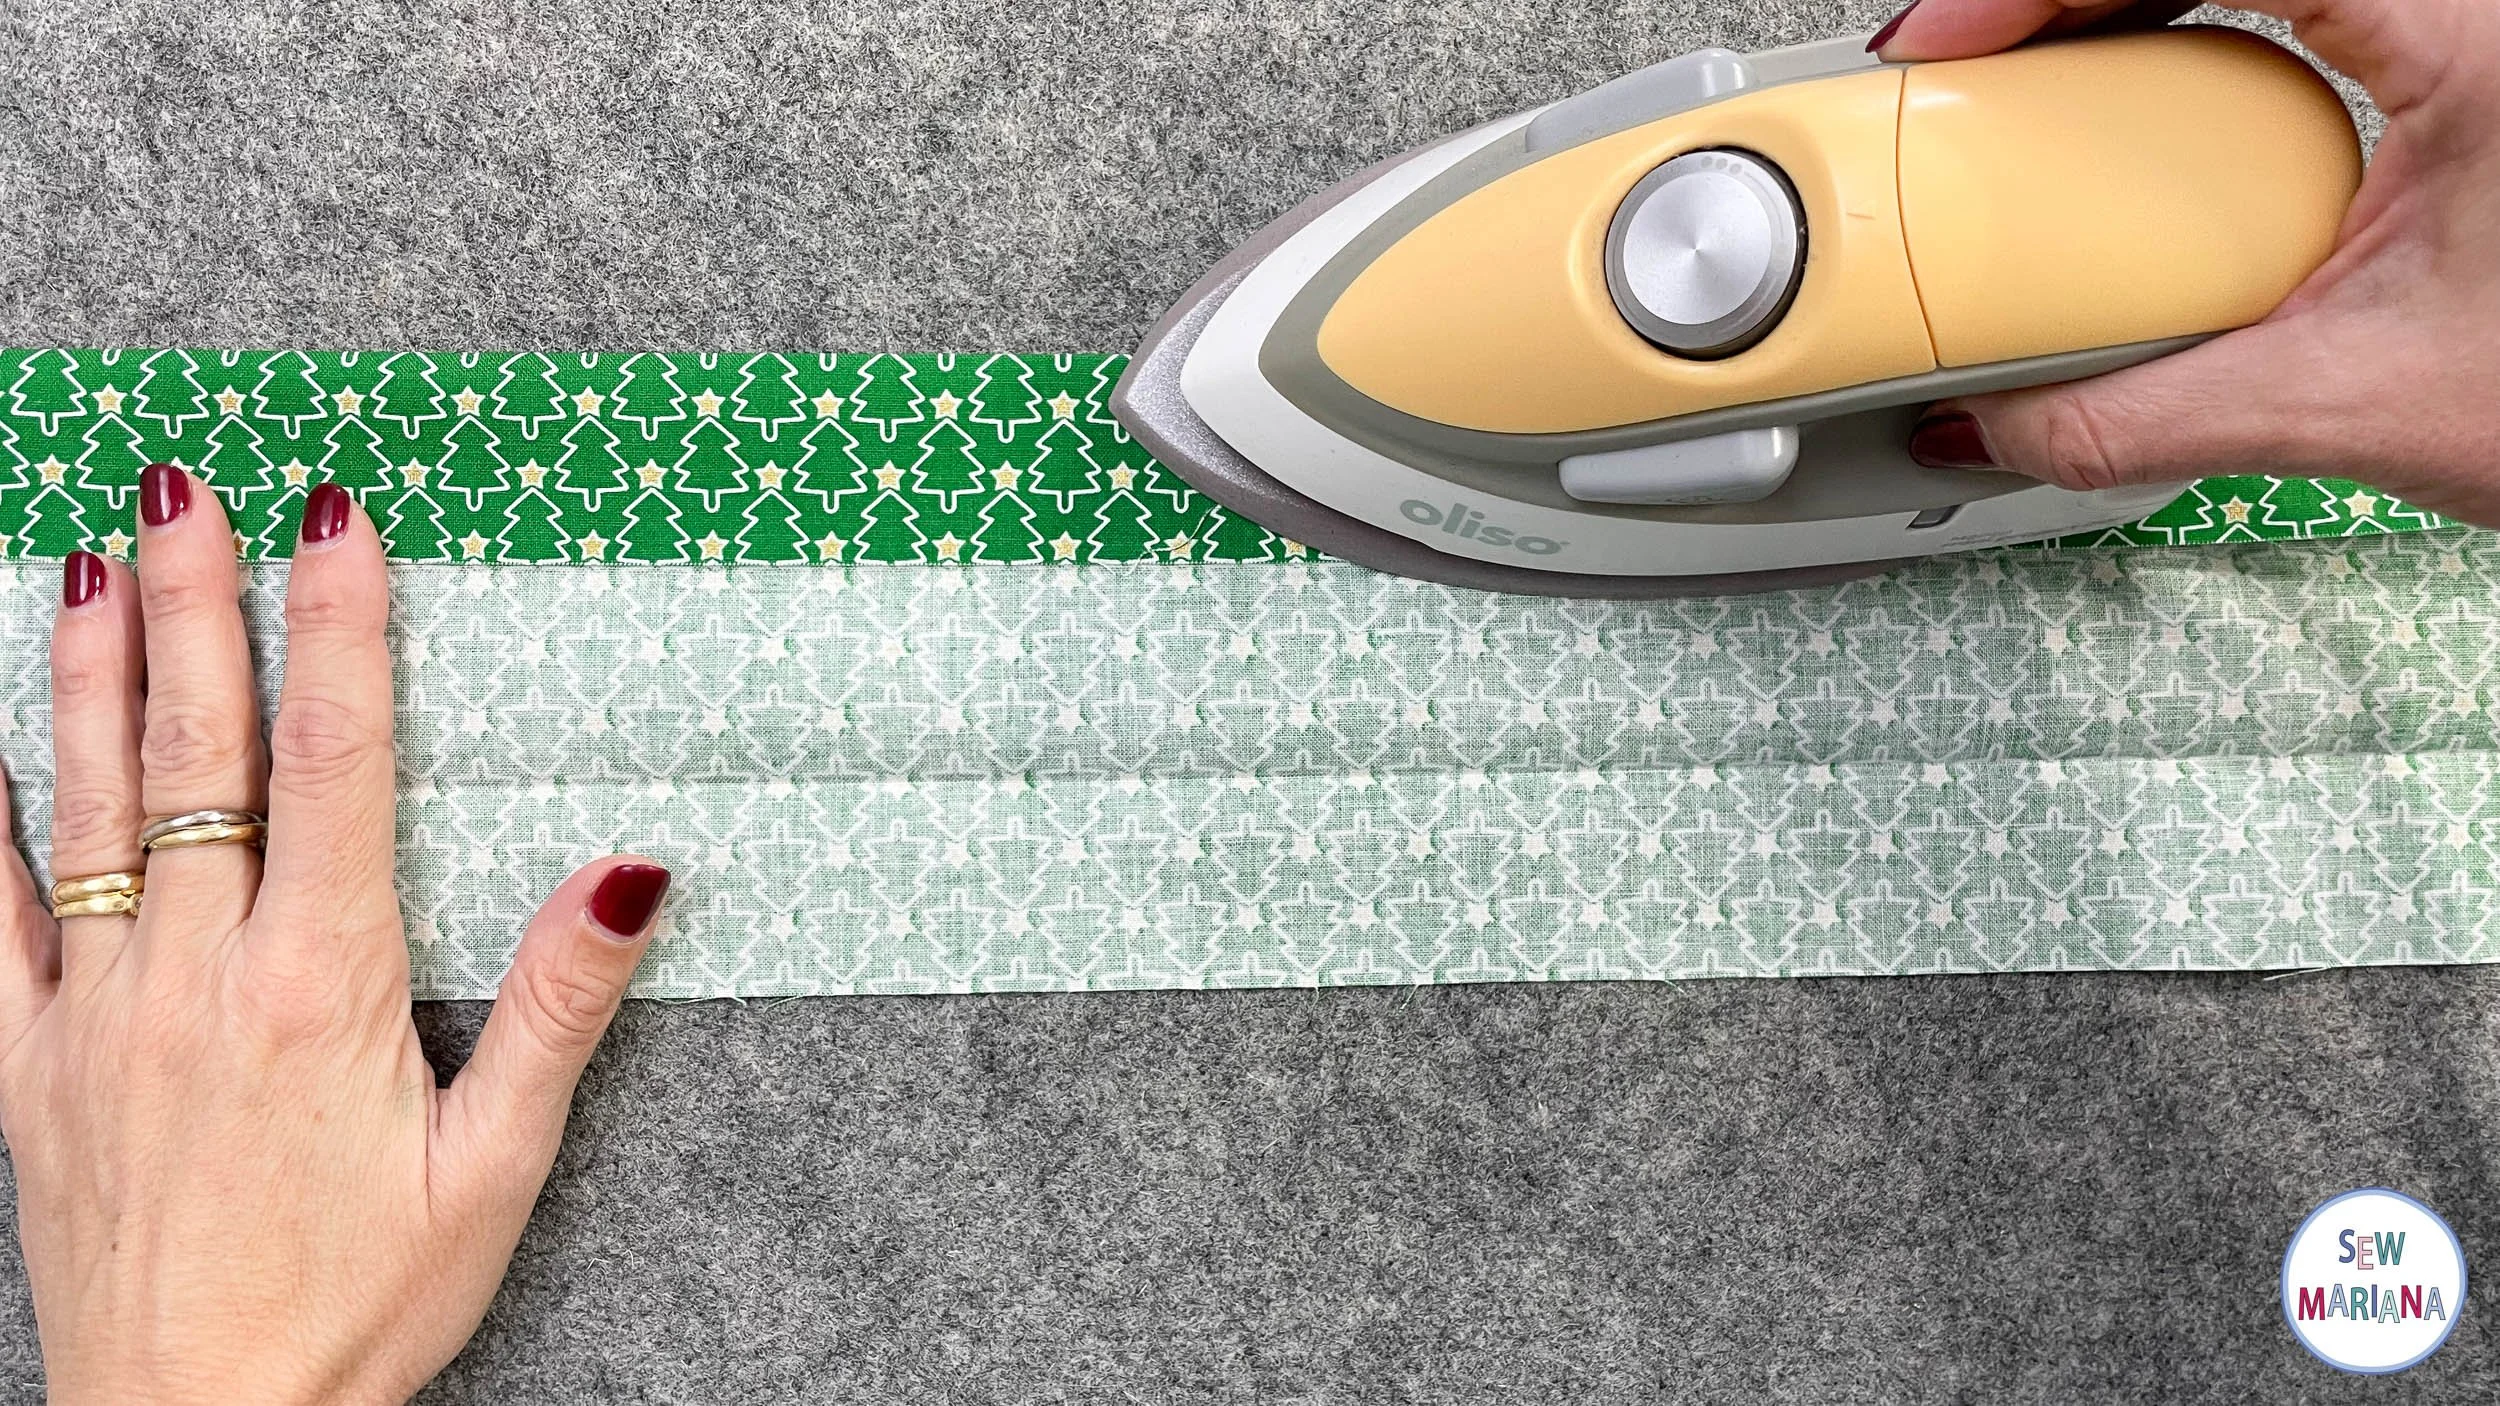
Fold the long strap in half lengthwise with wrong sides together and press. Open it back up. Fold the bottom edge up to the crease you just created and press. Then repeat with the top edge folding it down.

STEP 12
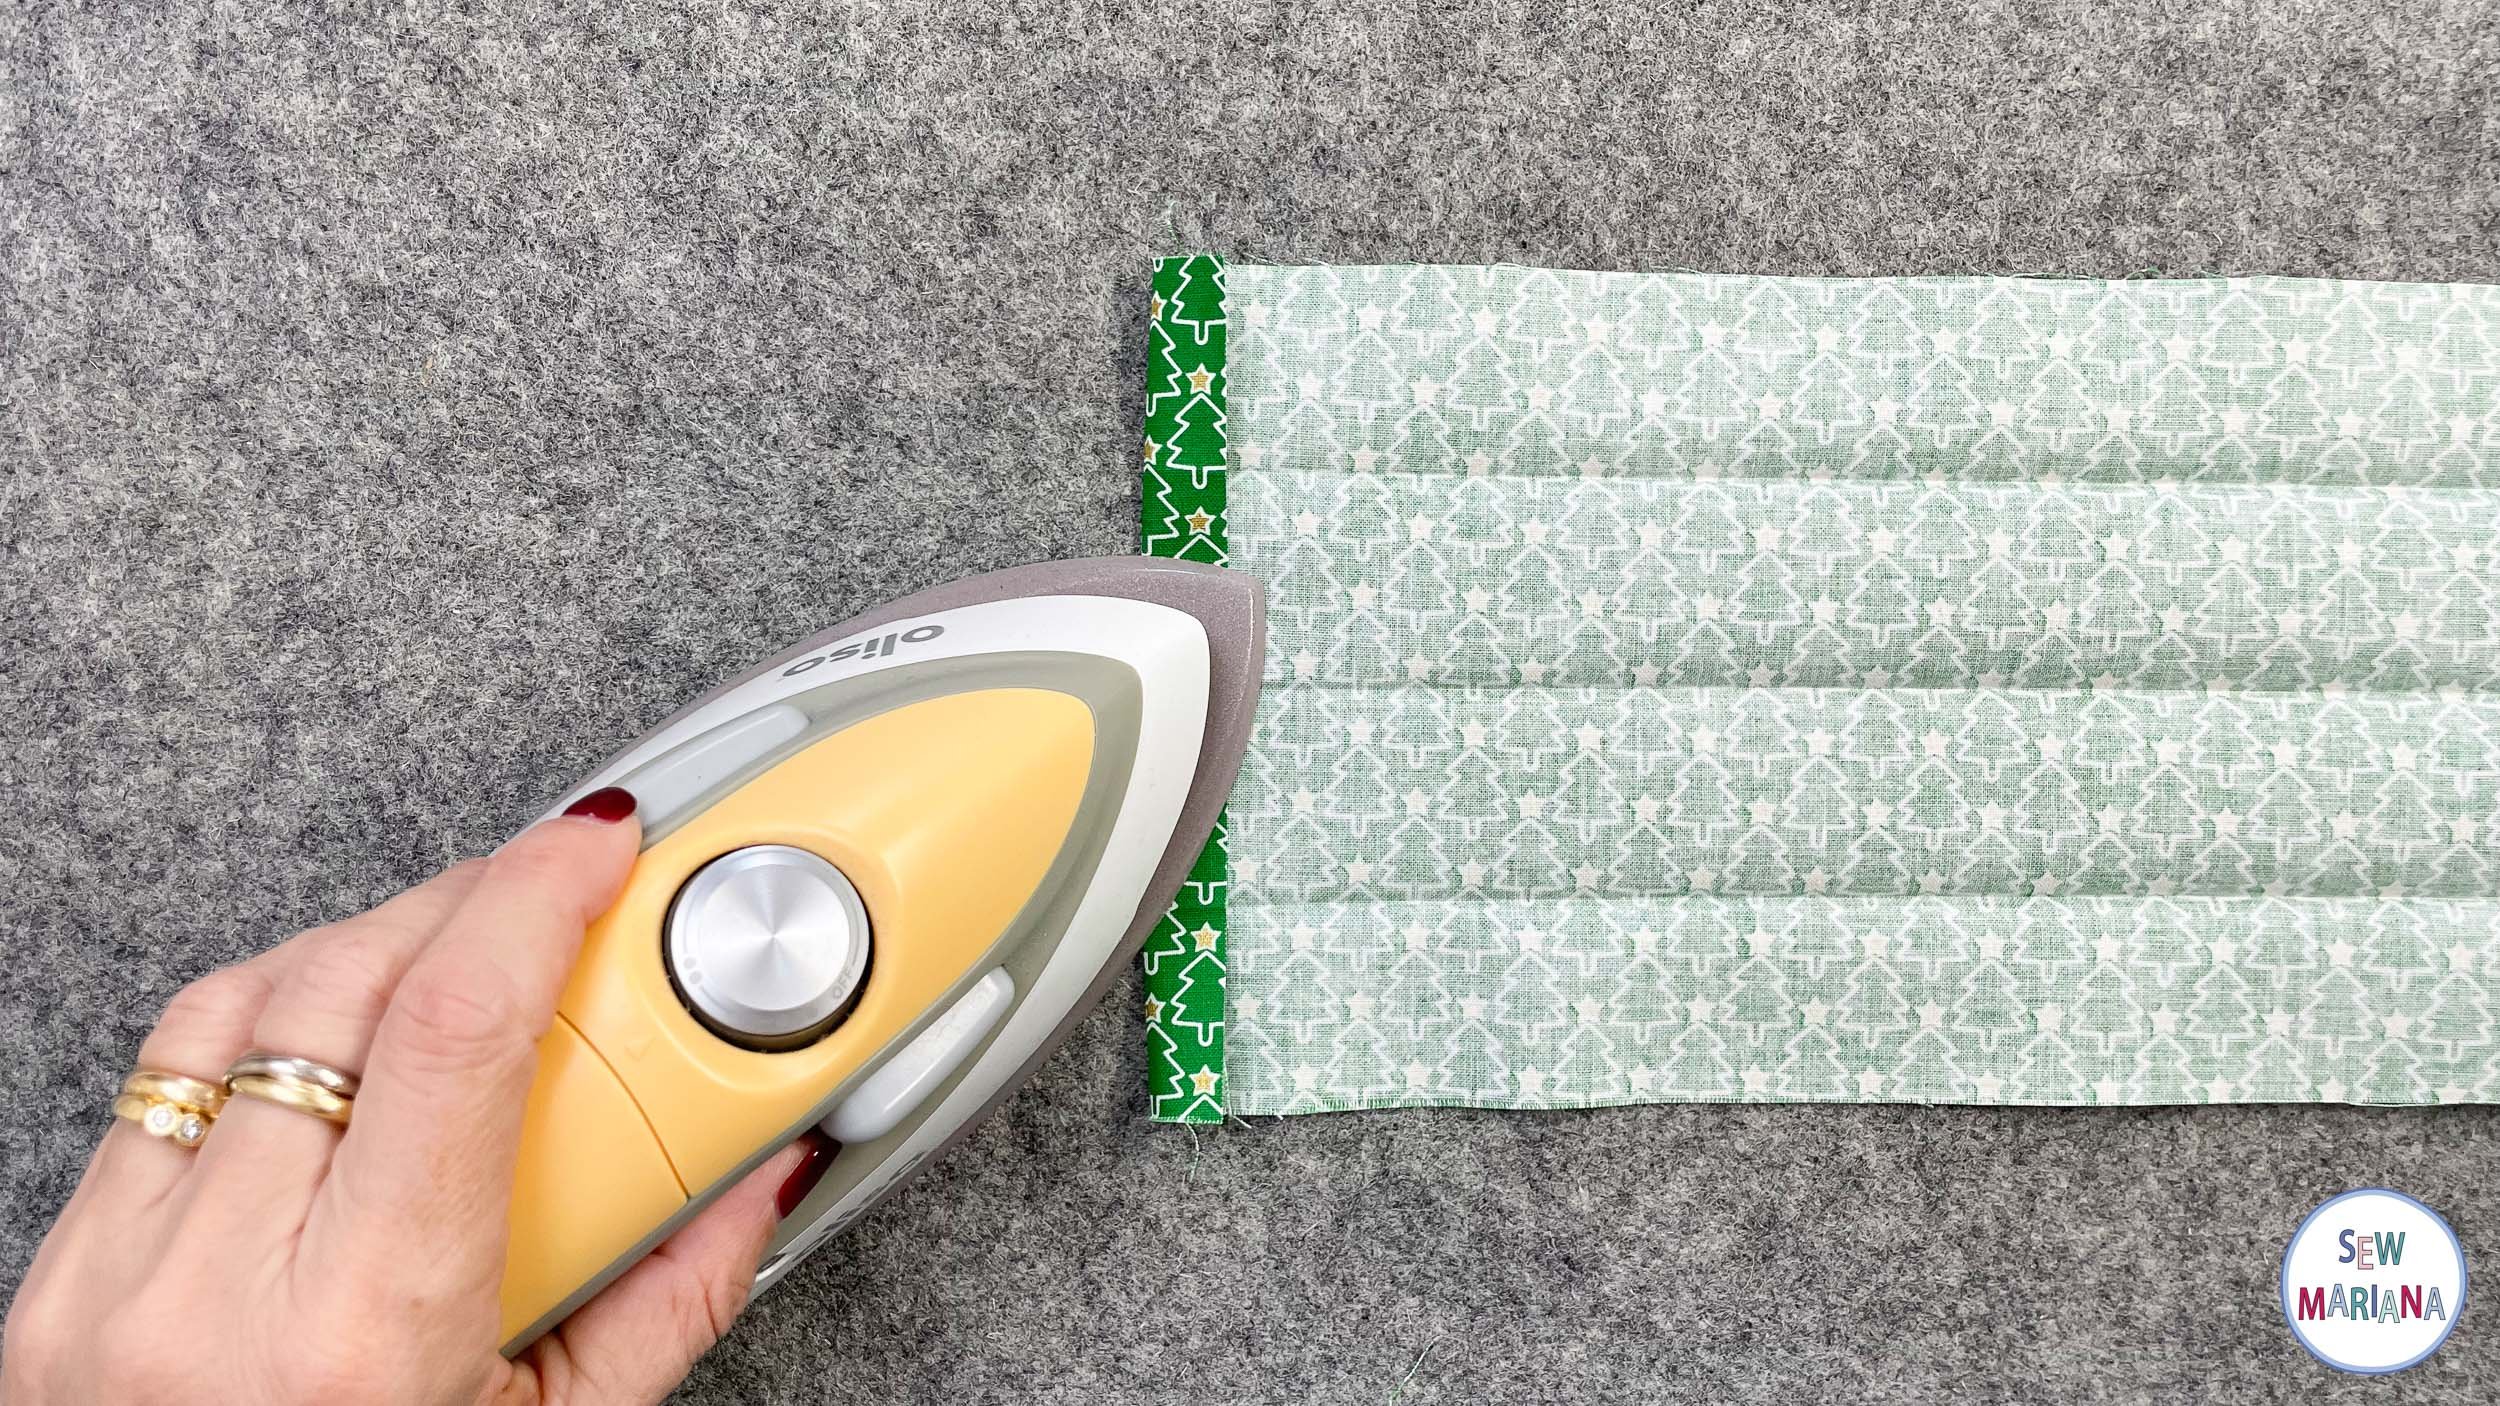
Finally fold in half again, press well and trim the edge.

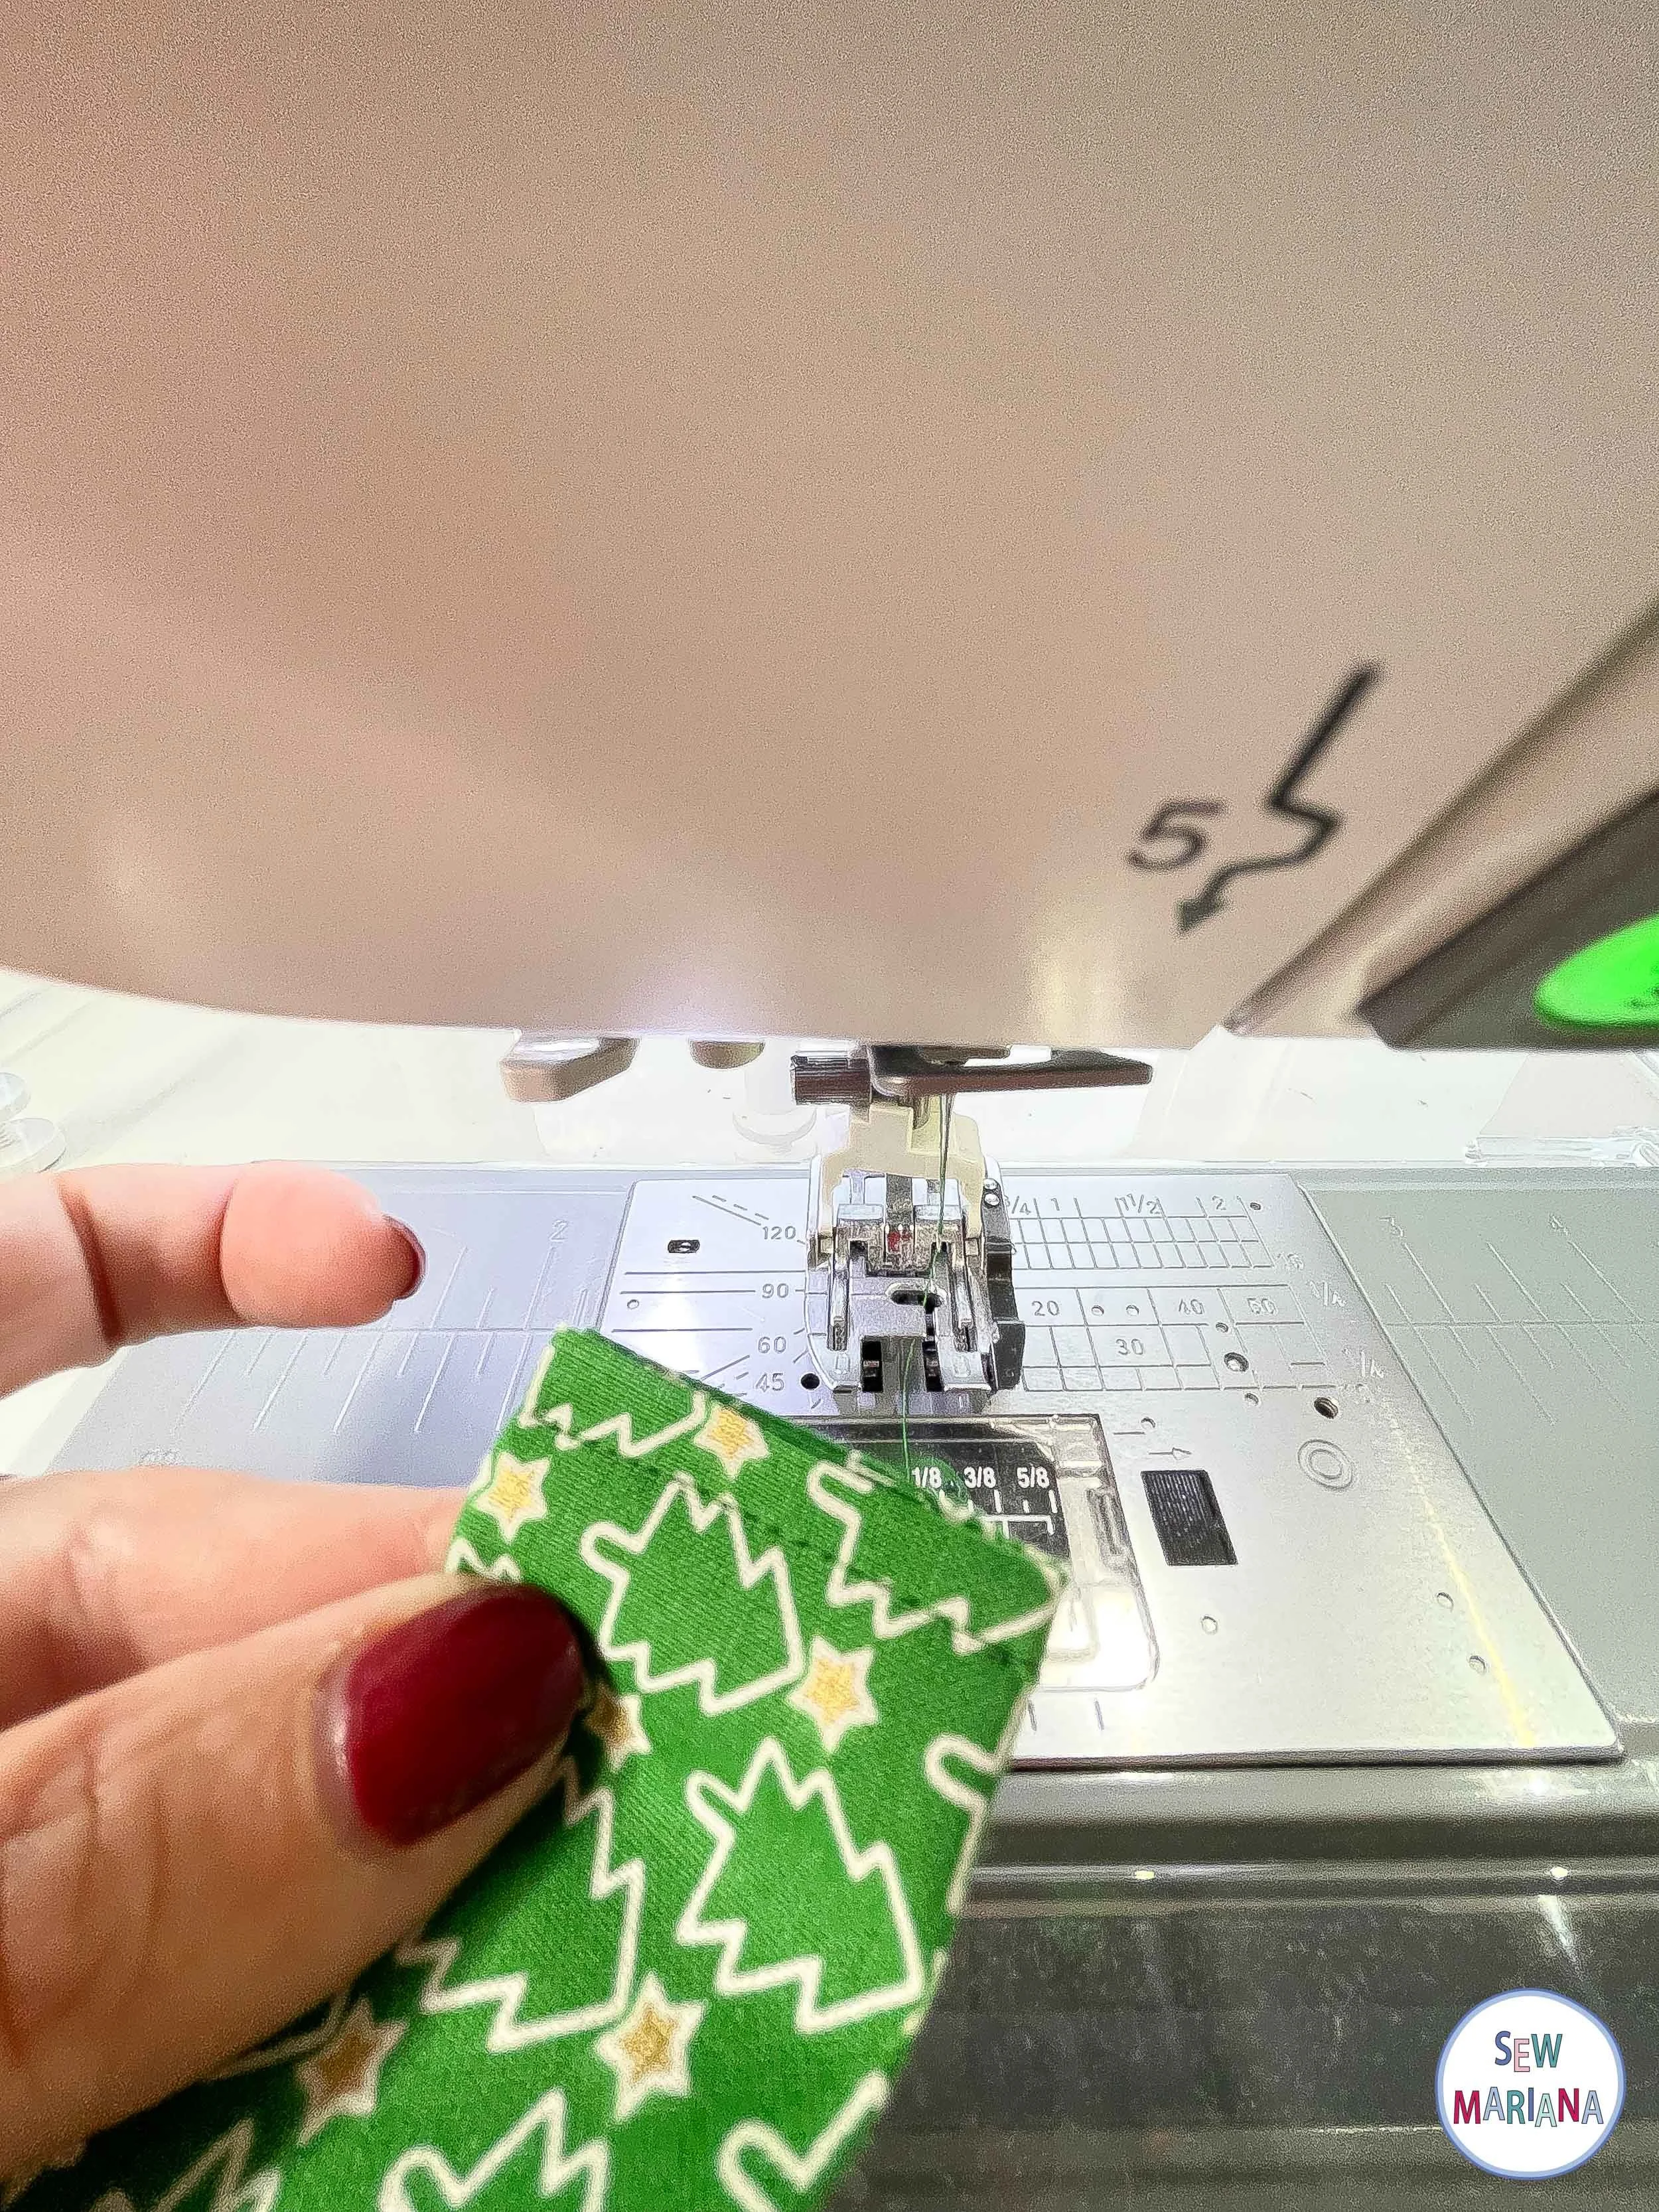
STEP 13
Open the strap and fold under each end by ¼”. Press well. Close it back up and press again to keep the folds in place.


STEP 14
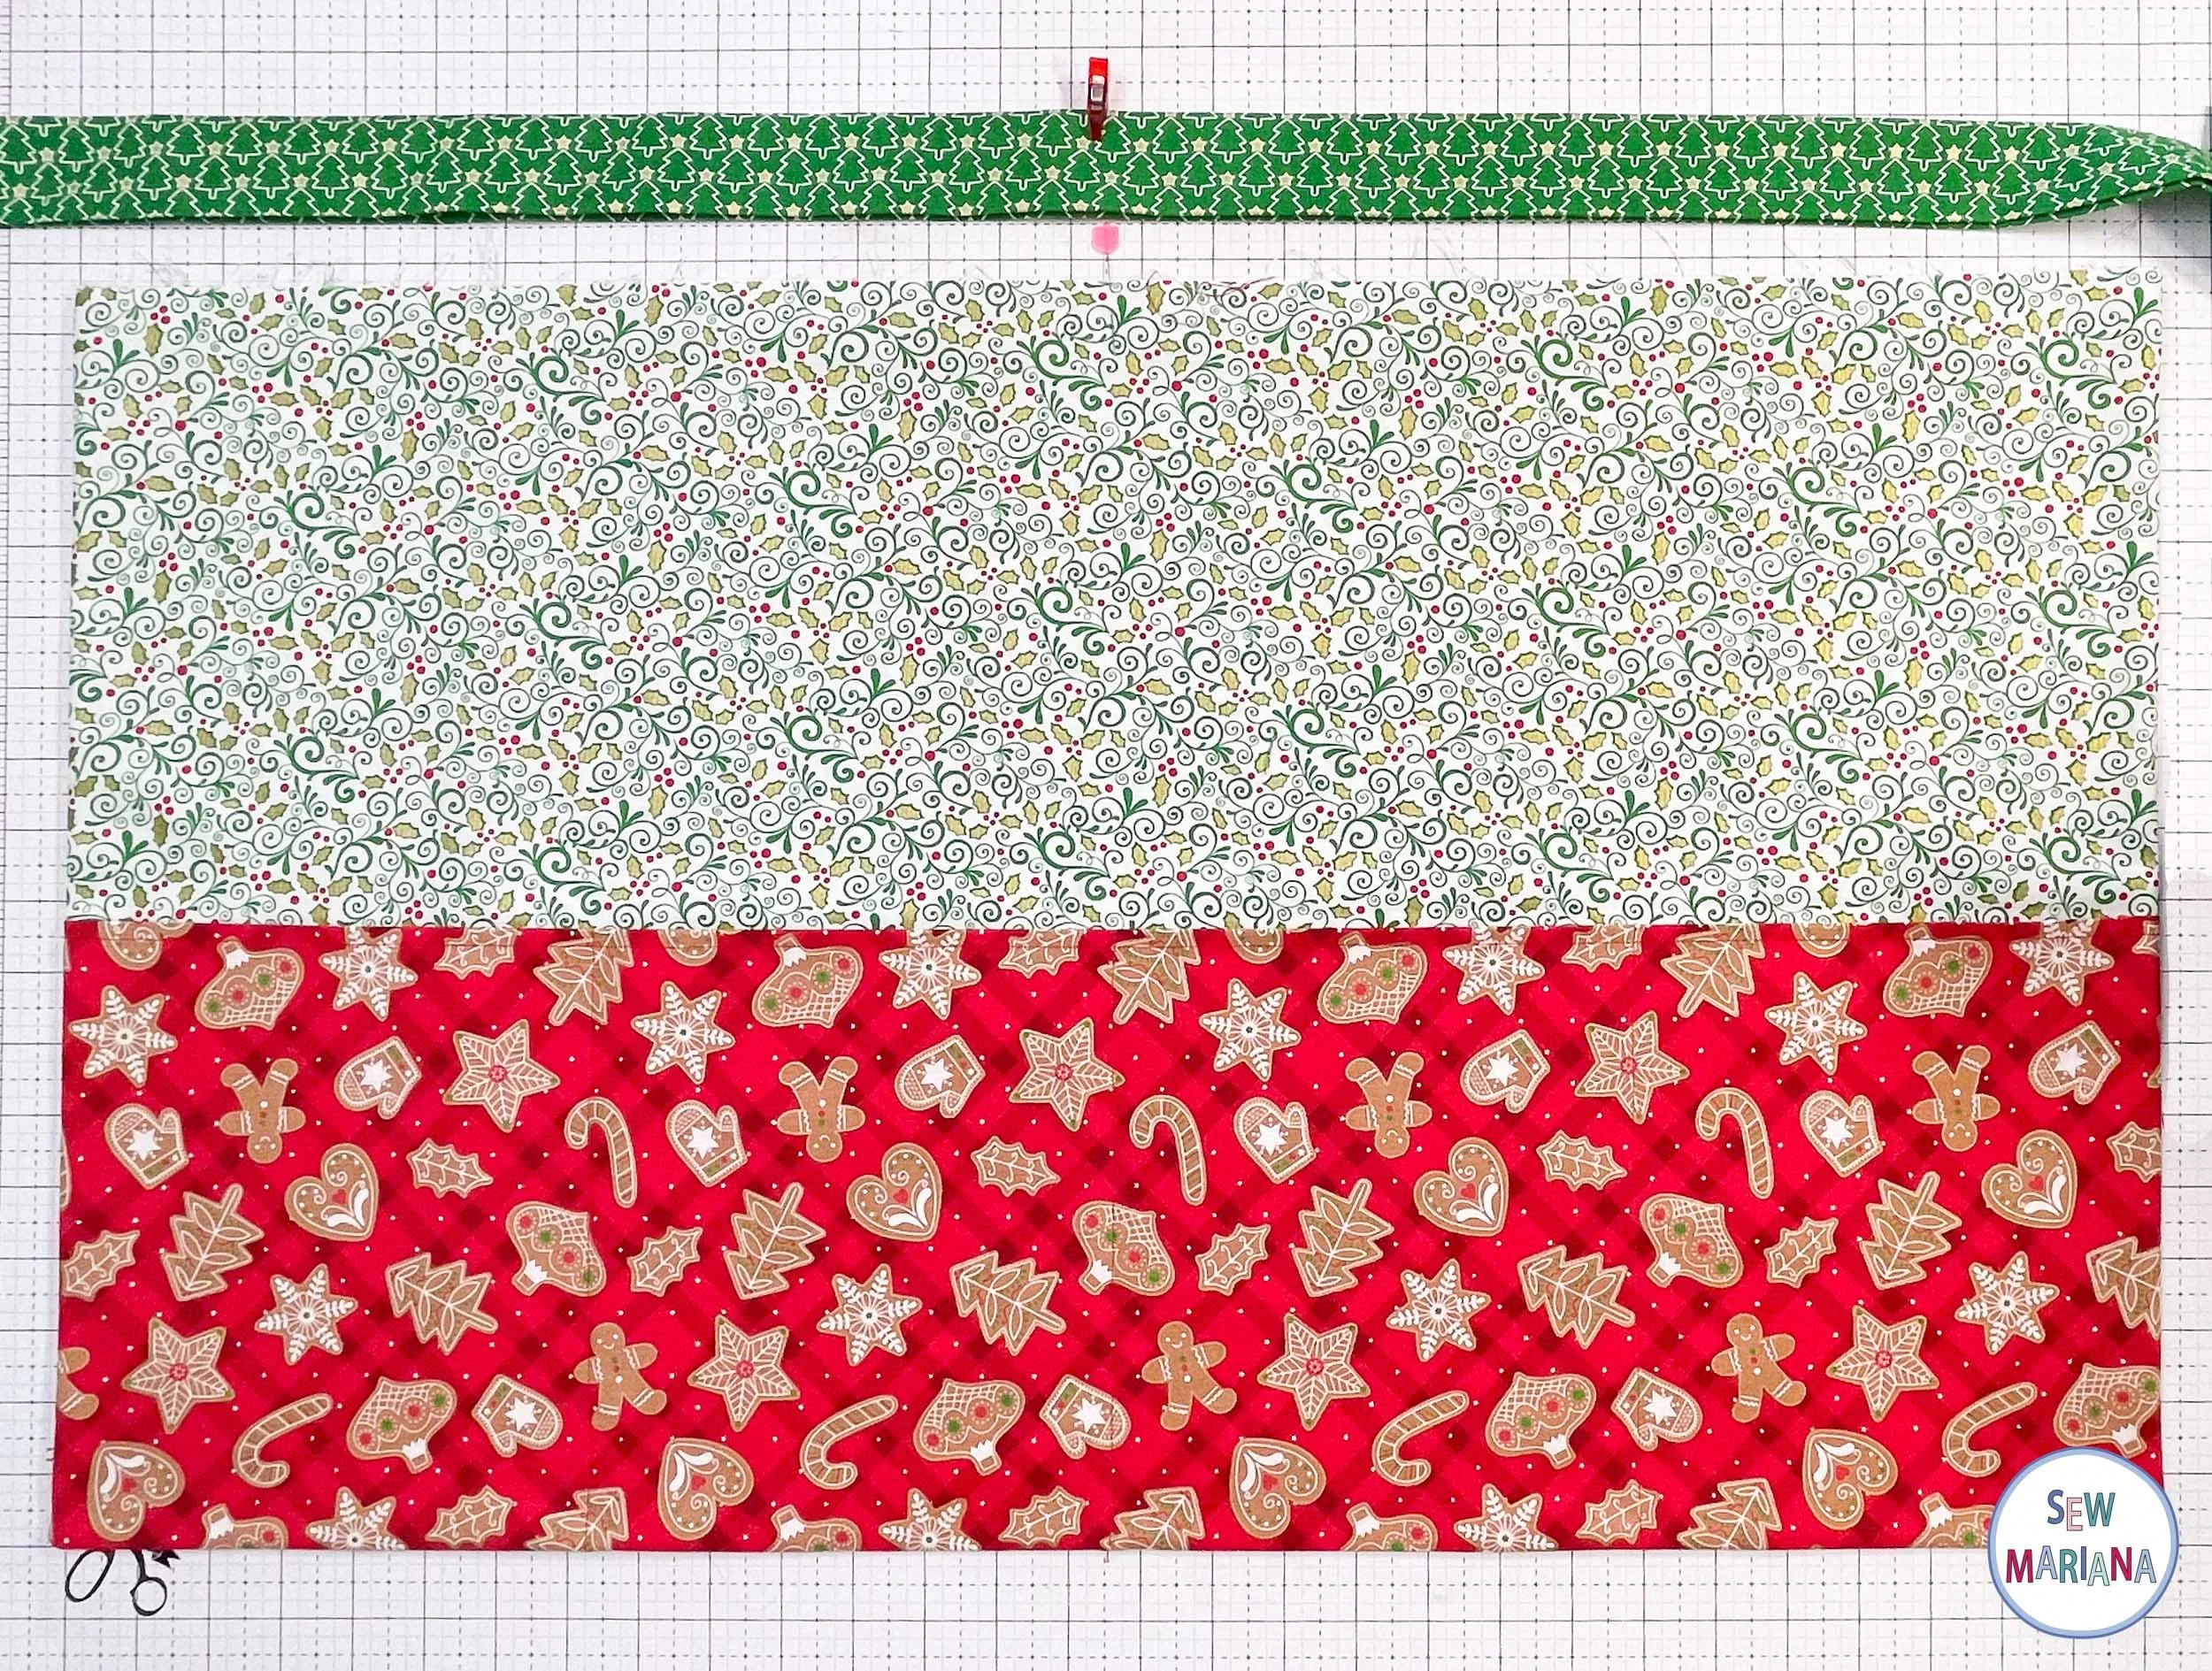
Mark the center of the strap lengthwise. Find the center of the main piece at the top edge and mark with a pin.
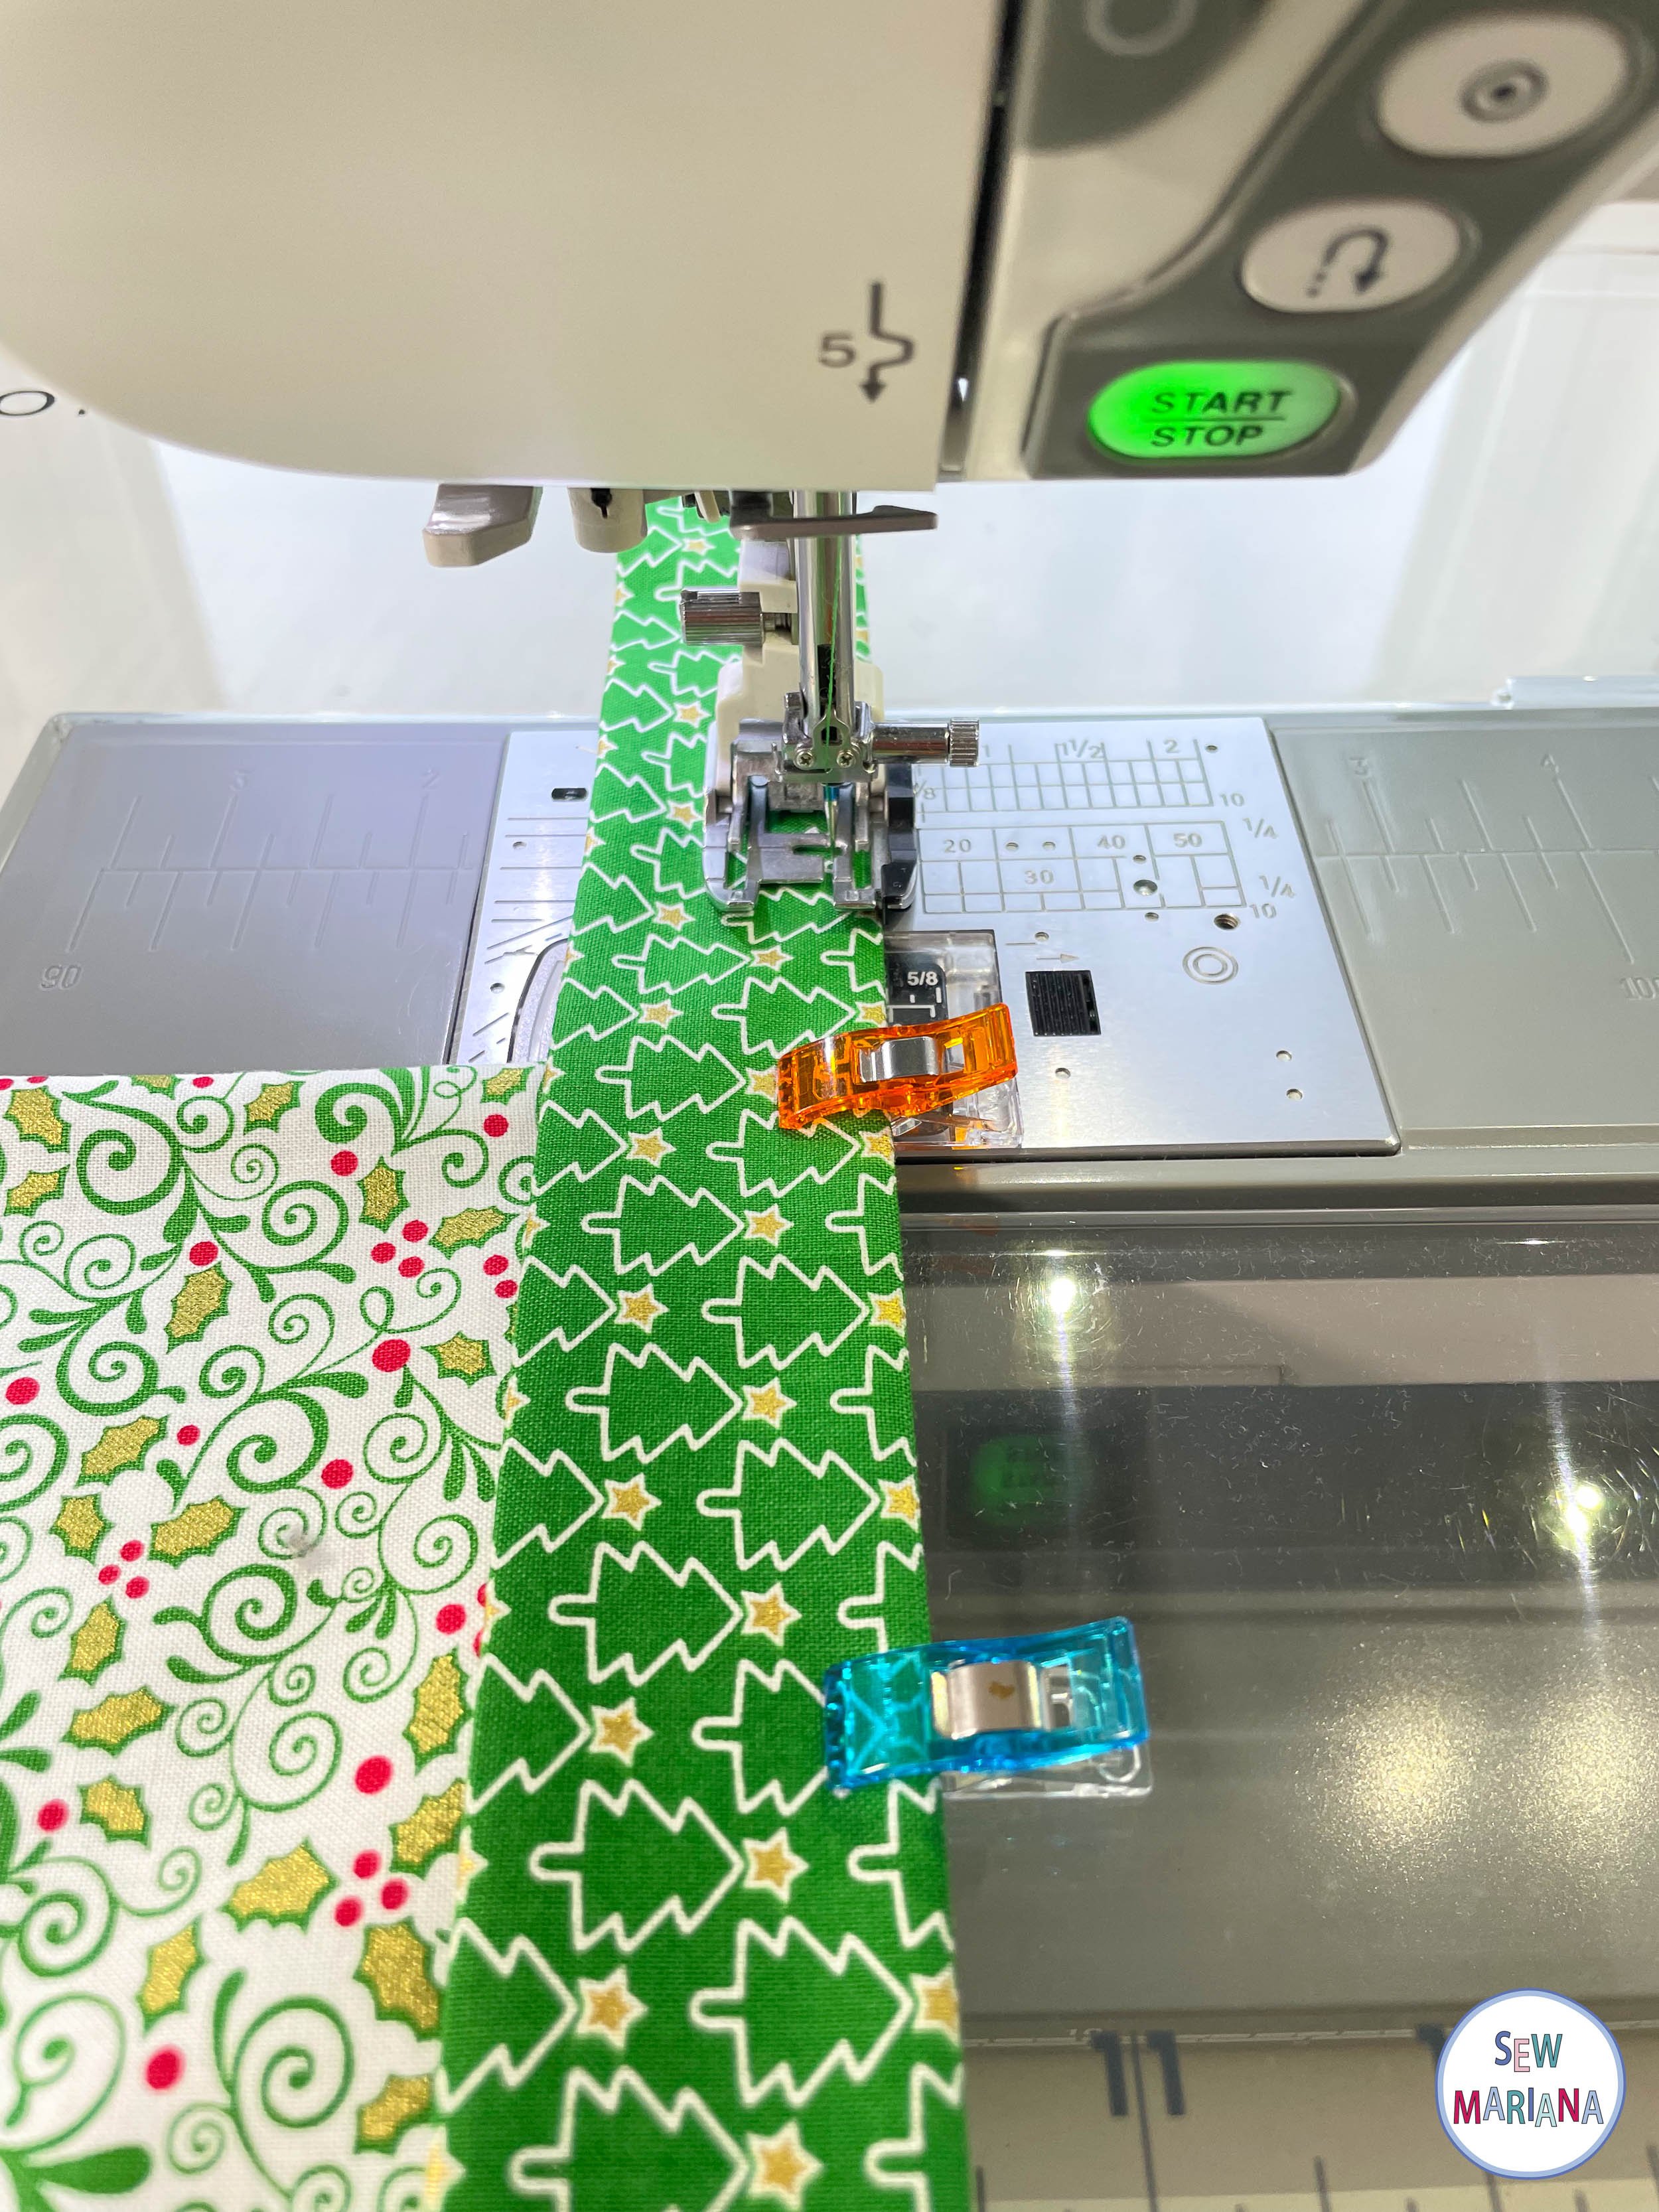
STEP 15
Align the strap and the main piece. Place the main piece inside the folded strap as shown. Pin or clip in place.


STEP 16
Sew the ends of the strap closed and continue sewing all the way around the strap with a ¼” seam. Remember to back stitch at the beginning and at the end.

And you are all done!


Make sure to tag me and use the hashtag #sewmarianatutorial on social media to share your wonderful creations. Have fun and happy holidays!


