This Way Up - Block Tutorial
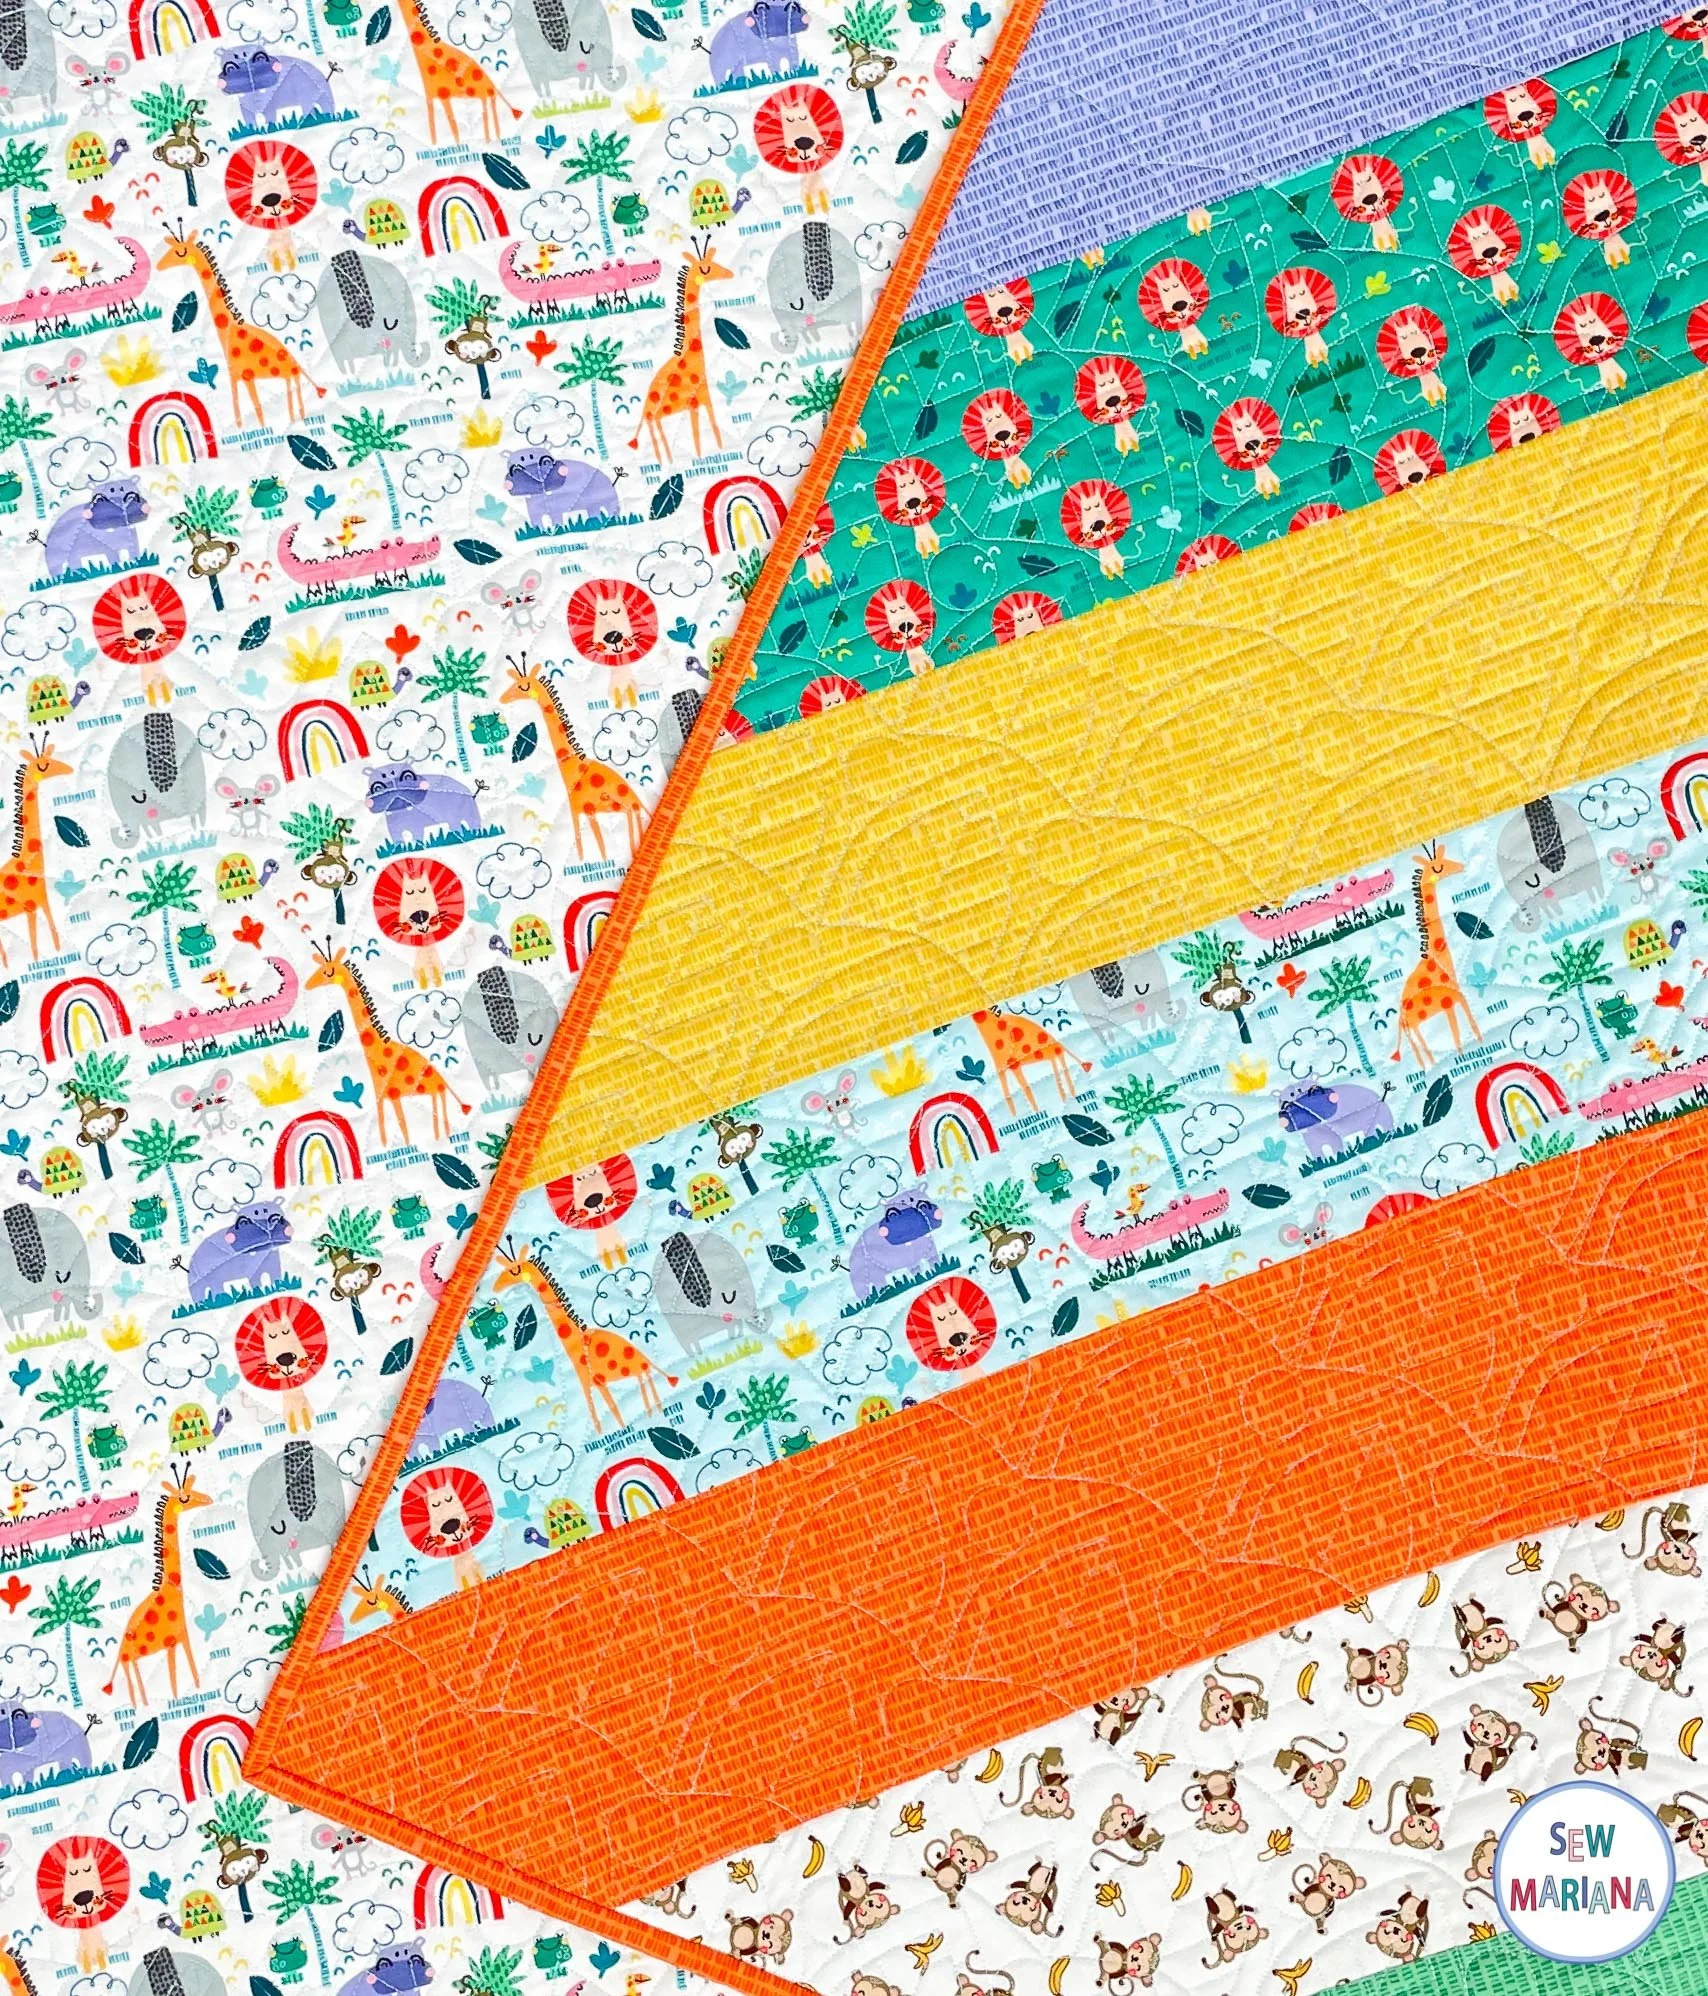
It seems as if every time I receive fabrics from Michael Miller, I think I’ll never see anything so darling again. Jungle Safari has me absolutely over the moon! Not only are the animals cute as heck, but this collection has a great balance of prints, some large enough to show off, others small enough to fit into tight spaces, and a good amount of blenders to bring them all together!
Now the initial plan (and I’m sure you can see where this is going), was to make simple pillow cover. Naturally, I ended up getting so carried away that an entire quilt ended up in the picture. Since it was so unplanned in the first place, and since it’s so straightforward, I’ve decided to skip writing the pattern, and just giving y’all the tutorial right here and now.
So take a look, try it for yourself, and make sure to show me how it comes out!

FABRICS:
Seven (7) 2-1/2” X WOF (Width of fabric) strips
One (1) 4-1/2” square (cut it in half on the diagonal)
One (1) 13-1/2” square

Watch the video version and come back if you want the slow version ;)

STEP 1. Cut the strips in half. They all should now be at least 20” long. I cut the first two strips even shorter, about 10” long.
STEP 2. Sew the first strip to one side of the triangle leaving a 1/2” overhang as shown below.

STEP 3. Press away from the triangle and trim the strip.

STEP 4. Sew the remaining short strip to the other side of the triangle. Leave about 1/2” overhang at the top. Press out and trim the strip.

STEP 5. Sew one of the longer strips to the top leaving a 1/2” overhang, press out and trim the strip. Sew the other strip of the same print to the right, press out and trim.


STEP 6. Continue adding the strips to the top and right in the same manner.

STEP 7. When you finish adding the strips is time to add the top triangles.

STEP 8. Cut the 13-1/2” square it in half by the diagonal to get two half square triangles.

STEP 9. Rotate the unit. Sew one triangle to the top left of your unit, leaving 1/2” at the top point. Press out and trim the dog ear.


STEP 10. Repeat with the other triangle and the top right side of the unit.


STEP 11. Measure 11-1/2” from the center point to the right and trim. Then trim the top of the block leaving a 1/4” from the point.


STEP 12. Measure 11-1/2” from the center point to the left and trim. Finally trim the bottom of the block aligning the ruler with the base of the small triangle. It should measure 23” square.


And you are all done! Your “This Way Up” block is ready to make it into a mini quilt, a pillow or whatever you decide!

I made mine into a wall hanging and love the way it looks.

I loved it so much that I decided to make a quilt! What do you think, should I write a pattern for it?


I’ll keep you posted, and I hope you’ll keep me posted if you make this by tagging @sewmariana and using #thiswayupquilt .
Happy quilting!