Baby Pillowcase Tutorial

Happy Friday!!!
There are a ton of pillowcase tutorials out there, but when I wanted to make a smaller version and didn’t find anything, I made my own and wrote down the measurements and steps along the way. If you have a baby or a kid, or maybe an upcoming road trip, here is how you can create these cute baby pillowcases.
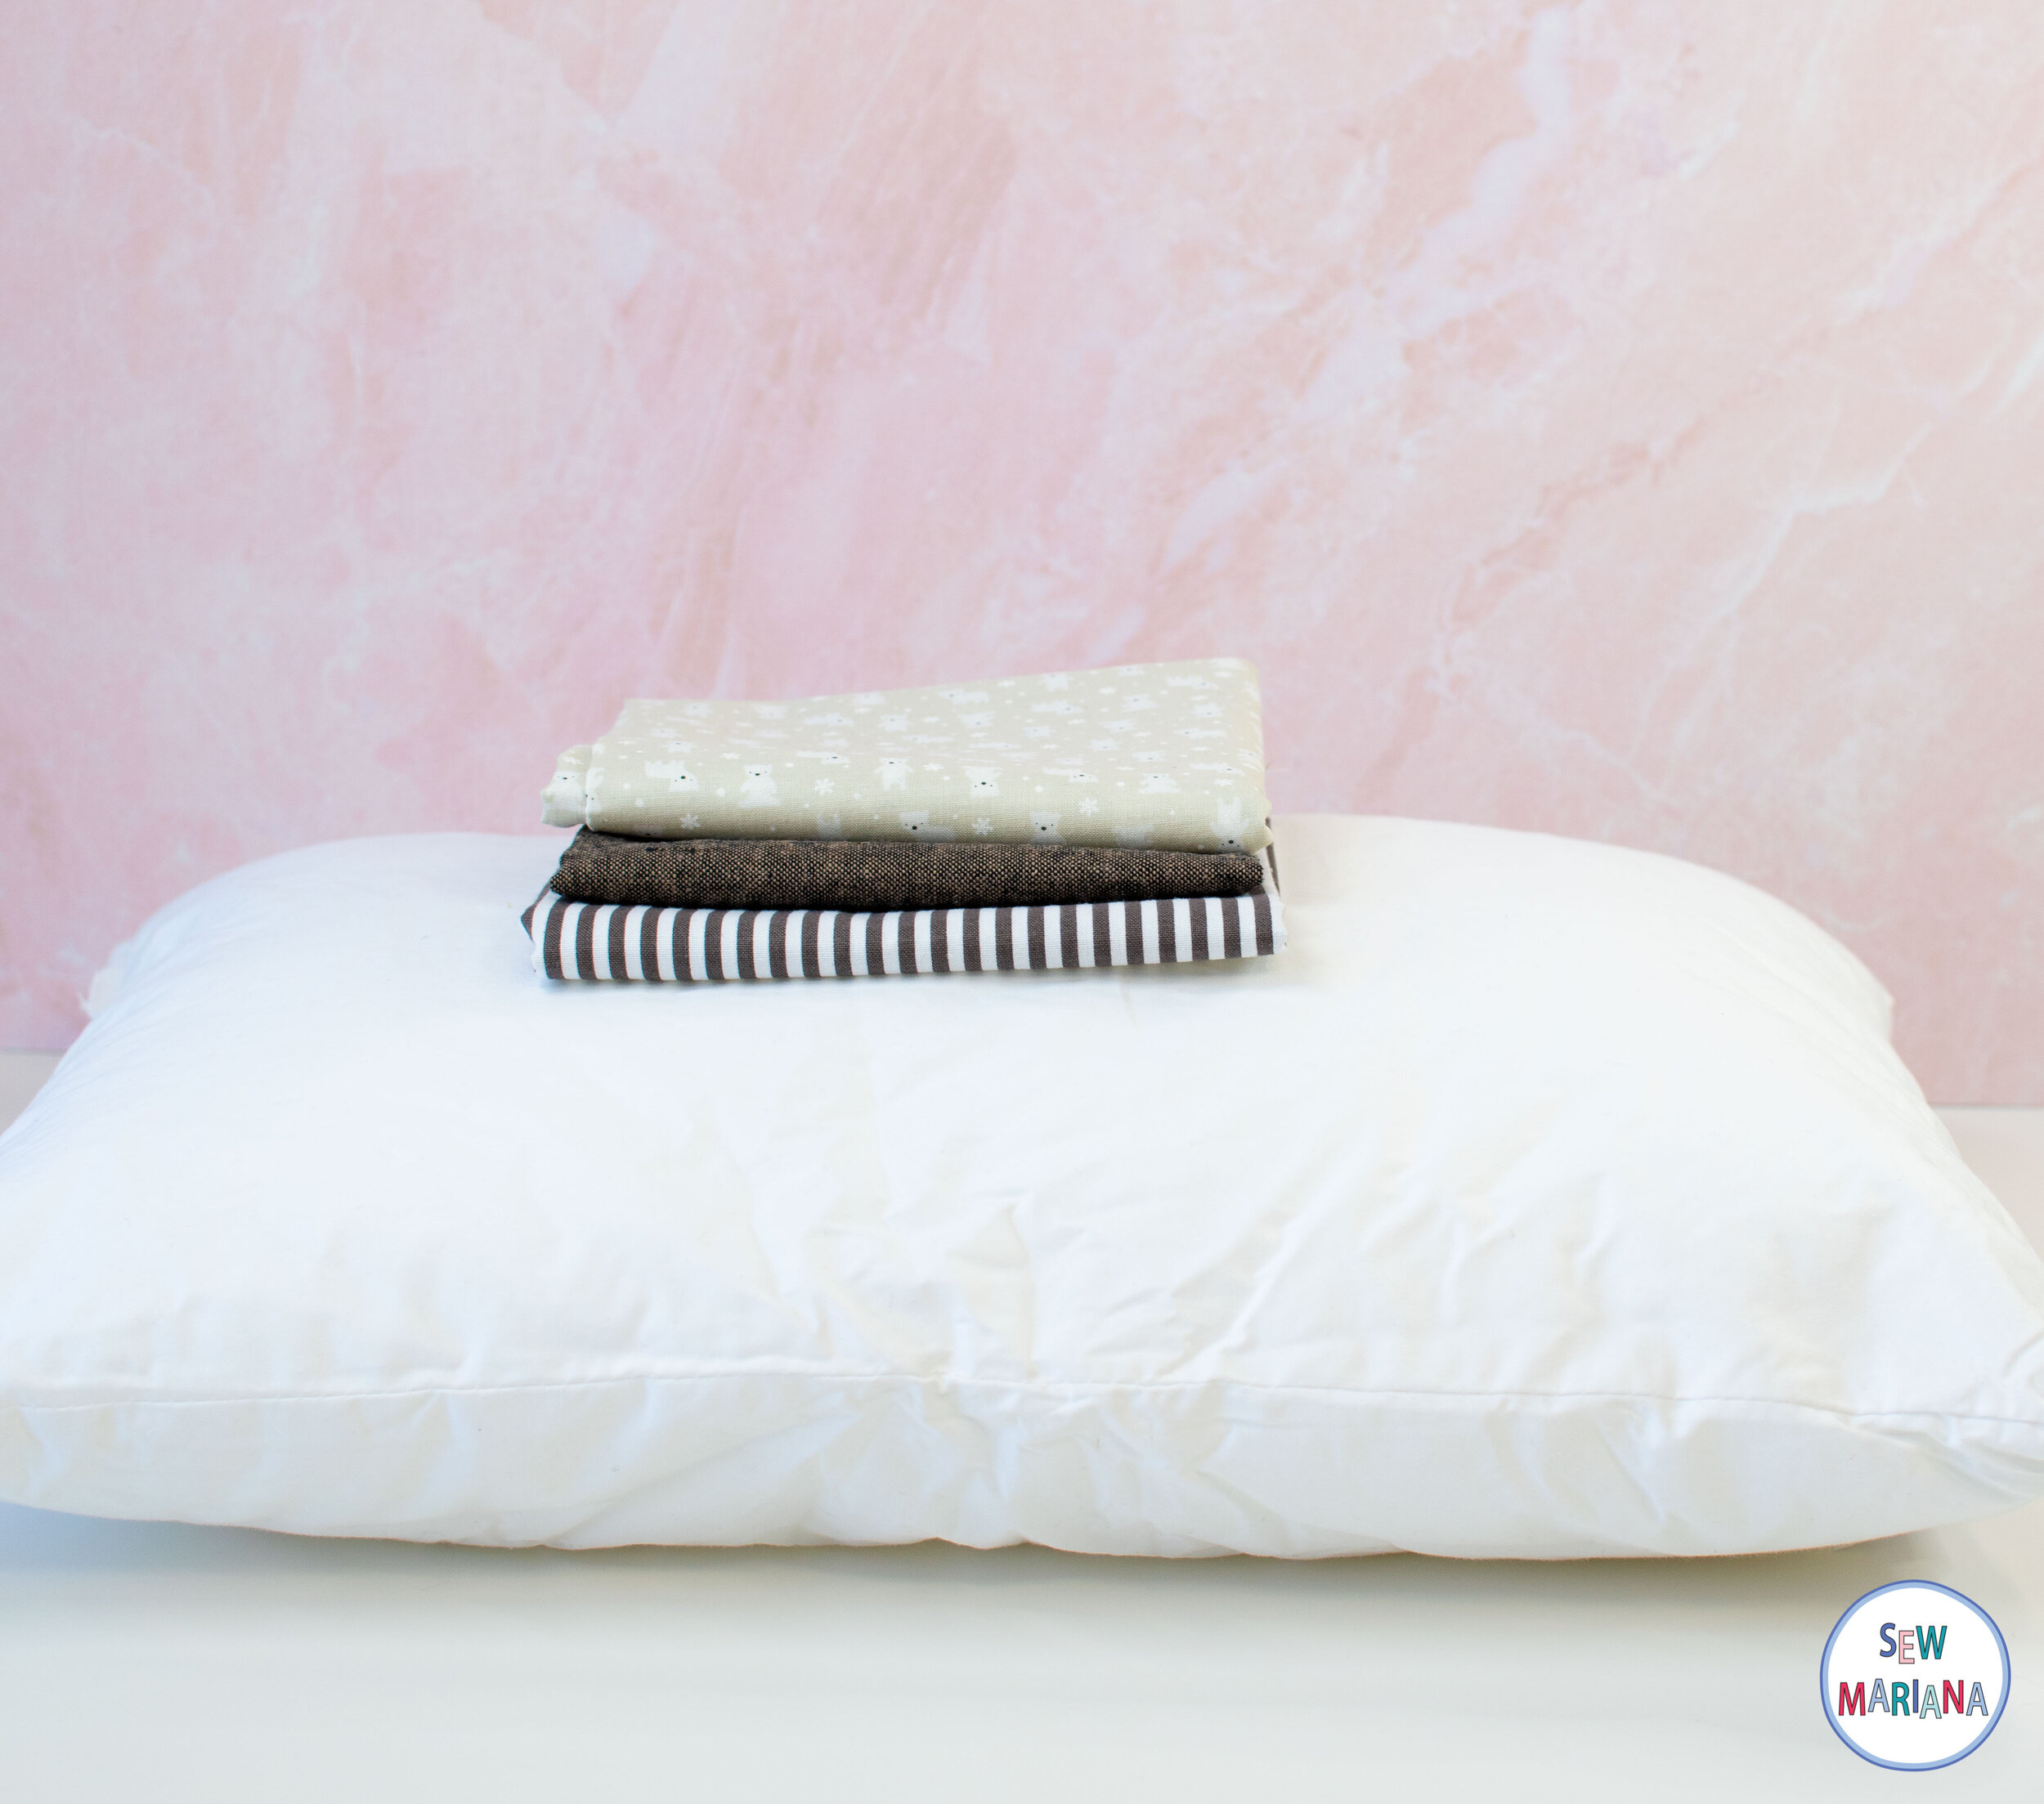
For this little pillowcase you will need:
18” x 29” for the pillowcase body.
6” x 29” for the cuff.
1 ½” x 29” for the trim.
One Baby/Toddler pillow. (These are the ones I got; they come in a set of two and I really like them)
Note for directional fabric: remember 18” for the length and 29” for the width.
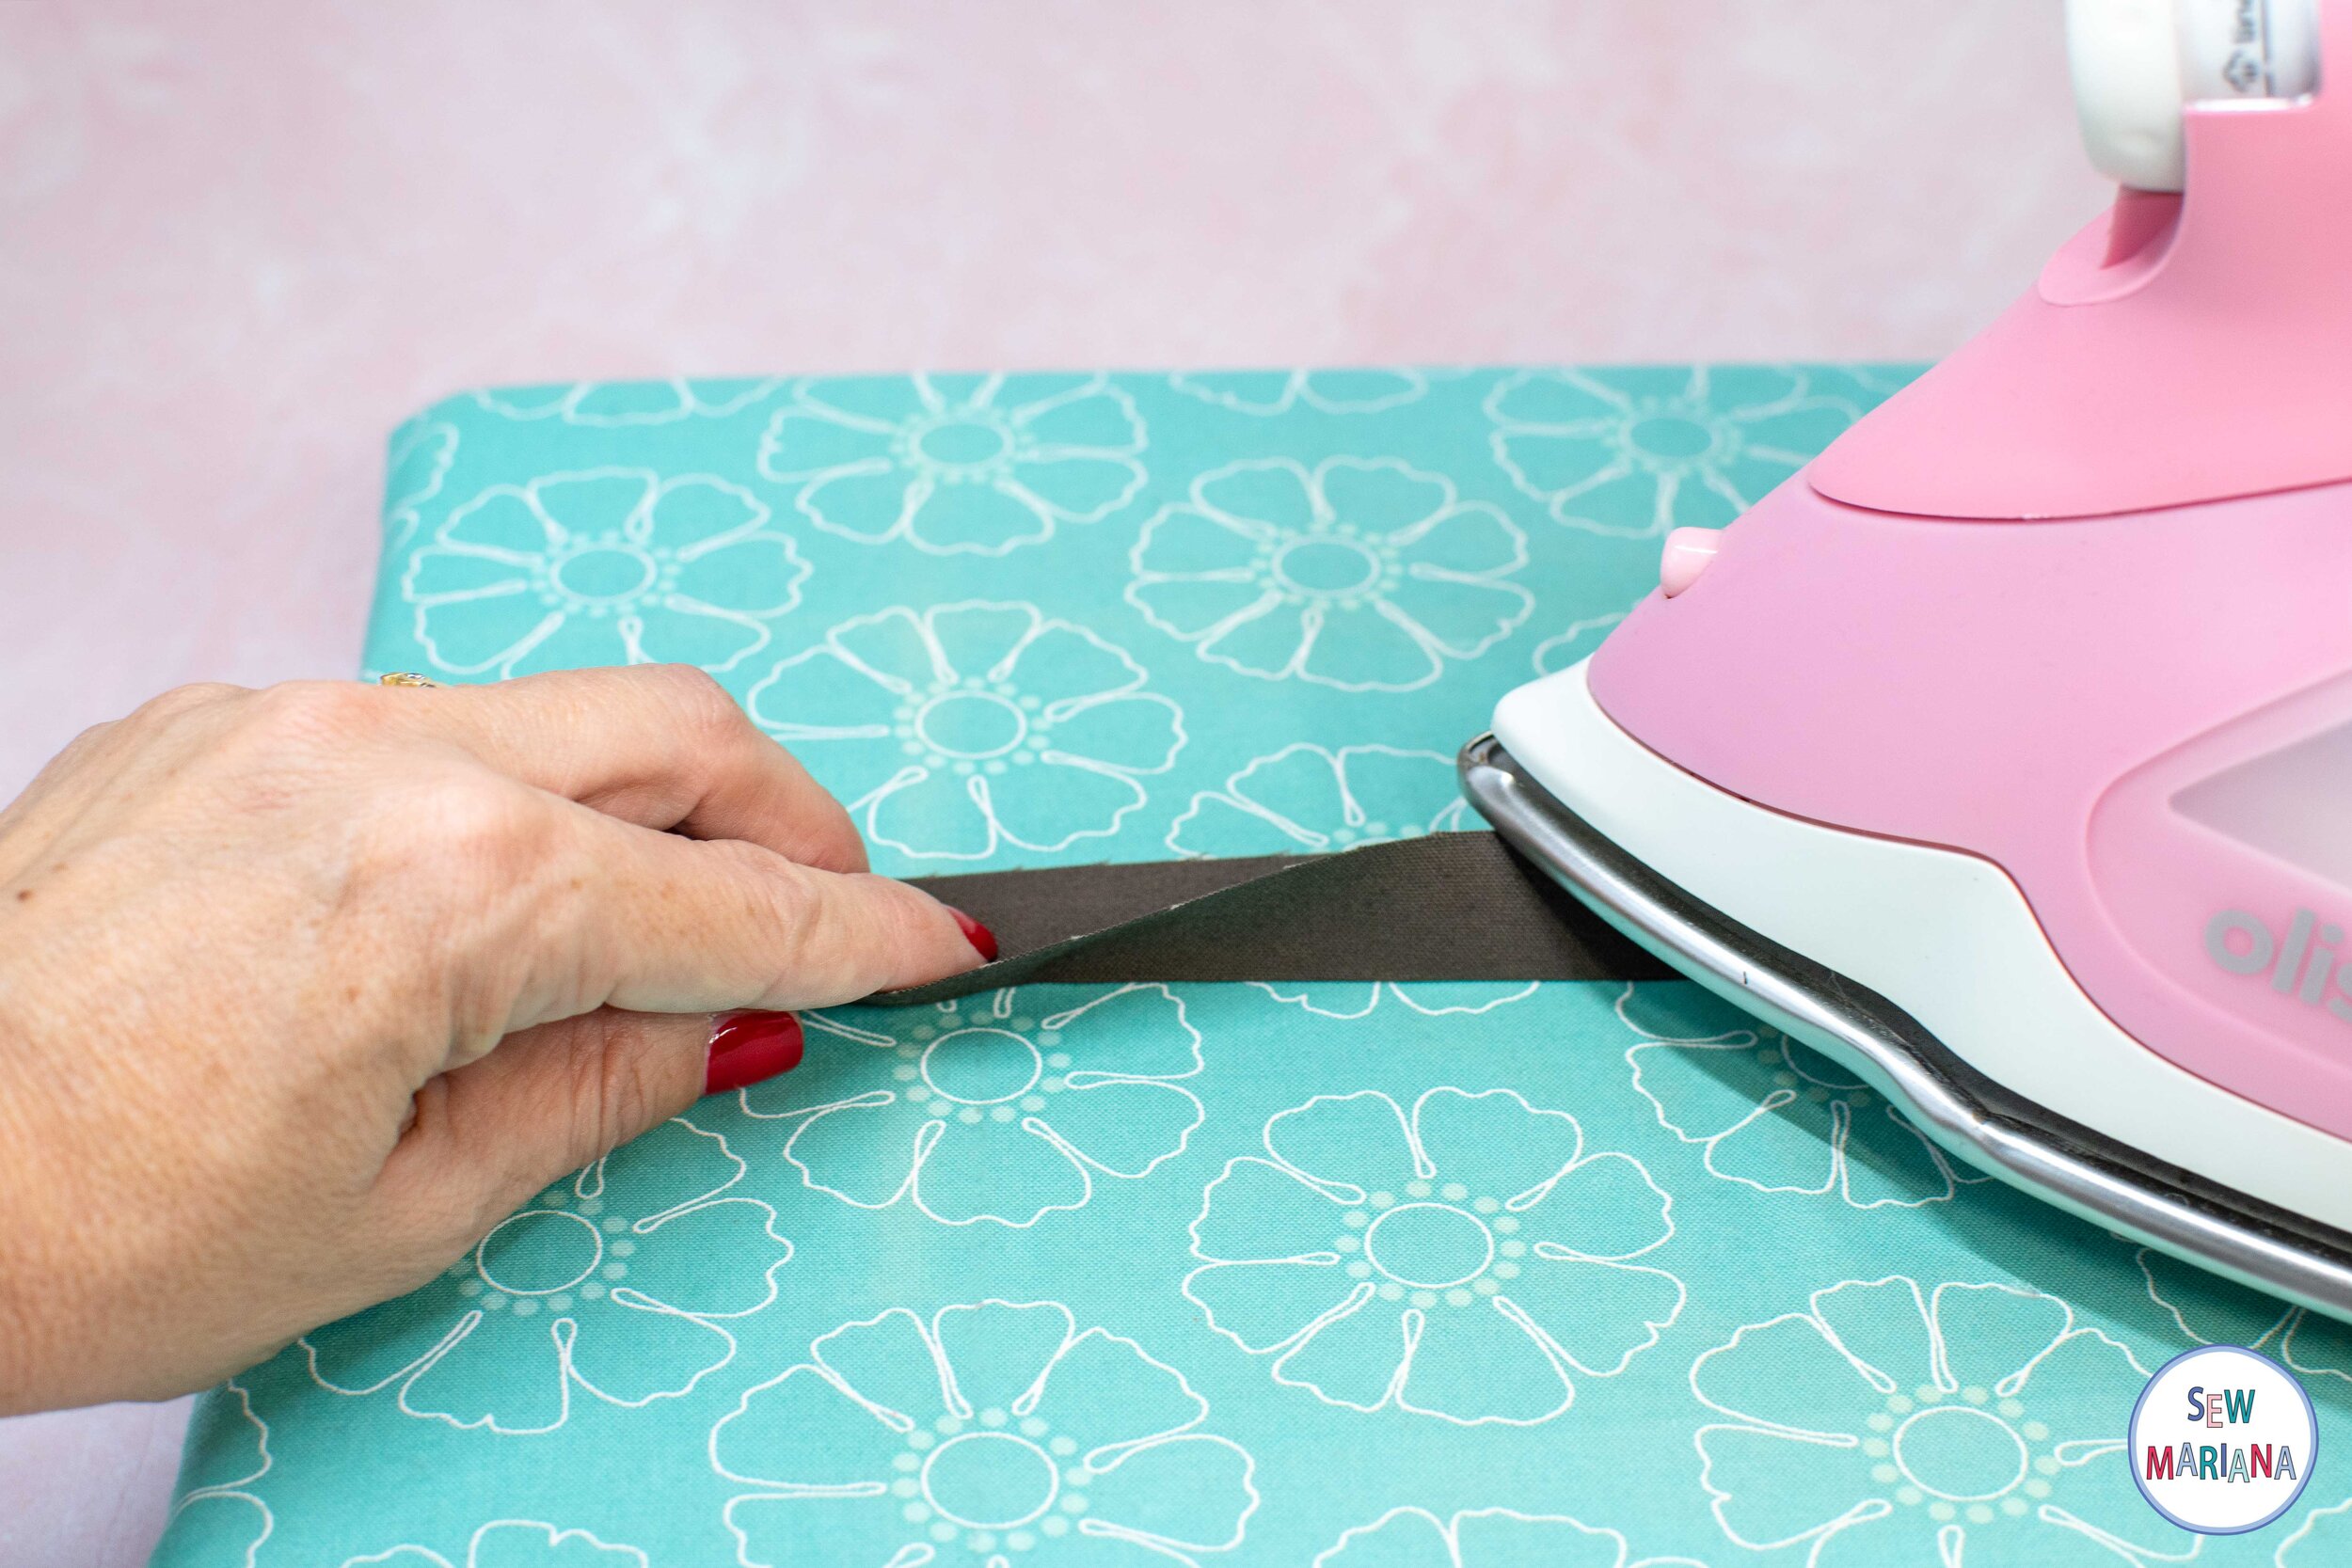
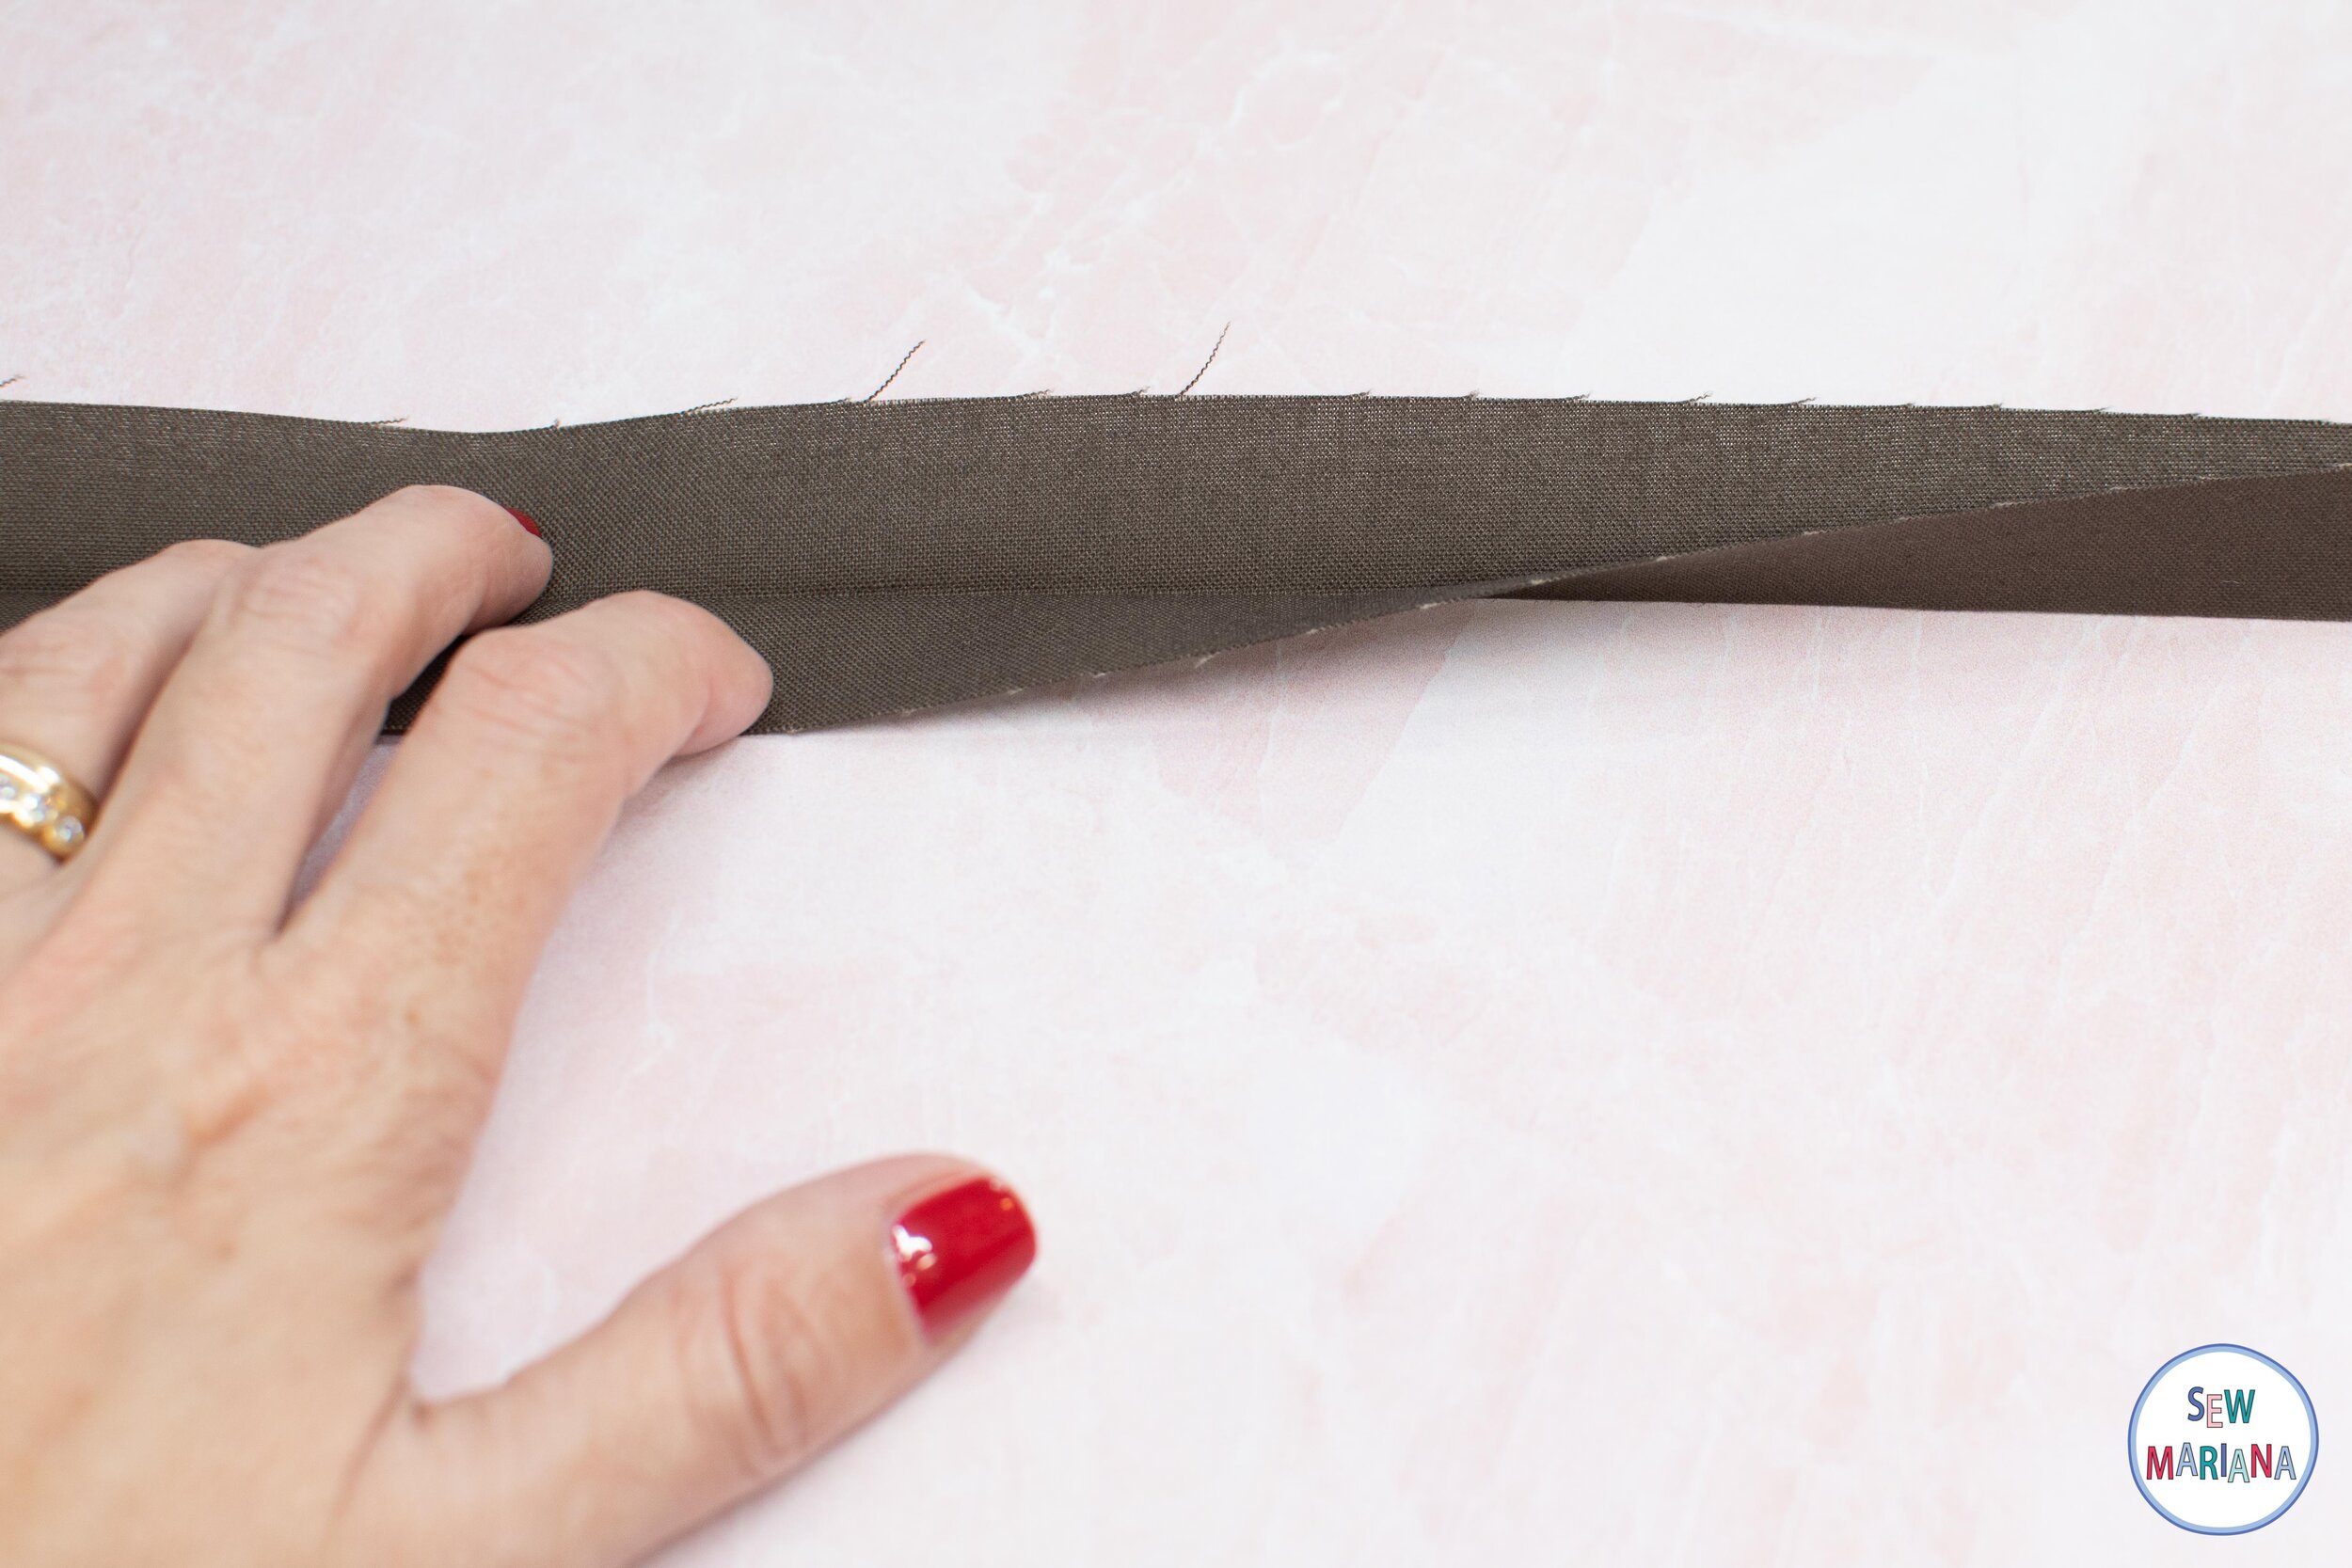
Press your accent piece in half lengthwise with wrong sides together.
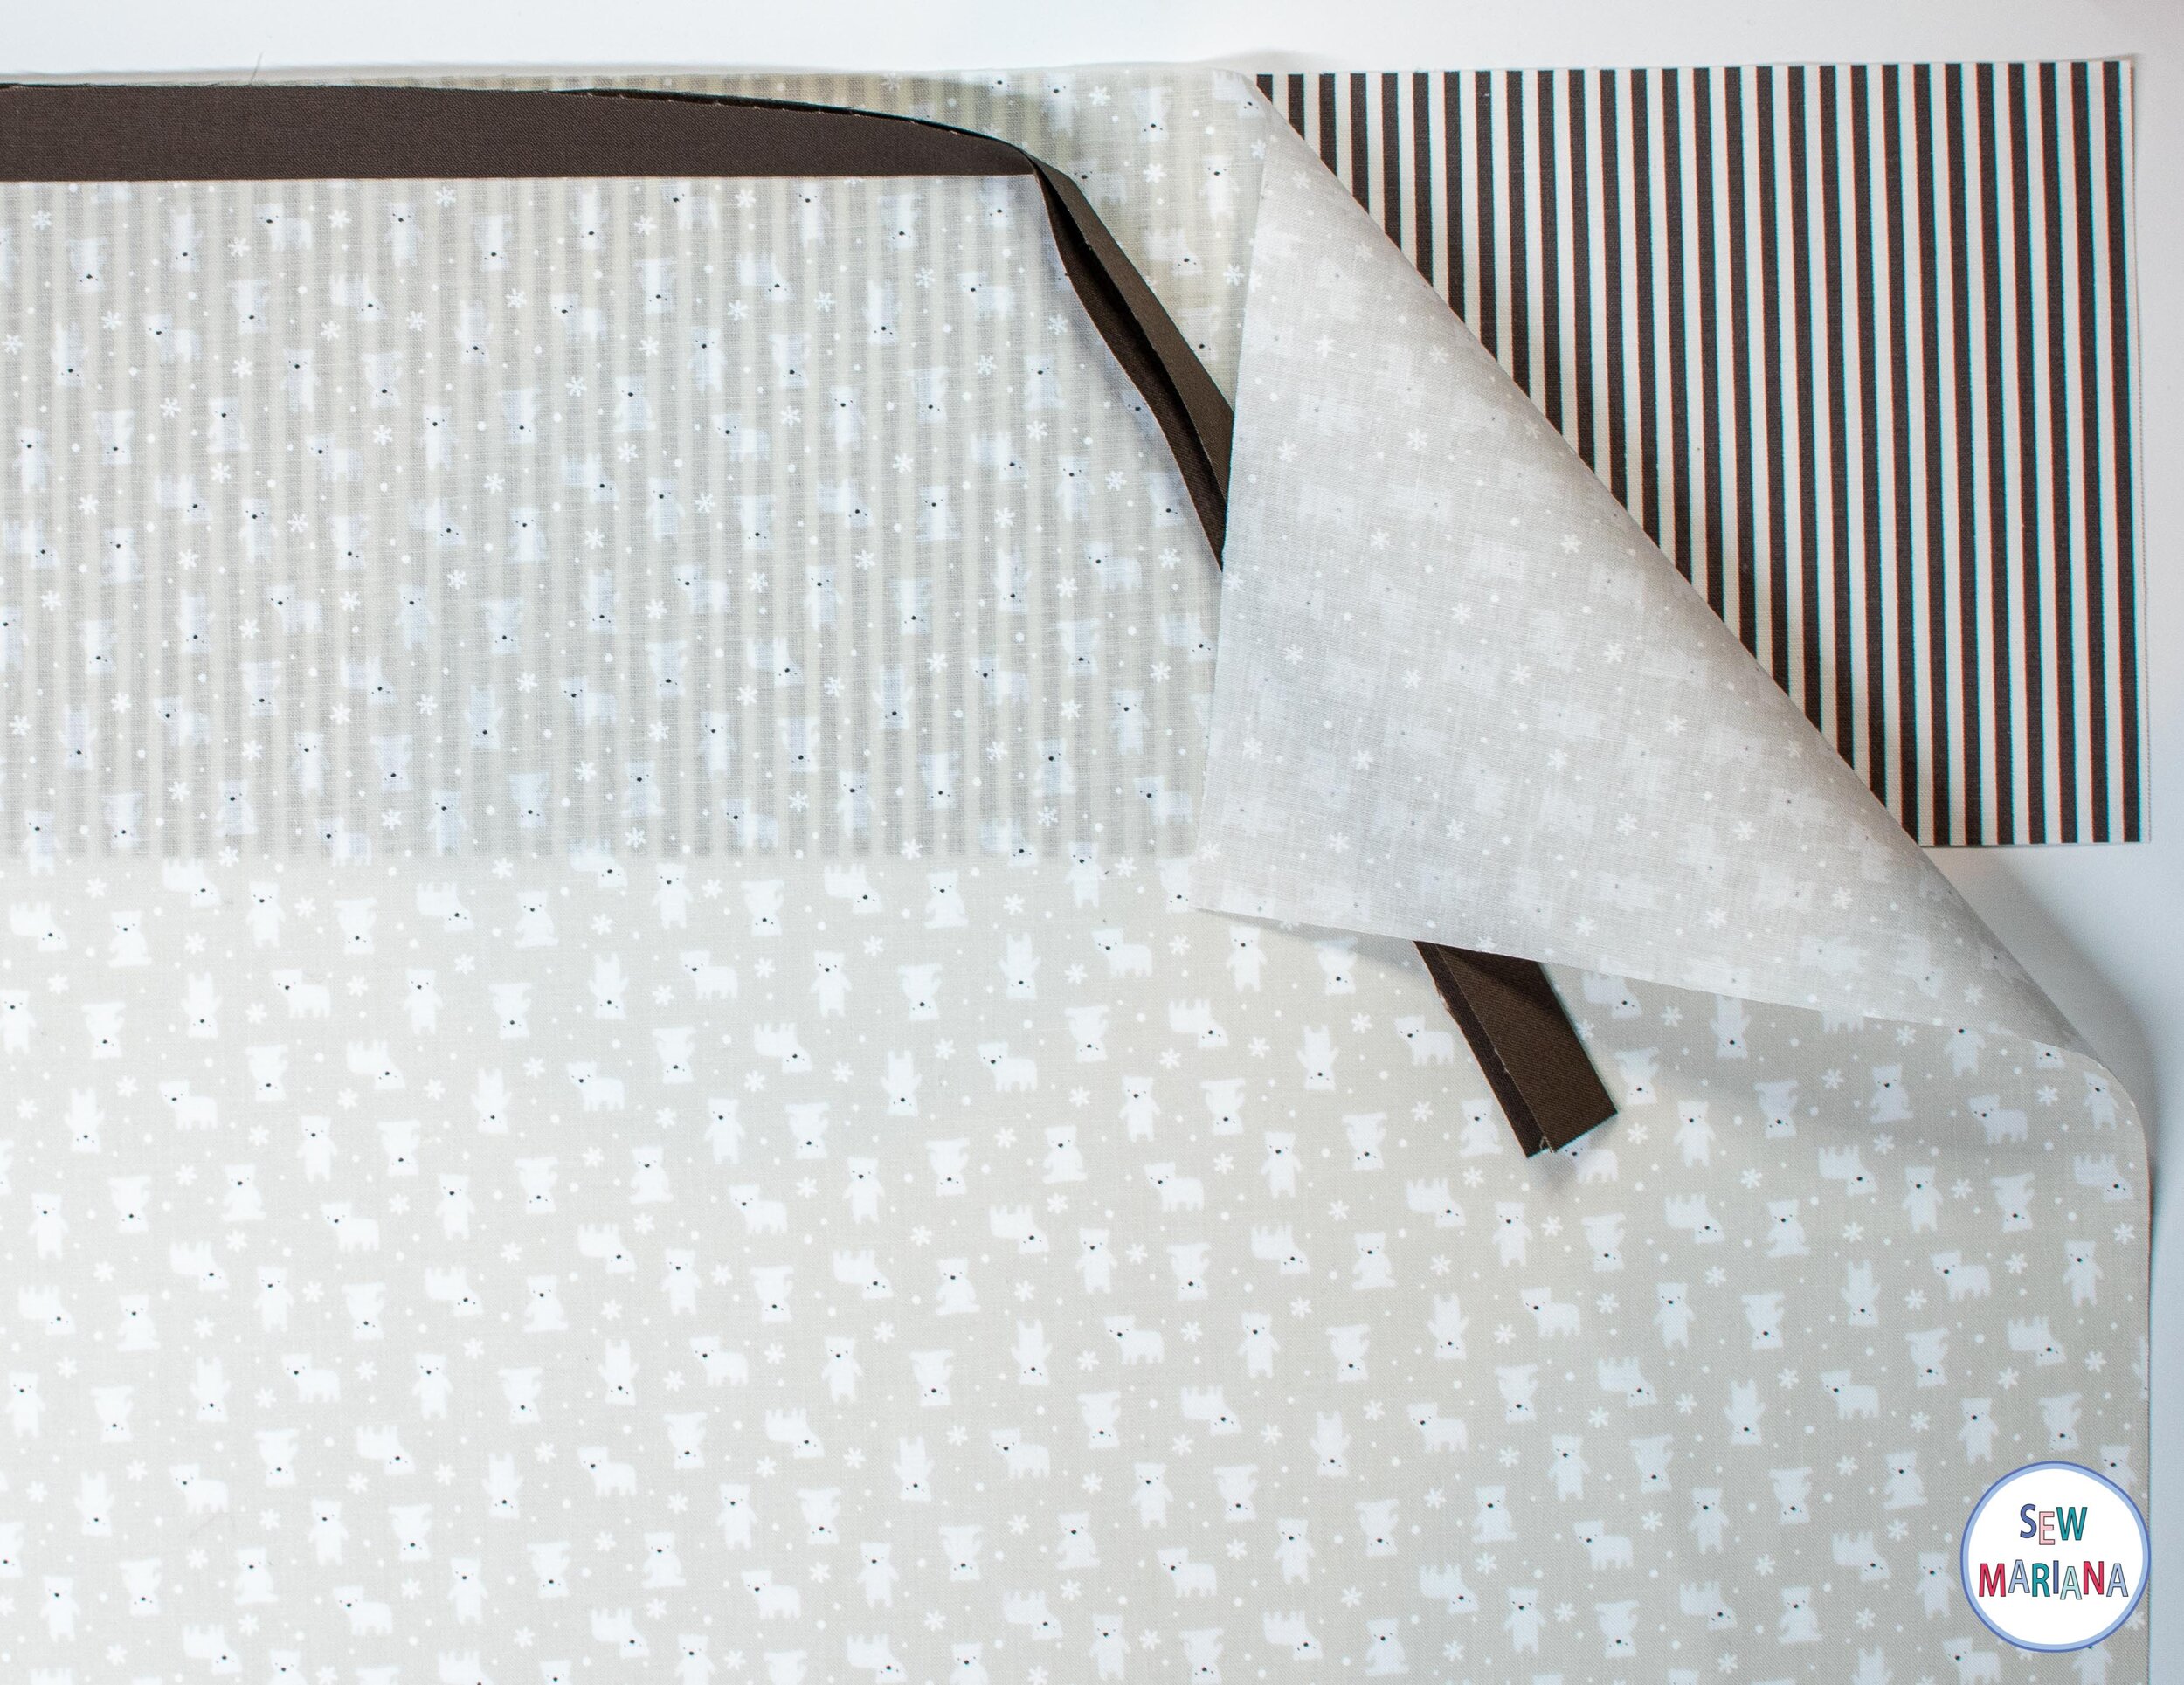
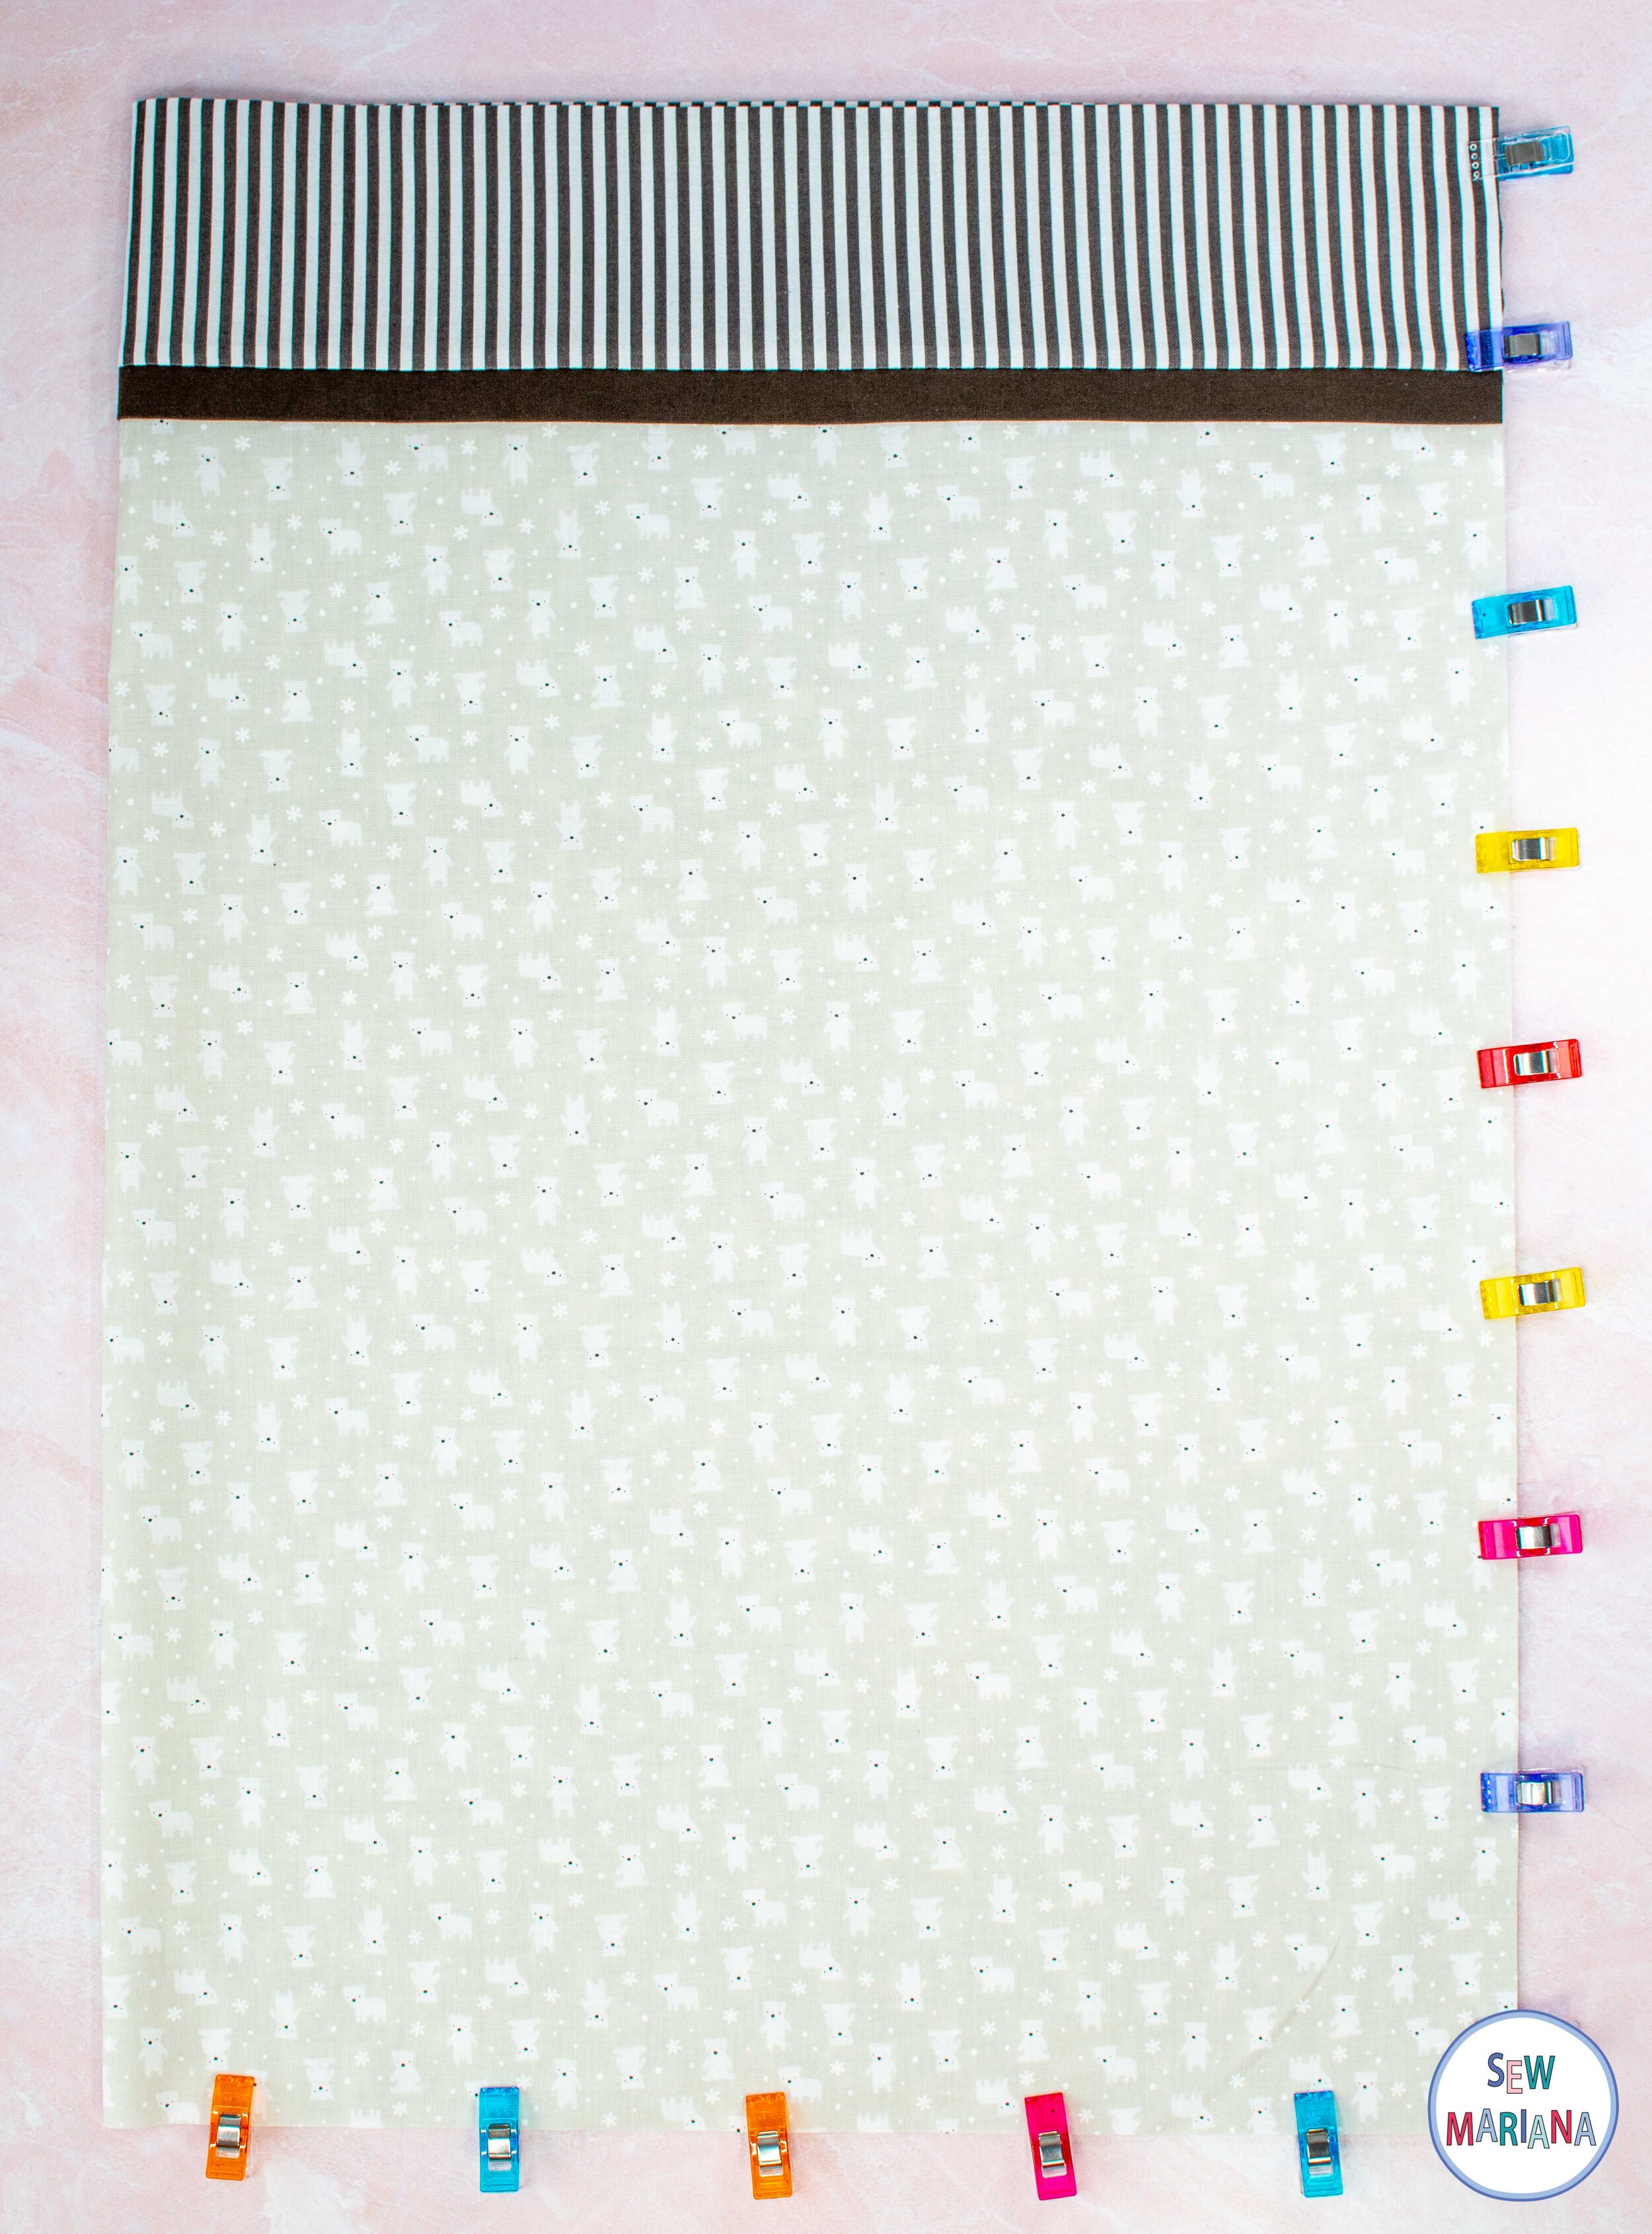
Lay your cuff fabric right side up.
Place your main fabric right side up on top of your cuff fabric and align up the rough edges.
Place your accent fabric on top, again with both rough edges aligned at the top and clip or pin.

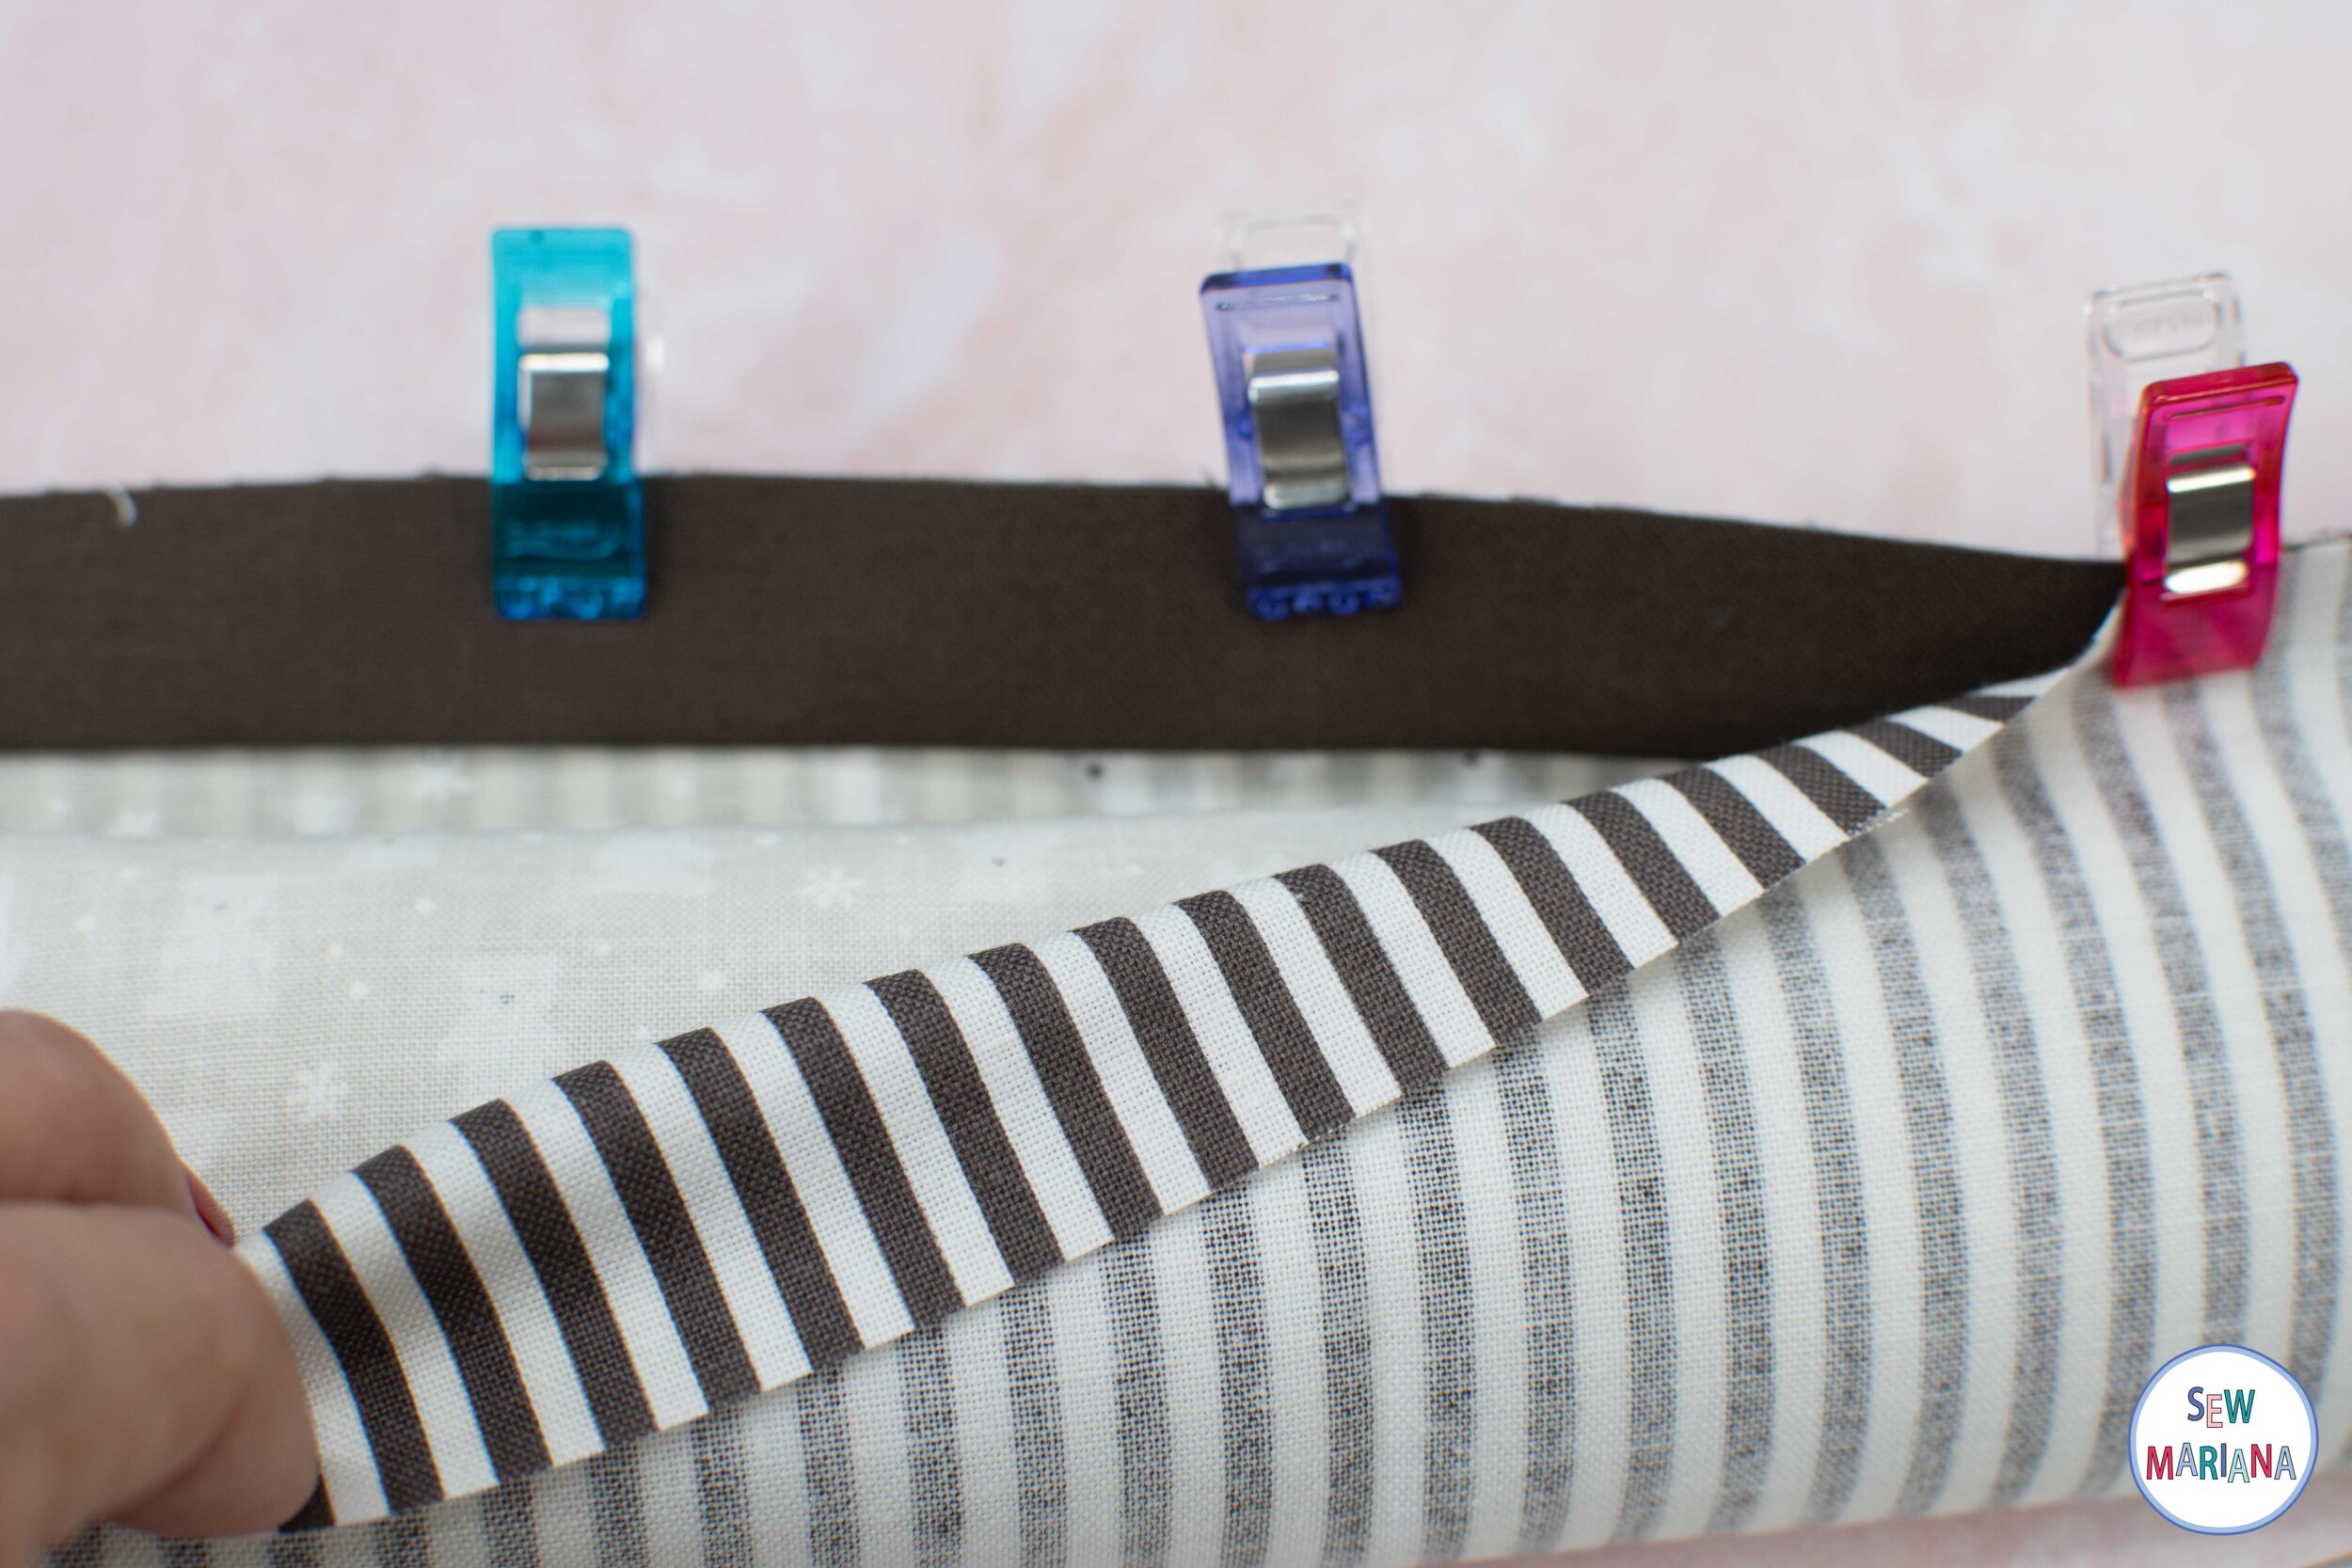
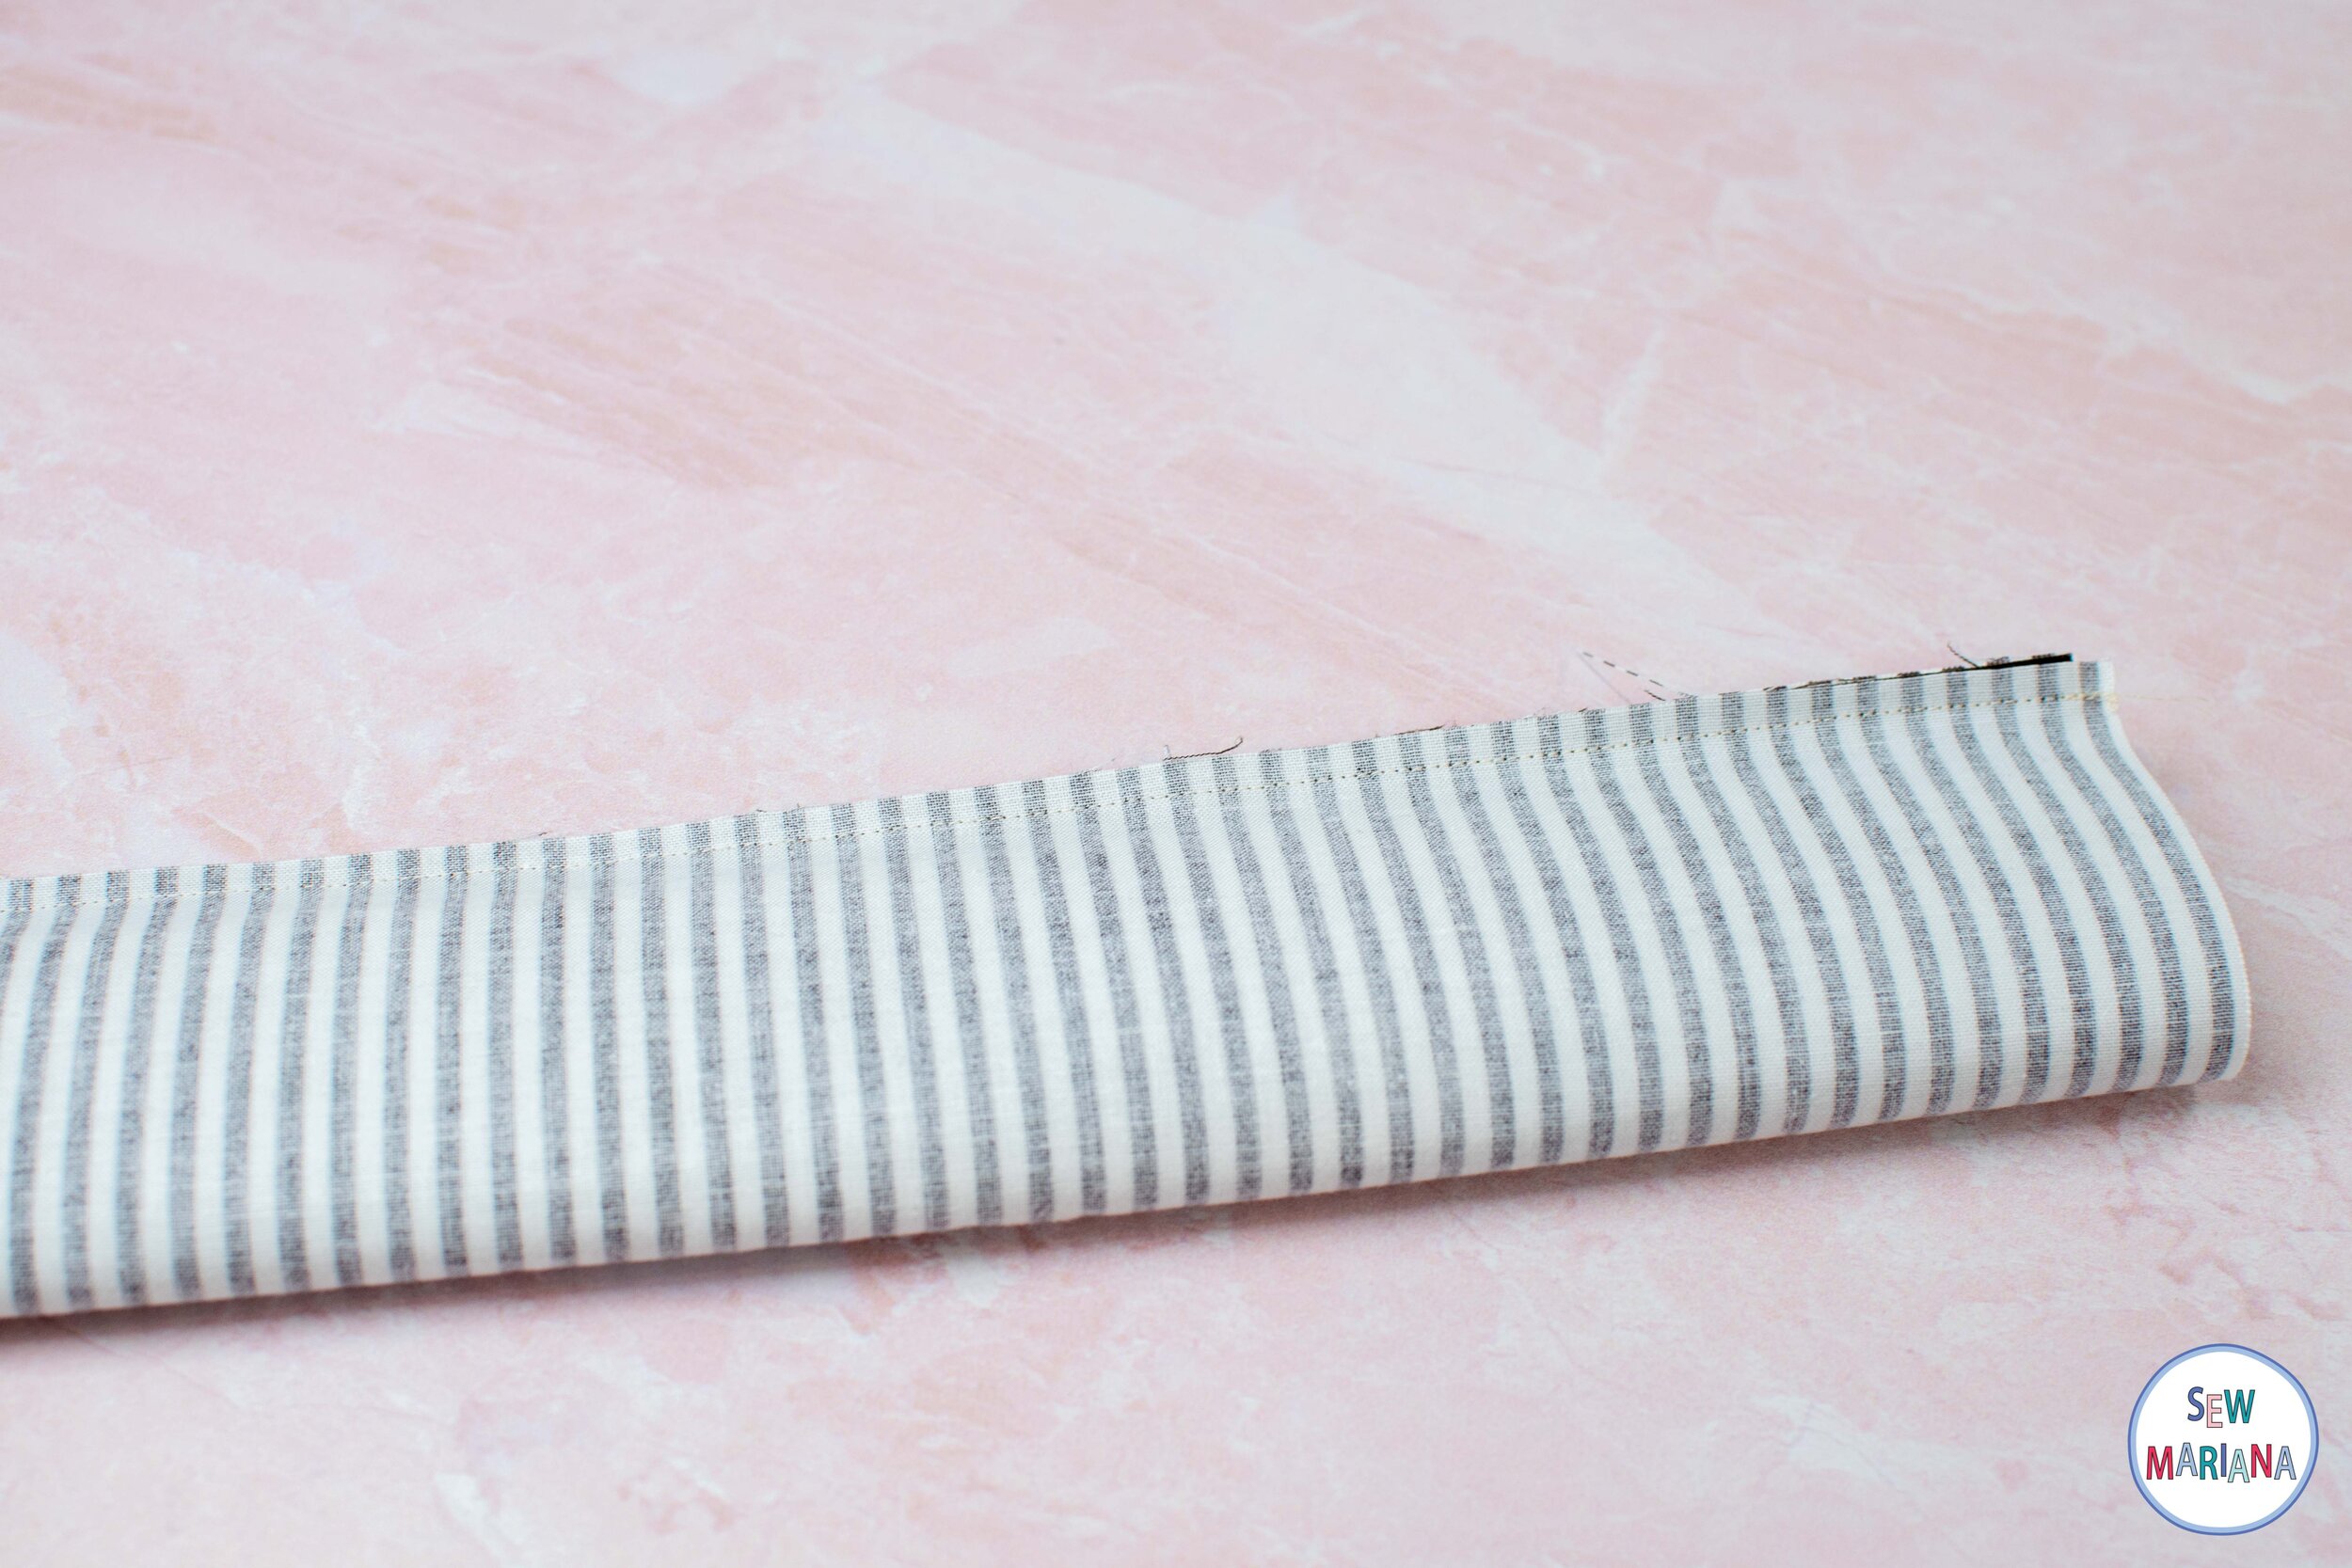
Roll up your main fabric until you can grab the cuff fabric at the bottom.

Bring your cuff fabric up to match the rest of the rough edges and clip or pin as shown below.
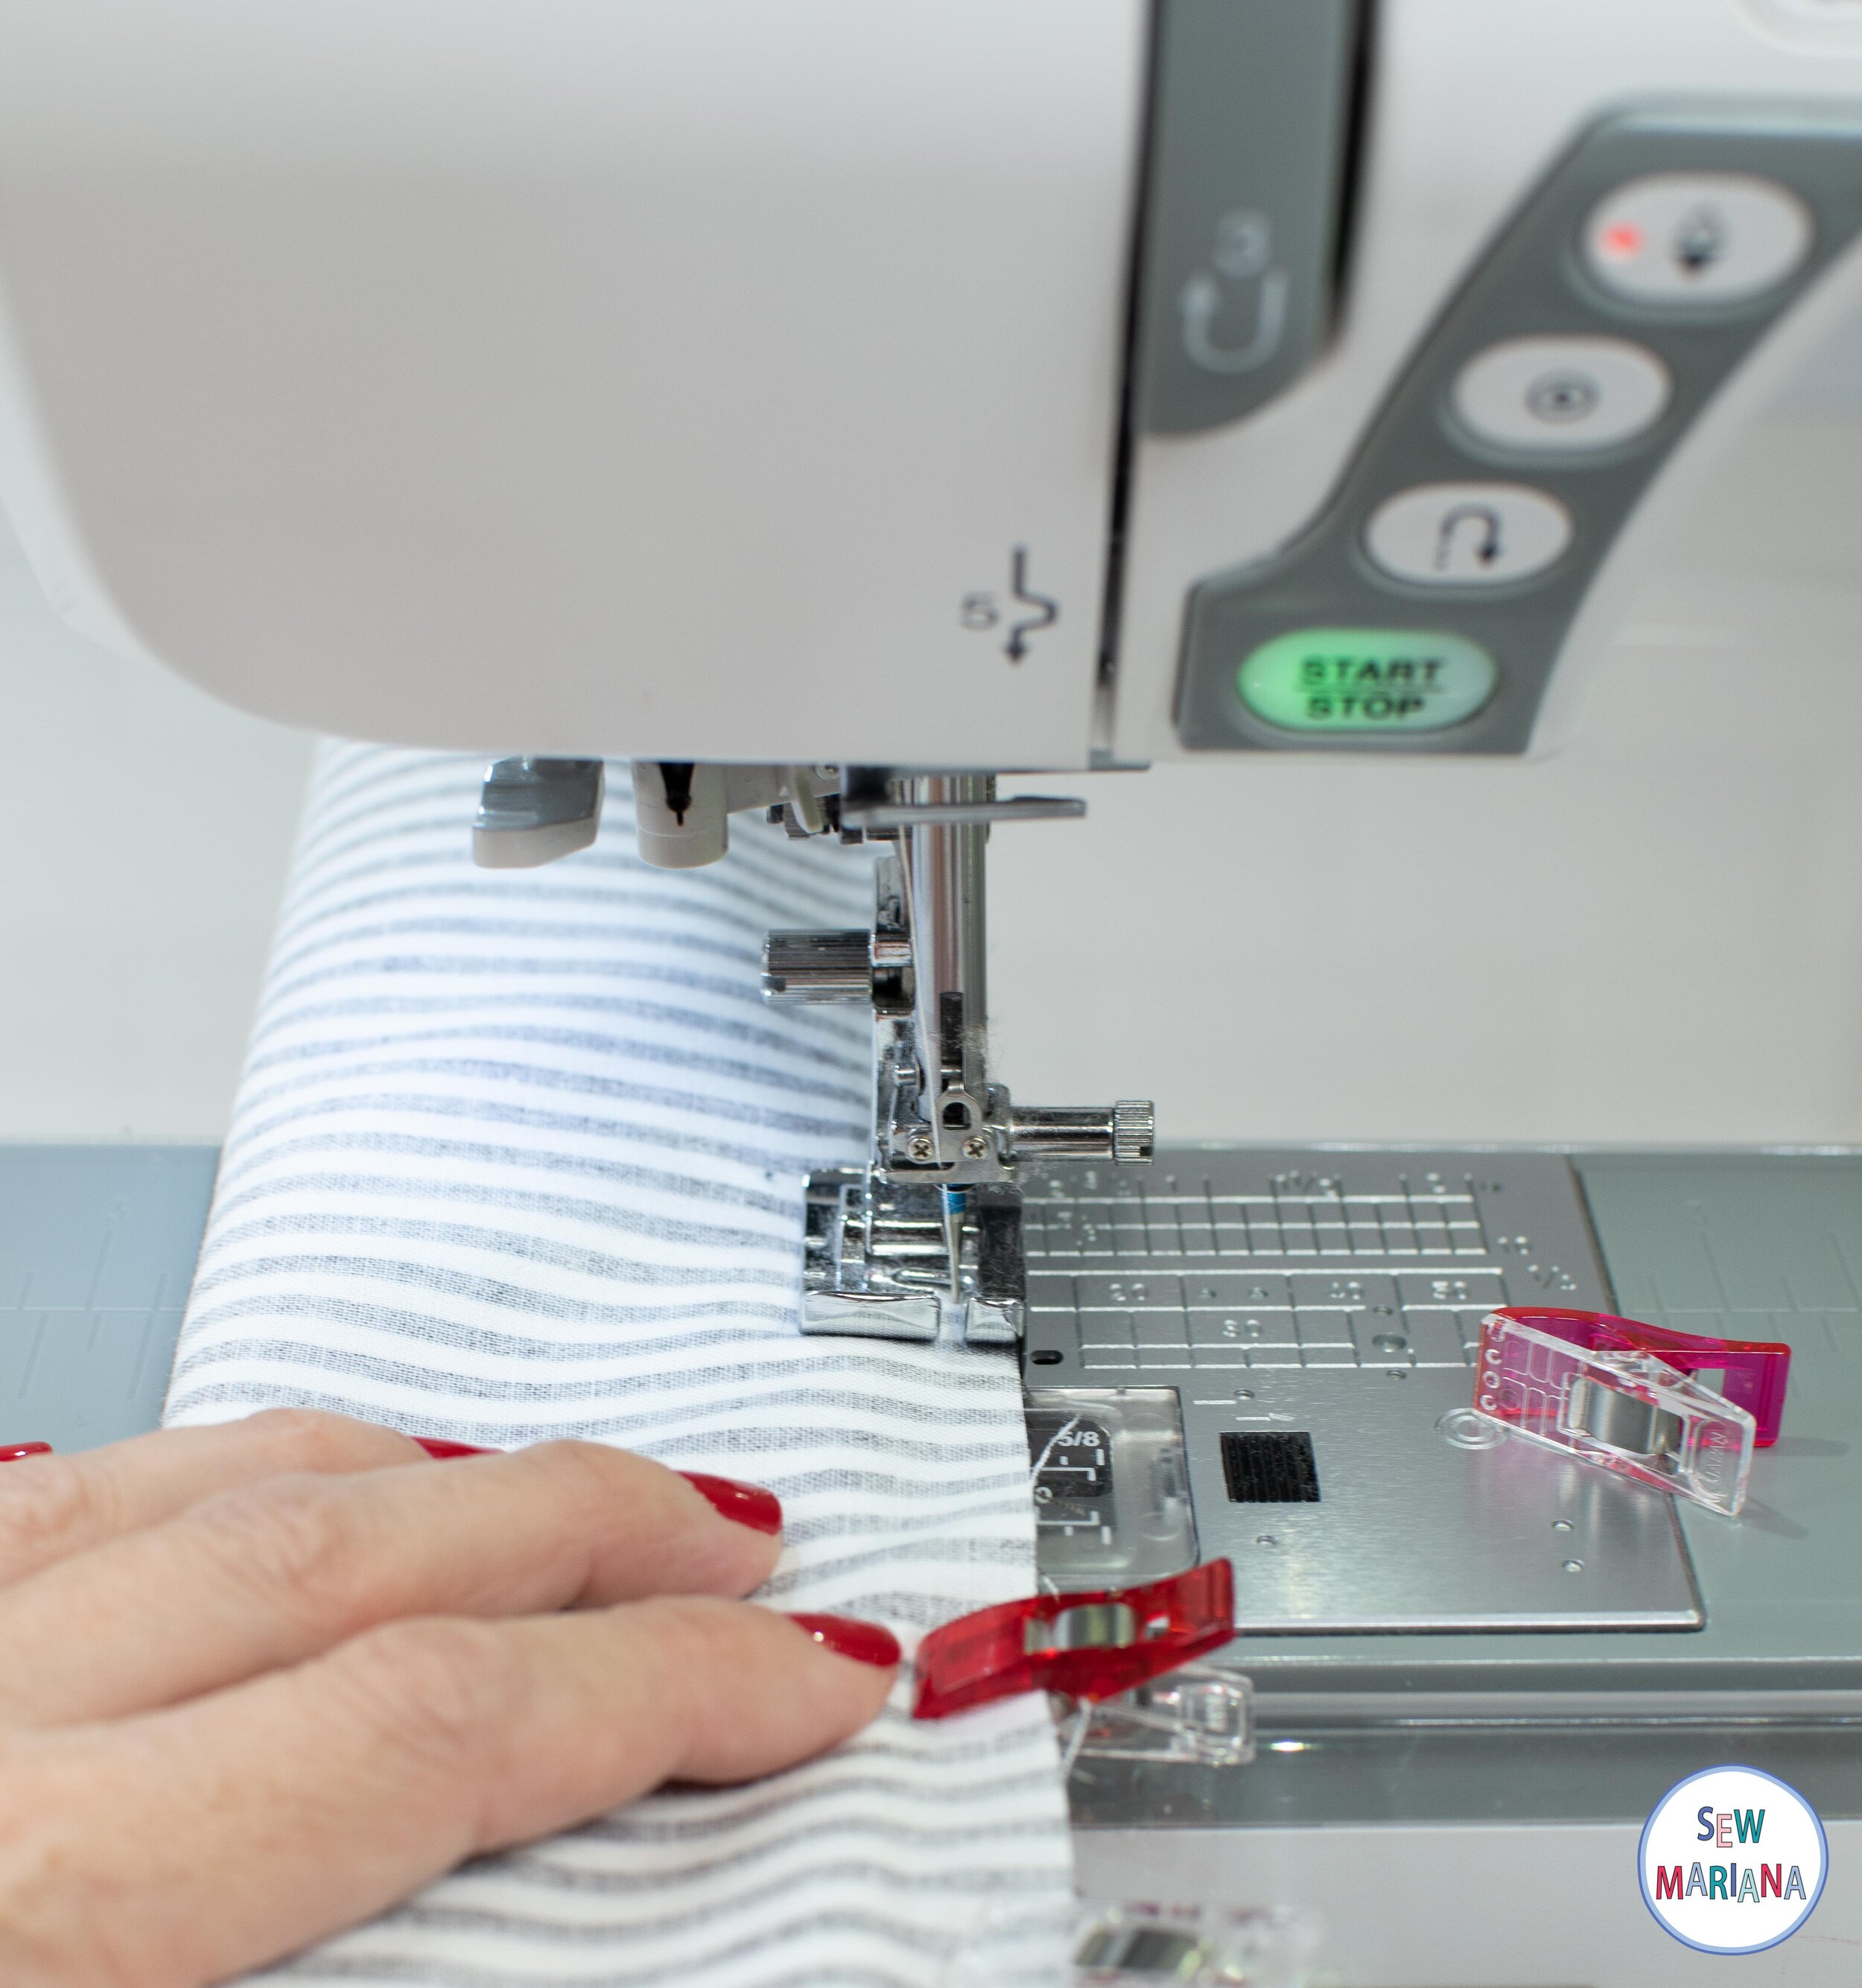
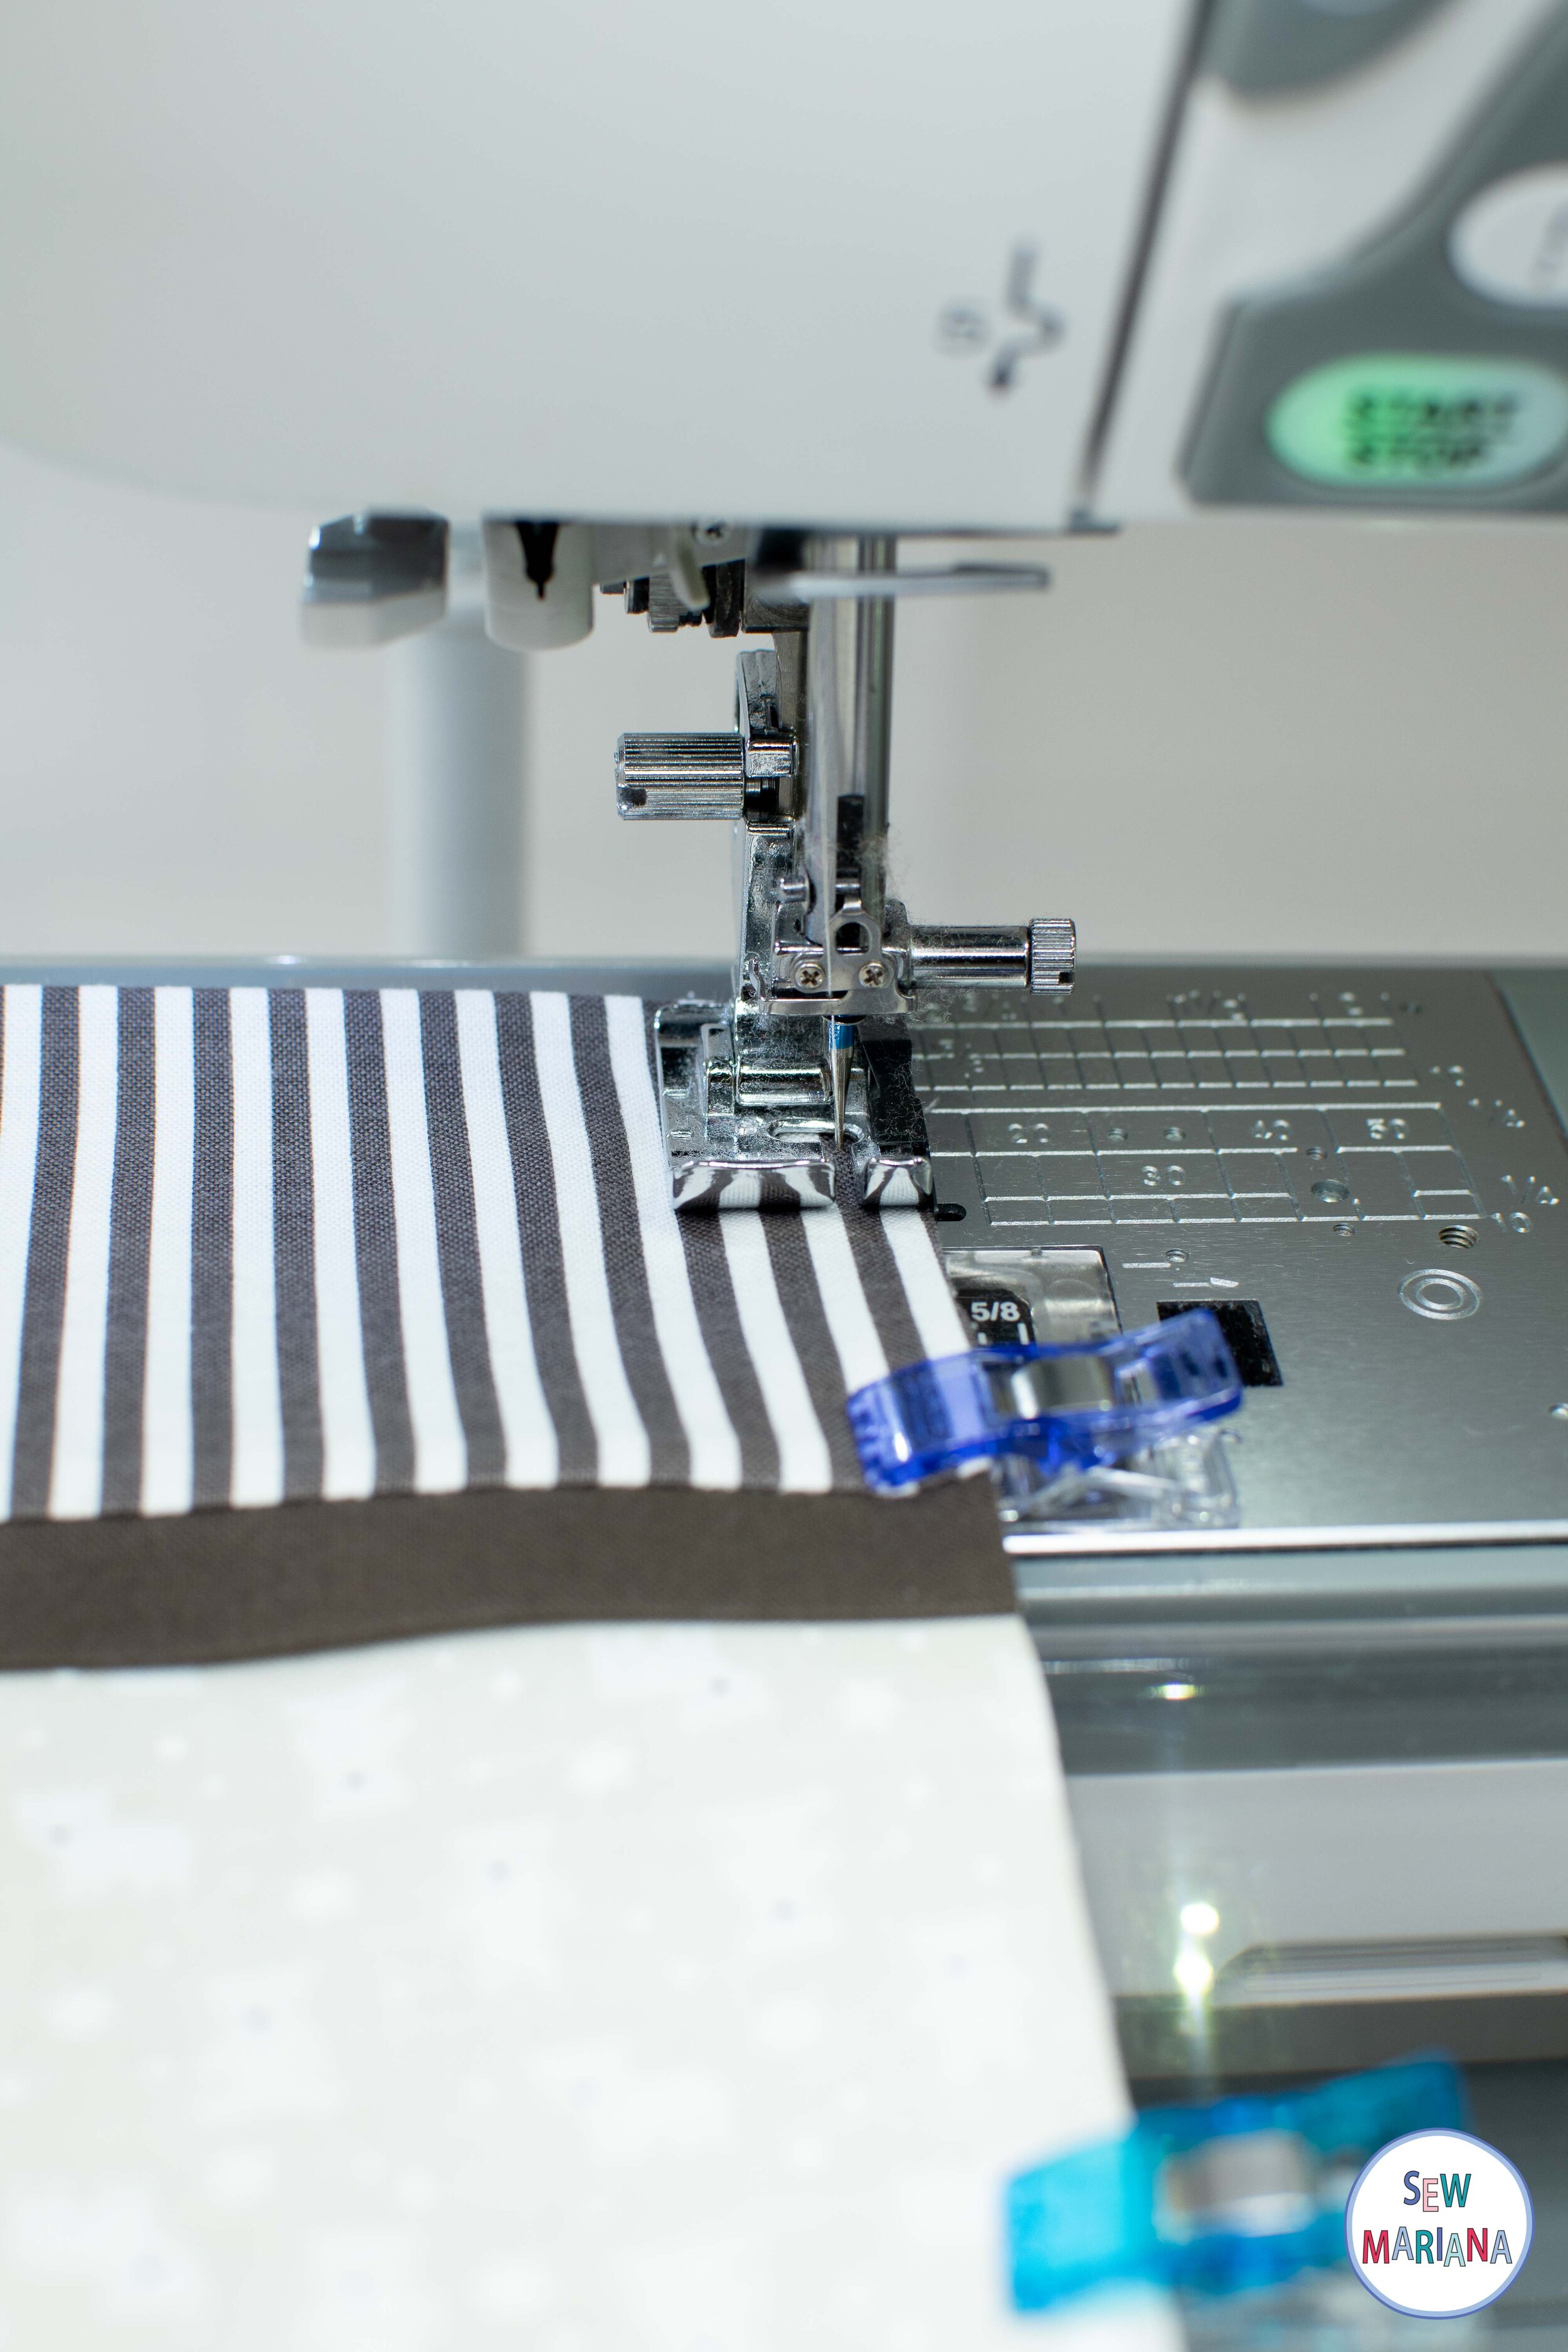
Sew the long edge of your roll with a ¼” seam allowance.
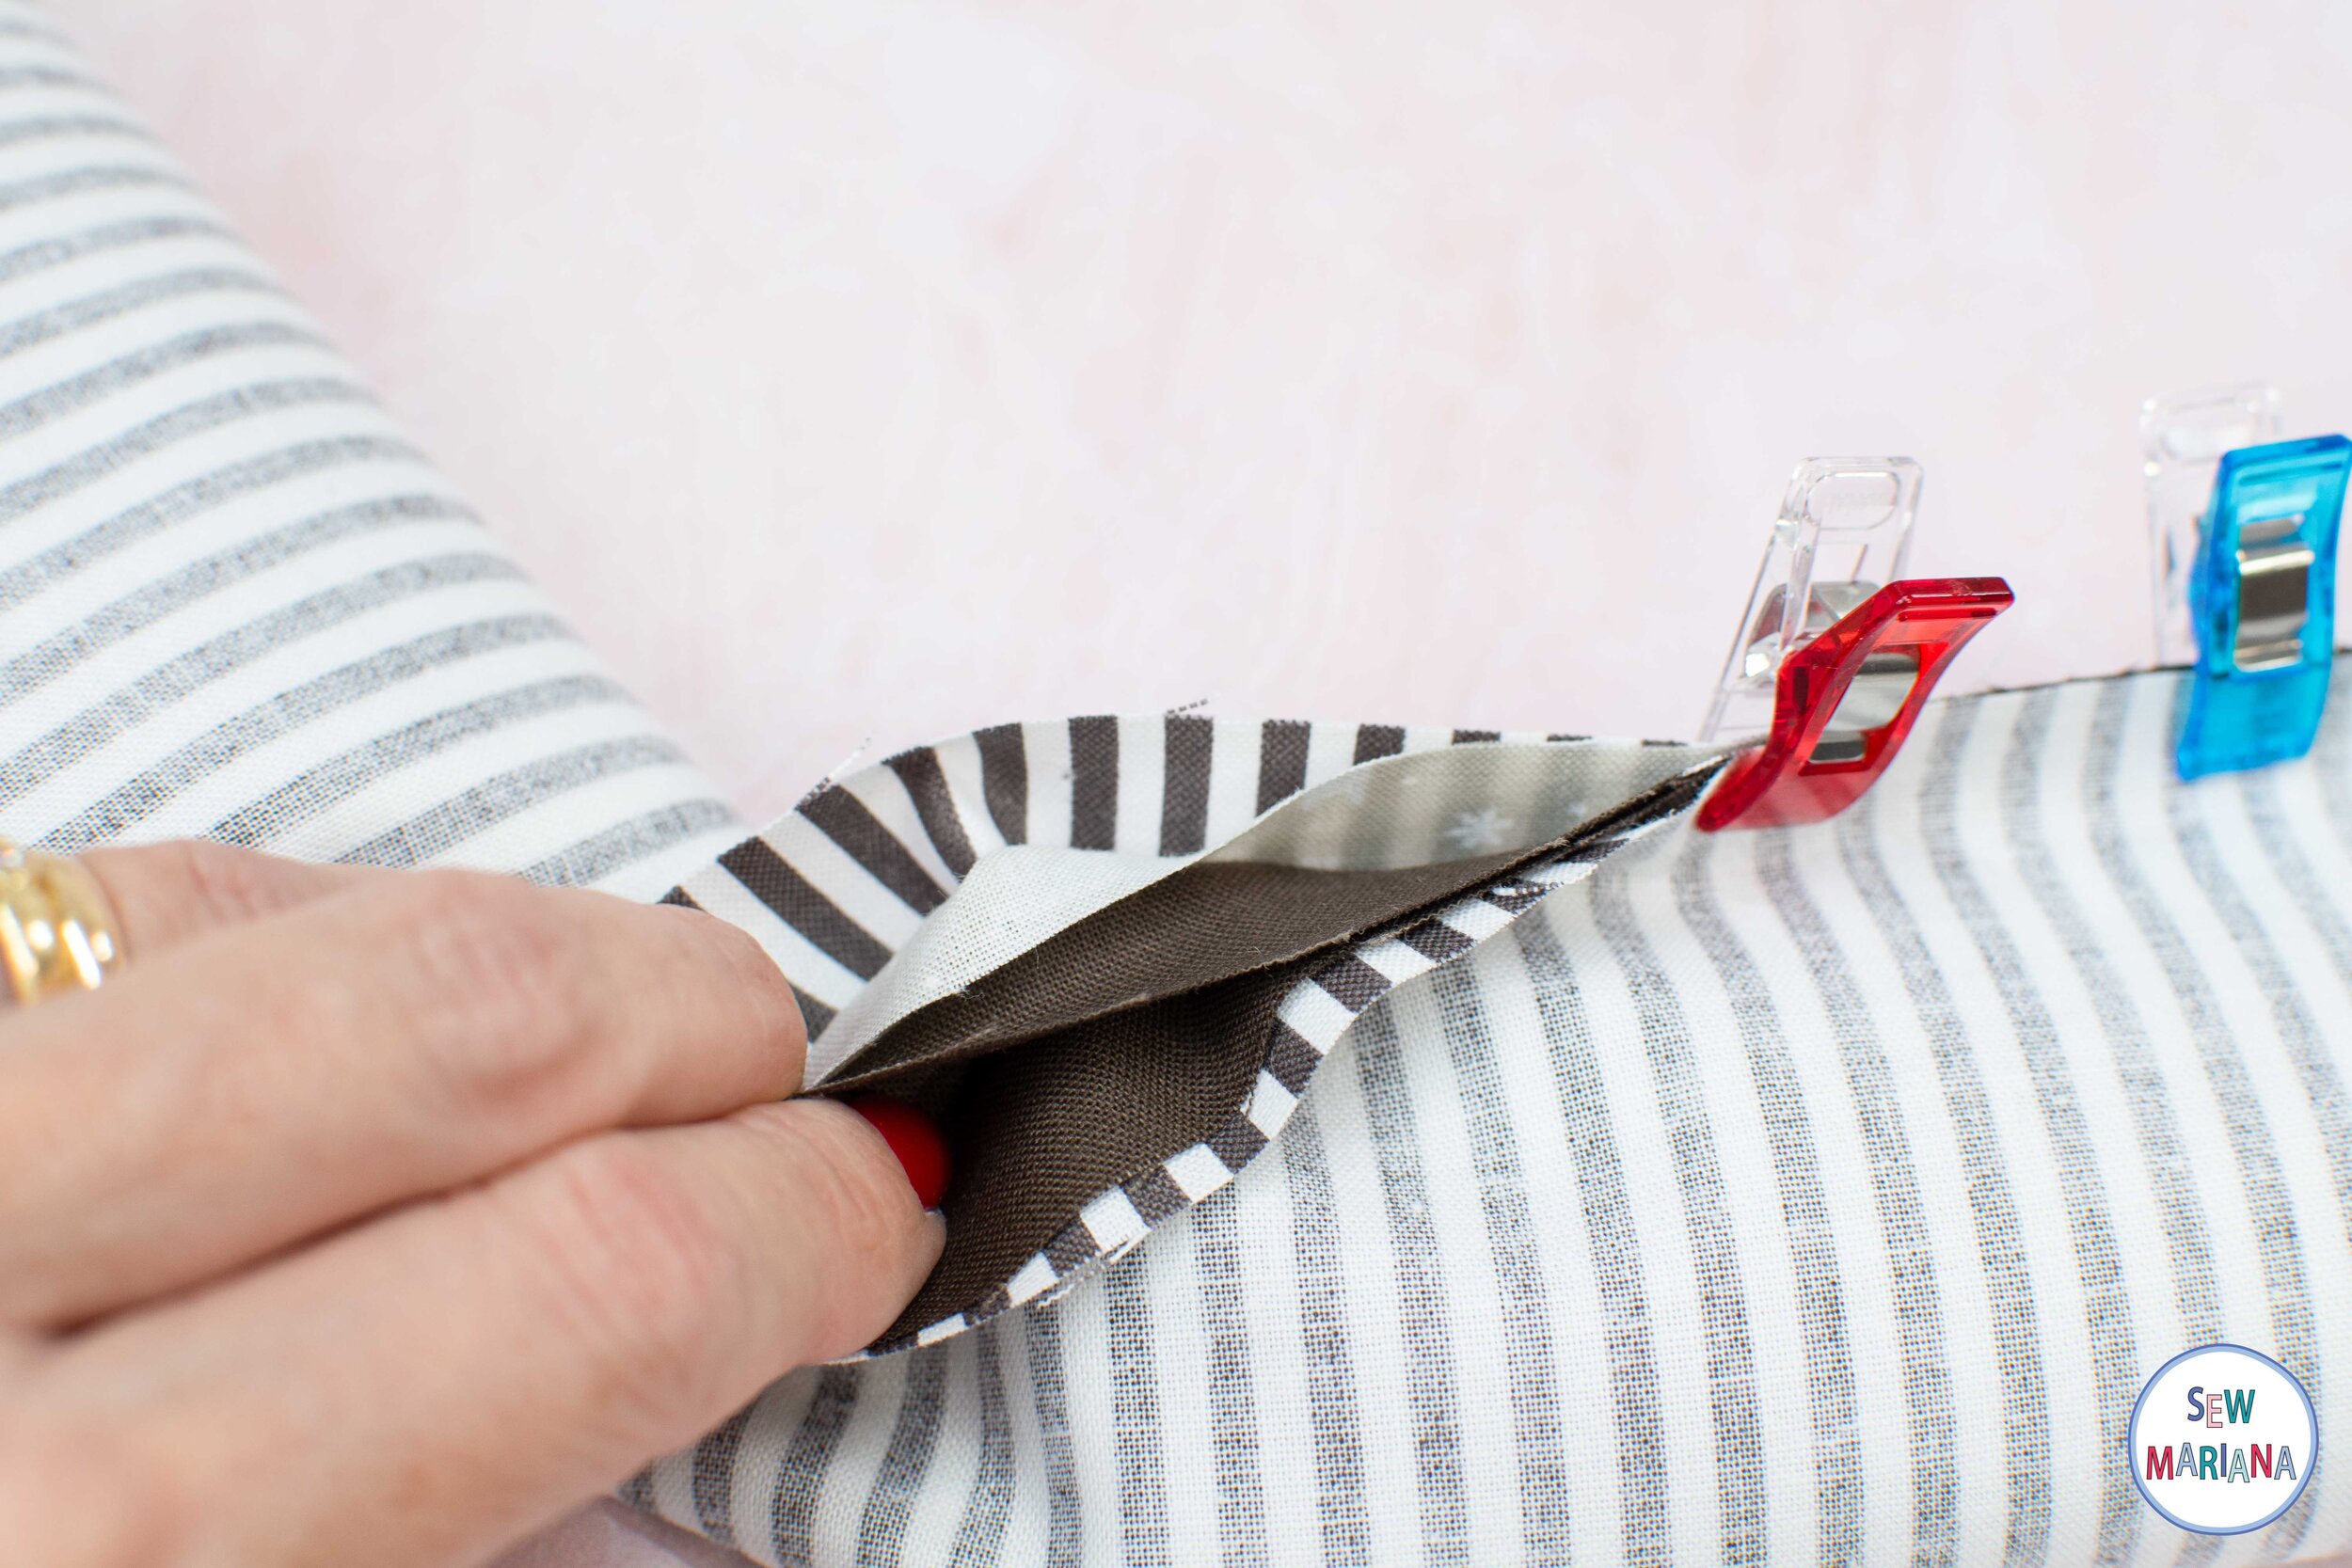
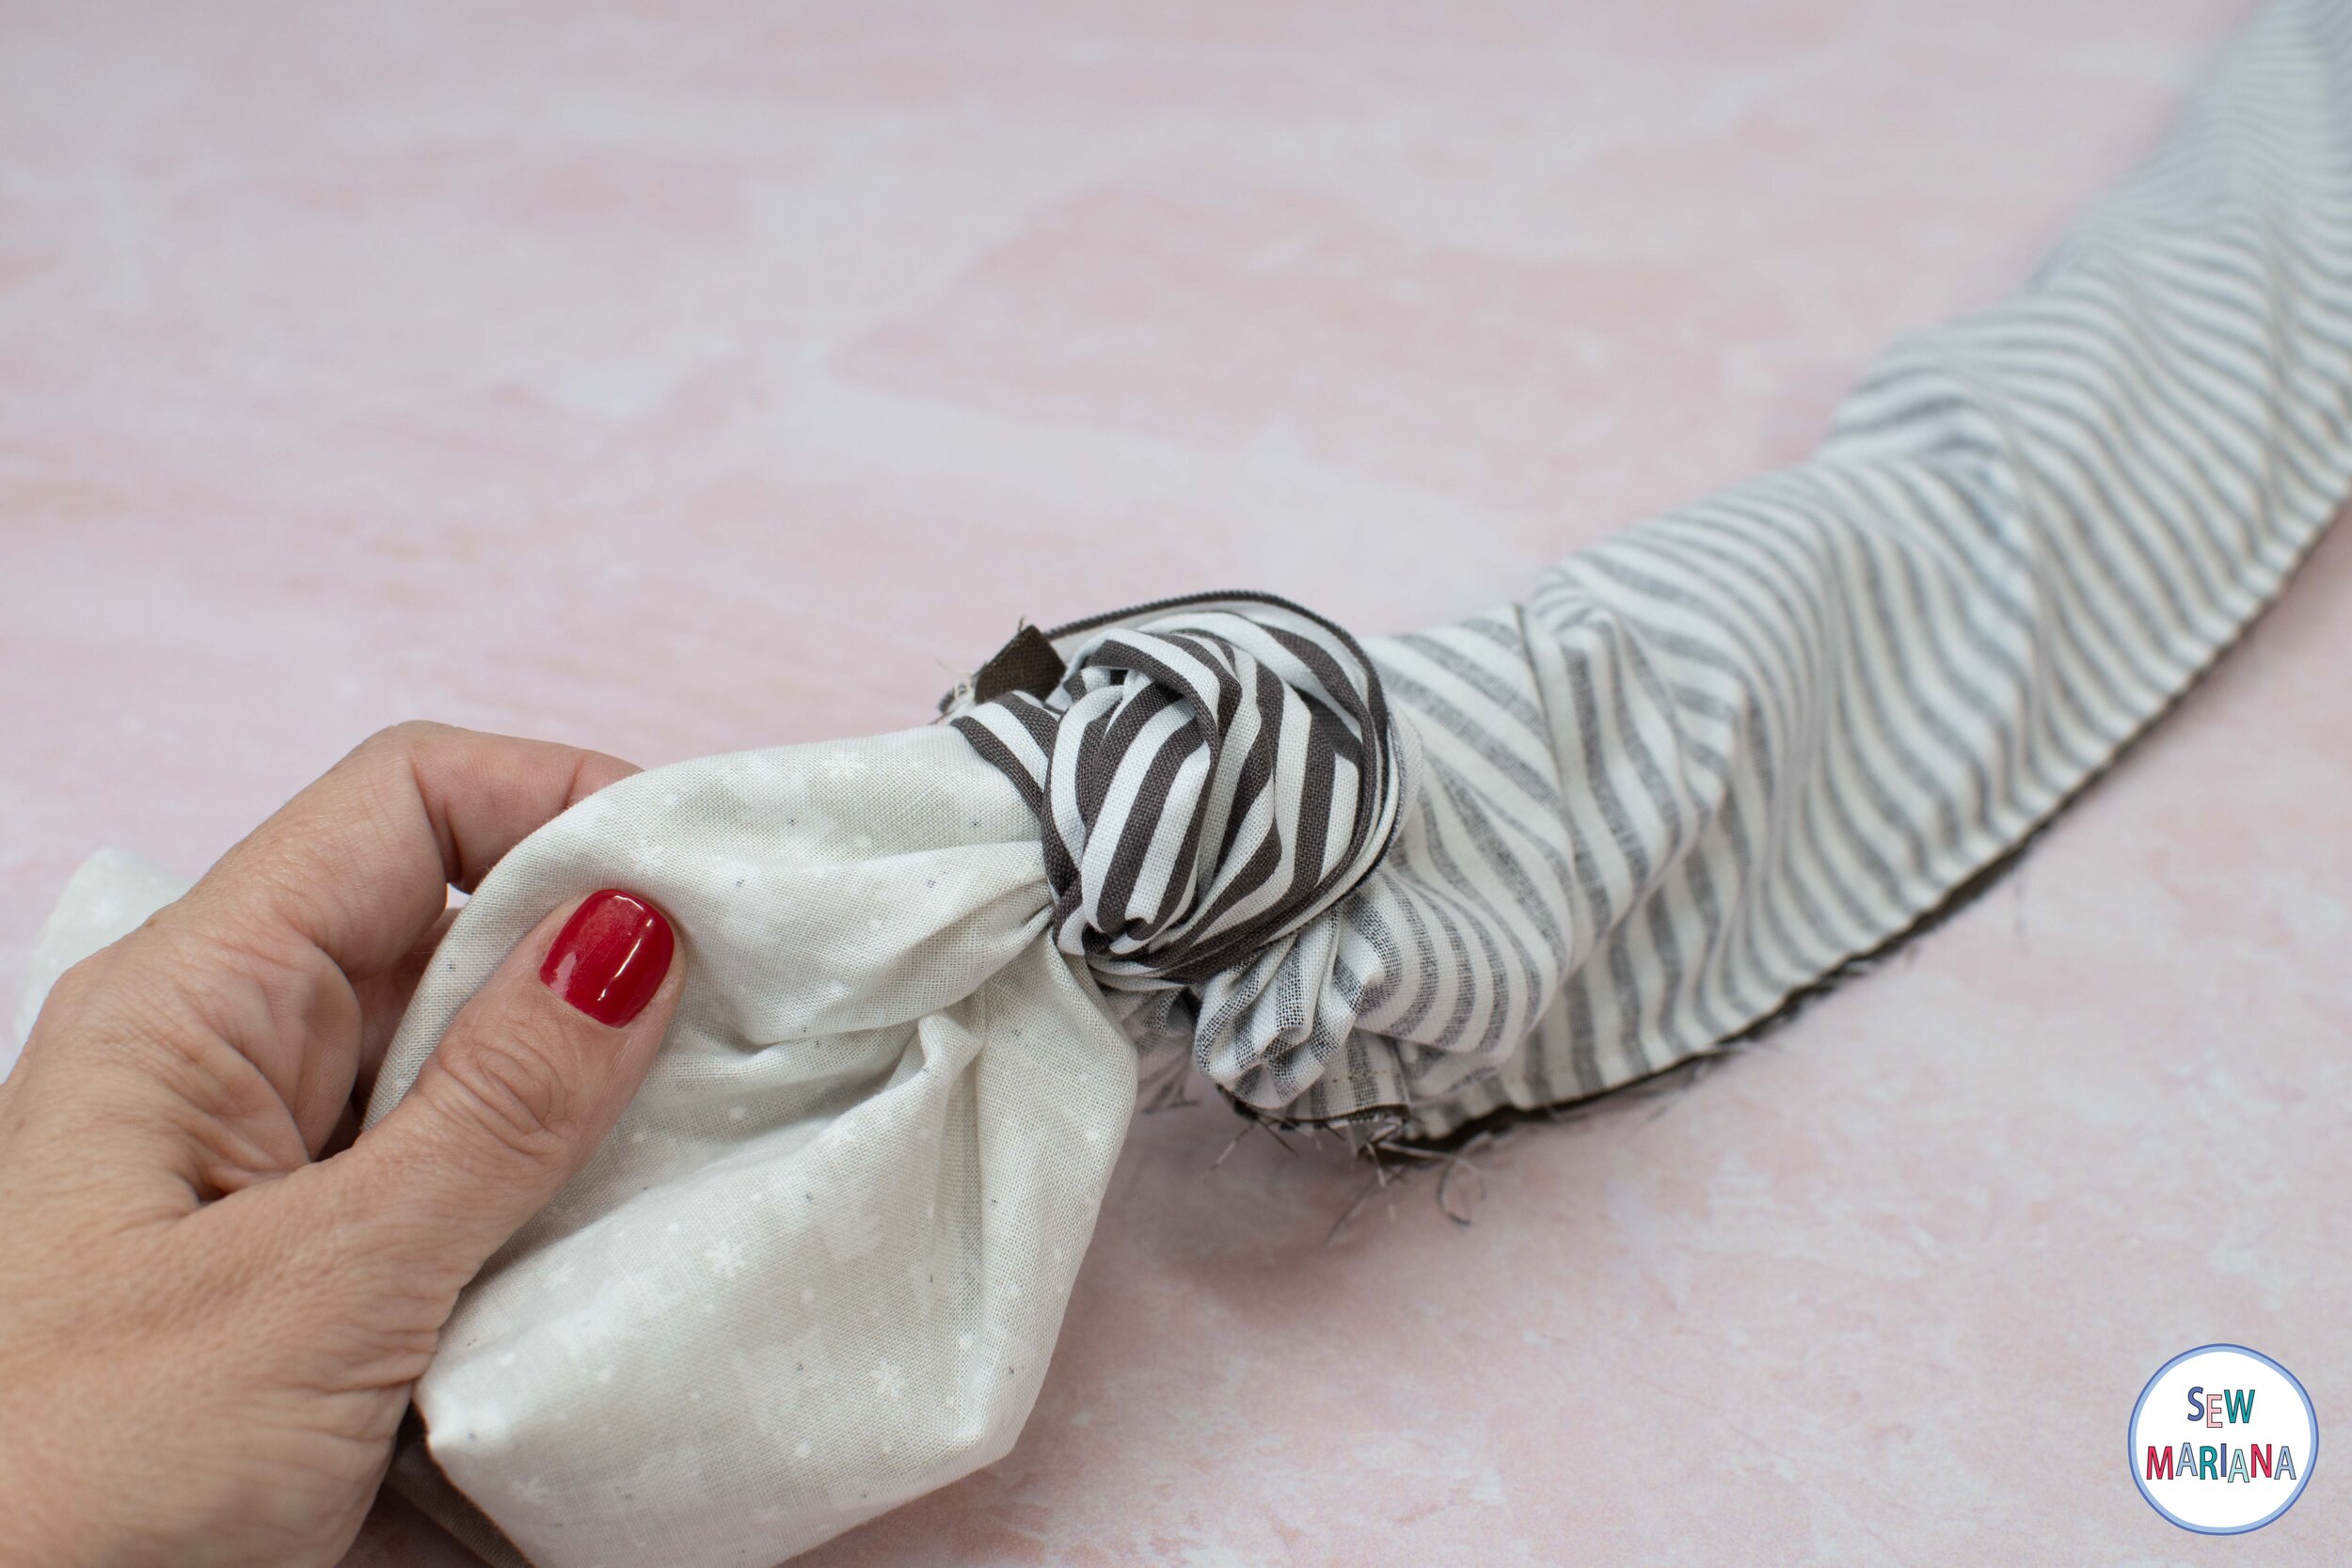
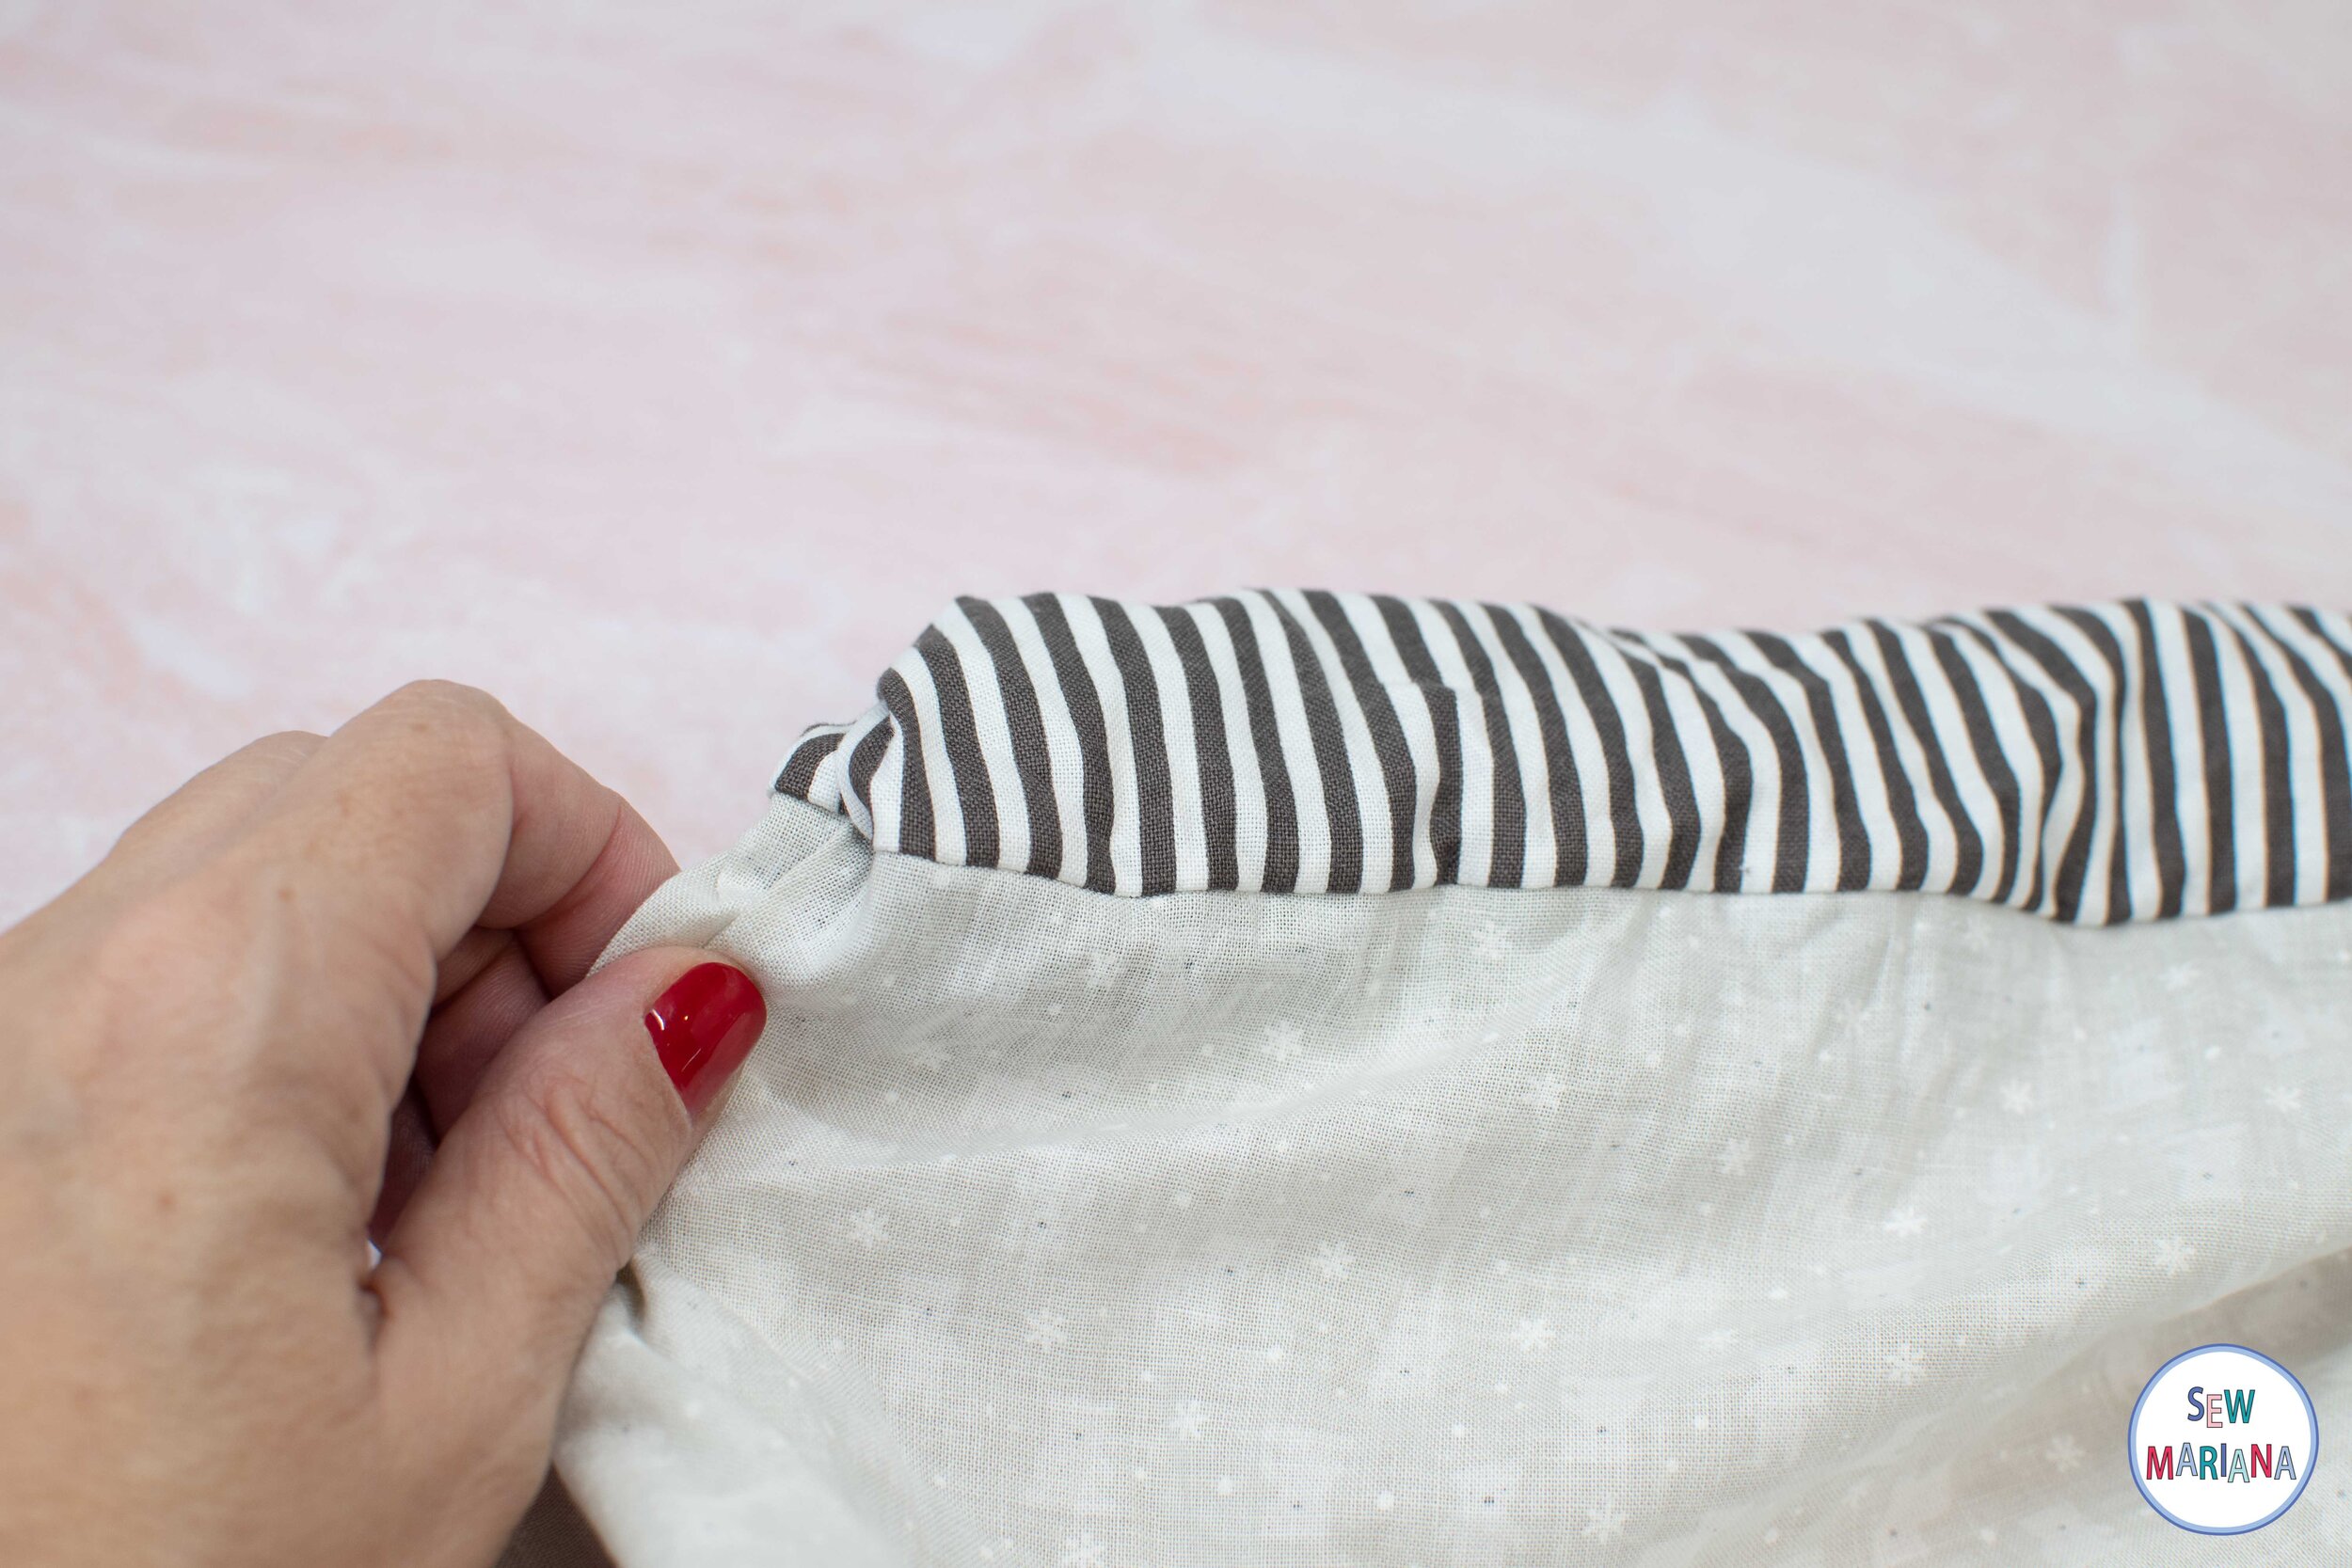
Turn your fabric roll right side out, pulling it out of the tub matching the cuff, accent and top as shown.
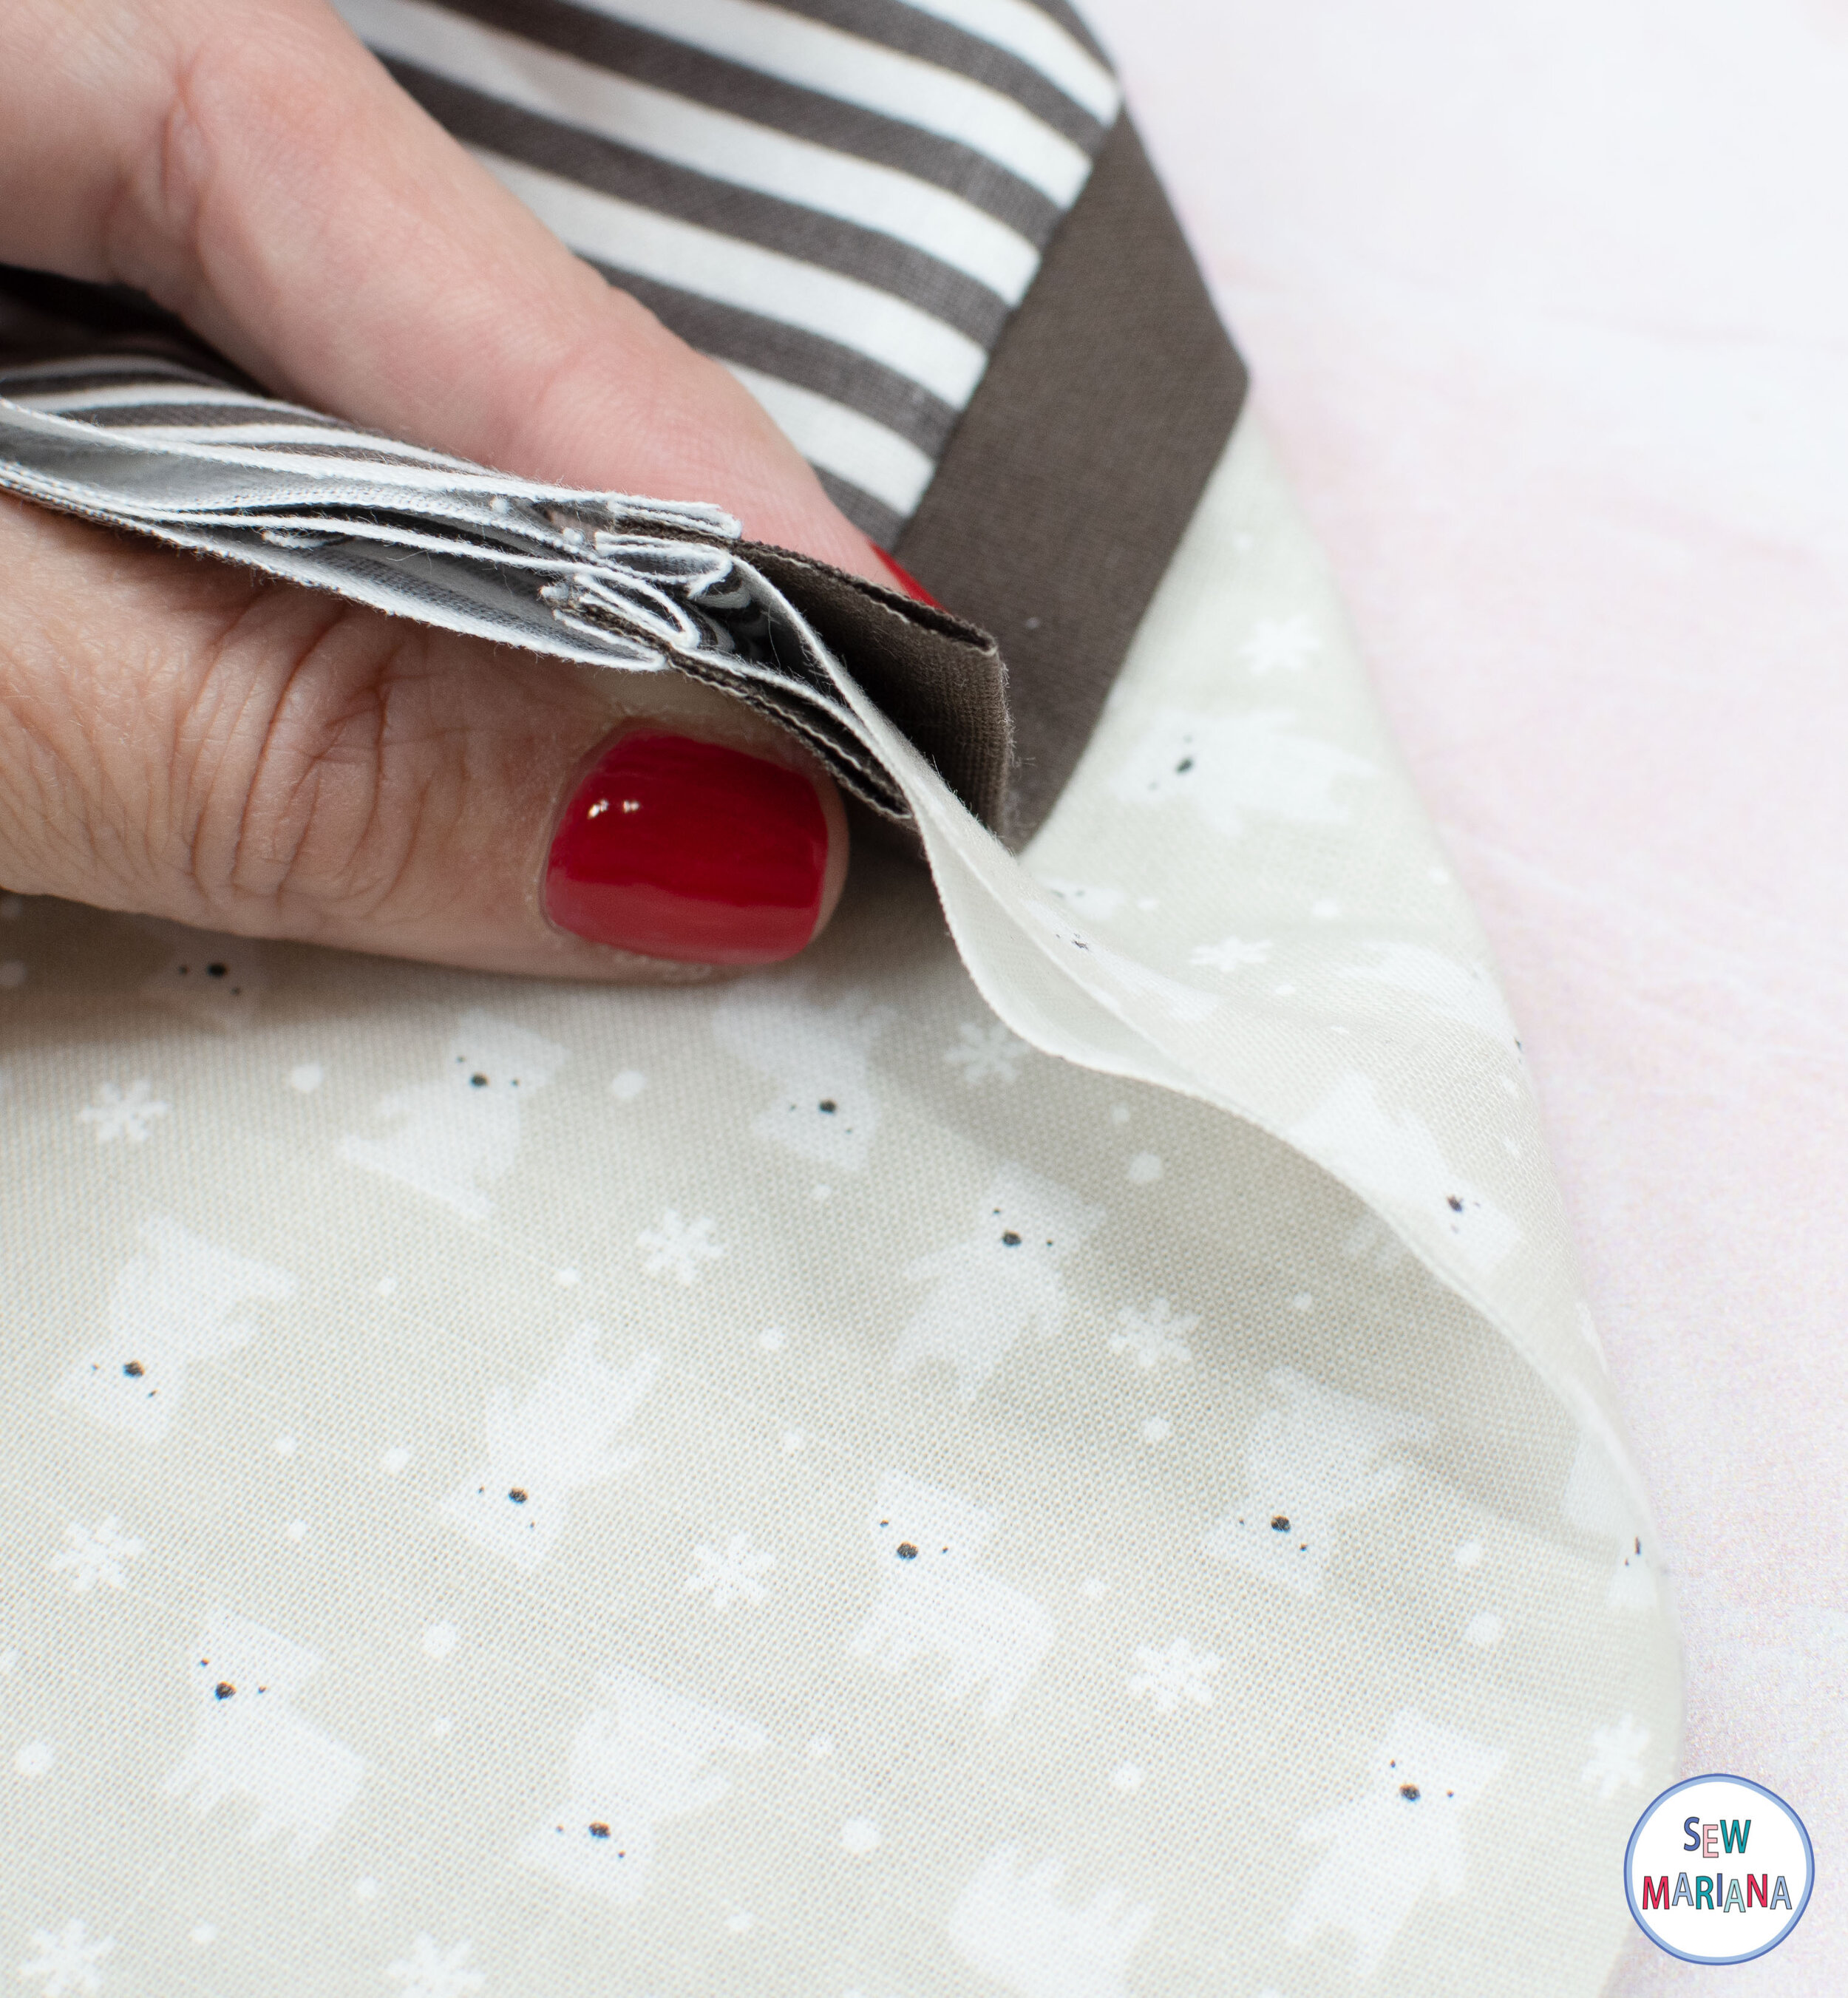
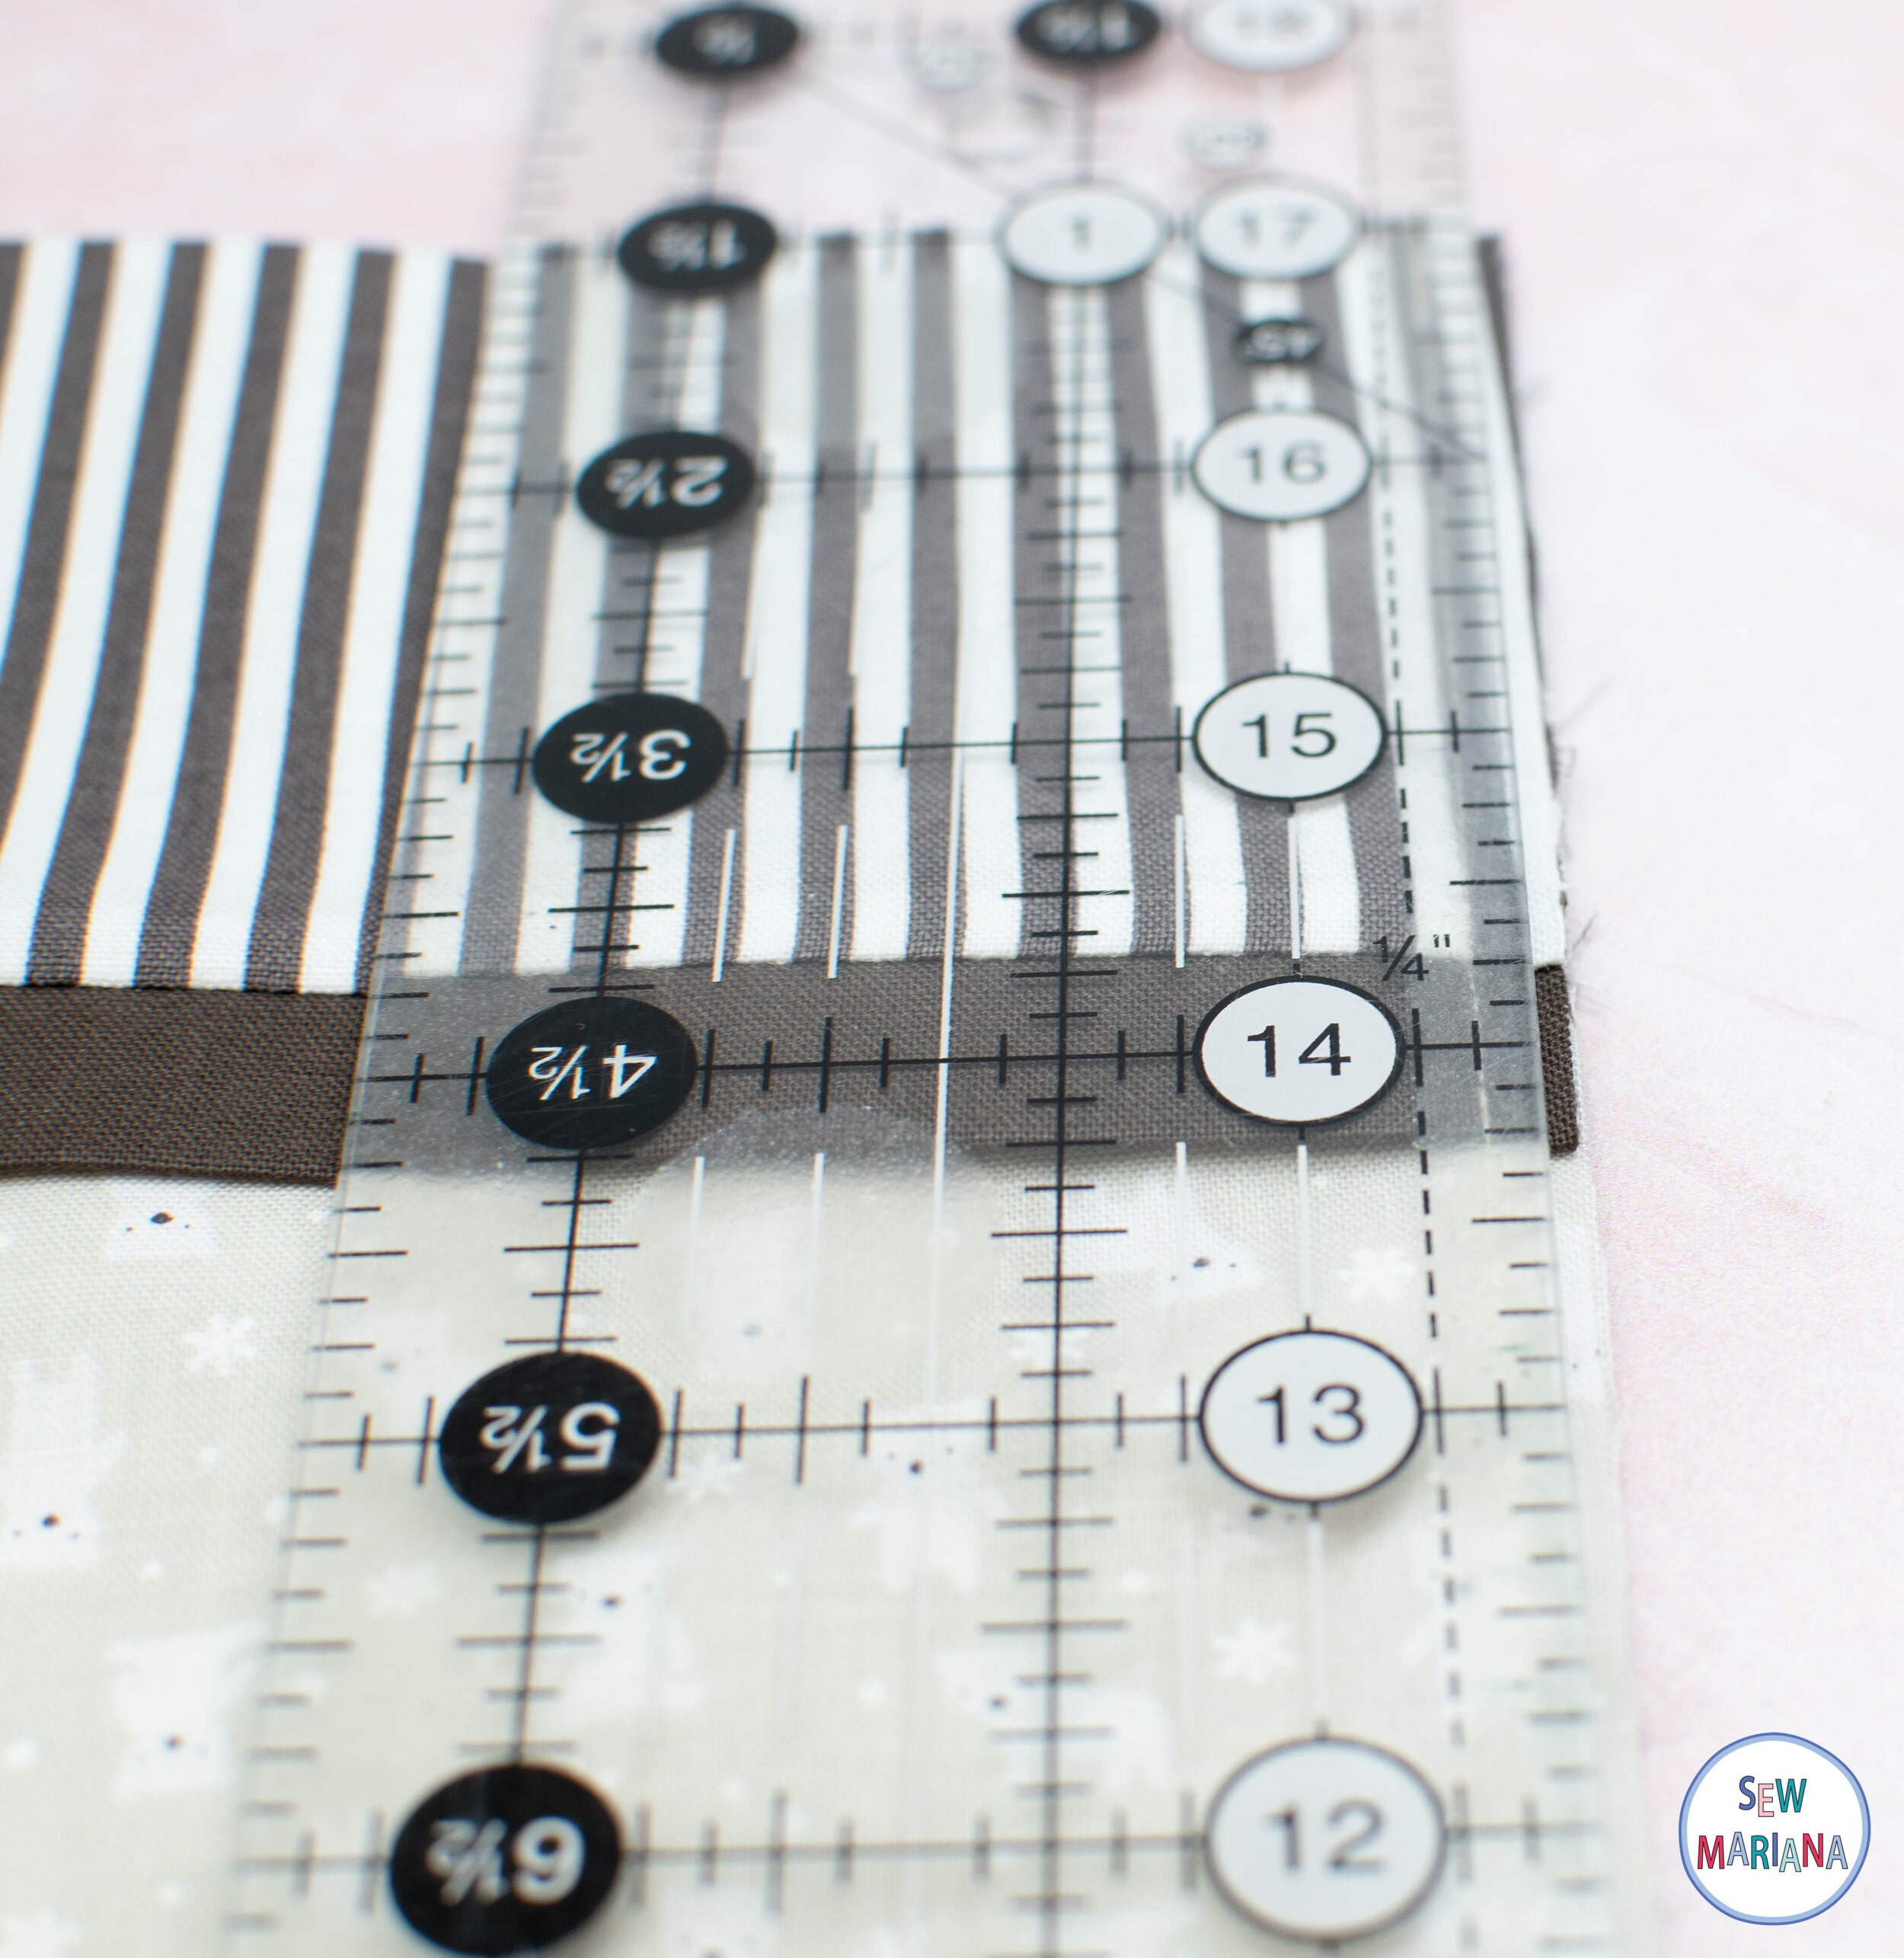
Press, starting at the accent piece towards the cuff. Then fold in half with wrong sides together, and cut to even out the bottom and the side.

Match your accent pieces, paying attention to your seams so they line up and clip. Continue clipping all the way on the side and the bottom.
With wrong sides together, sew along the side and across the bottom with a ¼” seam allowance, starting at the cuff. Back-stitch at the beginning and at the end to secure your seams.
Cut the seam to be 1/8”.
Turn your pillowcase wrong side out and poke your corners out. Iron the side and bottom you just sewed to even out the seams.

Sew with right sides together along the side and across the bottom again, with a generous ¼” allowance. Back-stitch at the beginning and at the end.

Turn your pillowcase right sides out, poke your corners and press. You are all done!


Let me know how yours turn out! You can tag me @sewmariana on social media so I can see your creations! Happy sewing!